Layers and Masters
A glyph can contain several drawings without becoming several glyphs. Its layers hold those drawings, and the active layer determines which one you are editing. Masters connect selected layers to the font's variation model.
The Layer System
The drawing hierarchy is glyph → layer → element → contour → node and handles. An image or SVG element holds its own kind of content instead of ordinary contours. The drawing you make in a Glyph window belongs to the active layer. This refines the “glyph’s drawing” wording in The Element Model: elements belong to a layer, and your earlier drawing work already occupied one active layer even when you had no reason to name it.
A layer holds elements, advance width, anchors, guides, and other data for one state of the glyph. Corresponding font masters also organize font-wide values and kerning. Kerning is not simply a list of drawing objects inside each glyph layer: it belongs to the appropriate master-level data.

Layers & Masters distinguishes named master layers, a mask, and an instance layer within the current glyph.
Different glyphs can have different layer sets. A sketch layer in one glyph need not exist throughout the font, while a complete font master needs corresponding drawings across the intended glyph set.
Three properties help distinguish working layers:
- Service excludes auxiliary content from ordinary output and interpolation. A mask is a familiar service layer: it holds reference material rather than another participating design.
- Locked protects a layer against editing in the Glyph window.
- Wireframe displays its contours as outlines rather than filled shapes for comparison.
Layer is the parent concept. Participating master layers hold designs used in the variation model; service layers hold auxiliary material such as the mask introduced in Design References and Comparing. The layer is the unit whose drawing and metrics vary across the designspace. A font master coordinates corresponding glyph layers, while an auxiliary layer can serve only the glyph that needs it.
The element model still applies inside each layer. Shared content and an element occurrence's placement or appearance remain separate, but changing the active layer selects a different drawing state. A layer name therefore identifies more than a display arrangement: it helps organize the source data used for that design. Check which layer is active before editing contours, spacing, or anchors.
For example, the same glyph can have participating Light and Bold drawings and a mask retained as a tracing reference. The mask can remain useful on screen without contributing a third design to interpolation. Conversely, a hidden Bold overlay can still belong to the interpolation model. This distinction prevents visibility choices from being mistaken for changes to the font's sources.
Visibility and participation are separate decisions. Showing an auxiliary outline for comparison does not make it an interpolation source. Hiding a master overlay does not remove that master from the variation model.
Masters as Font-Registered Layers
A font master is registered in Font Info > Masters. Its name connects the font-wide record to the corresponding layers in individual glyphs; its location places the design in the designspace. Naming an arbitrary sketch does not by itself establish a complete, usable master.
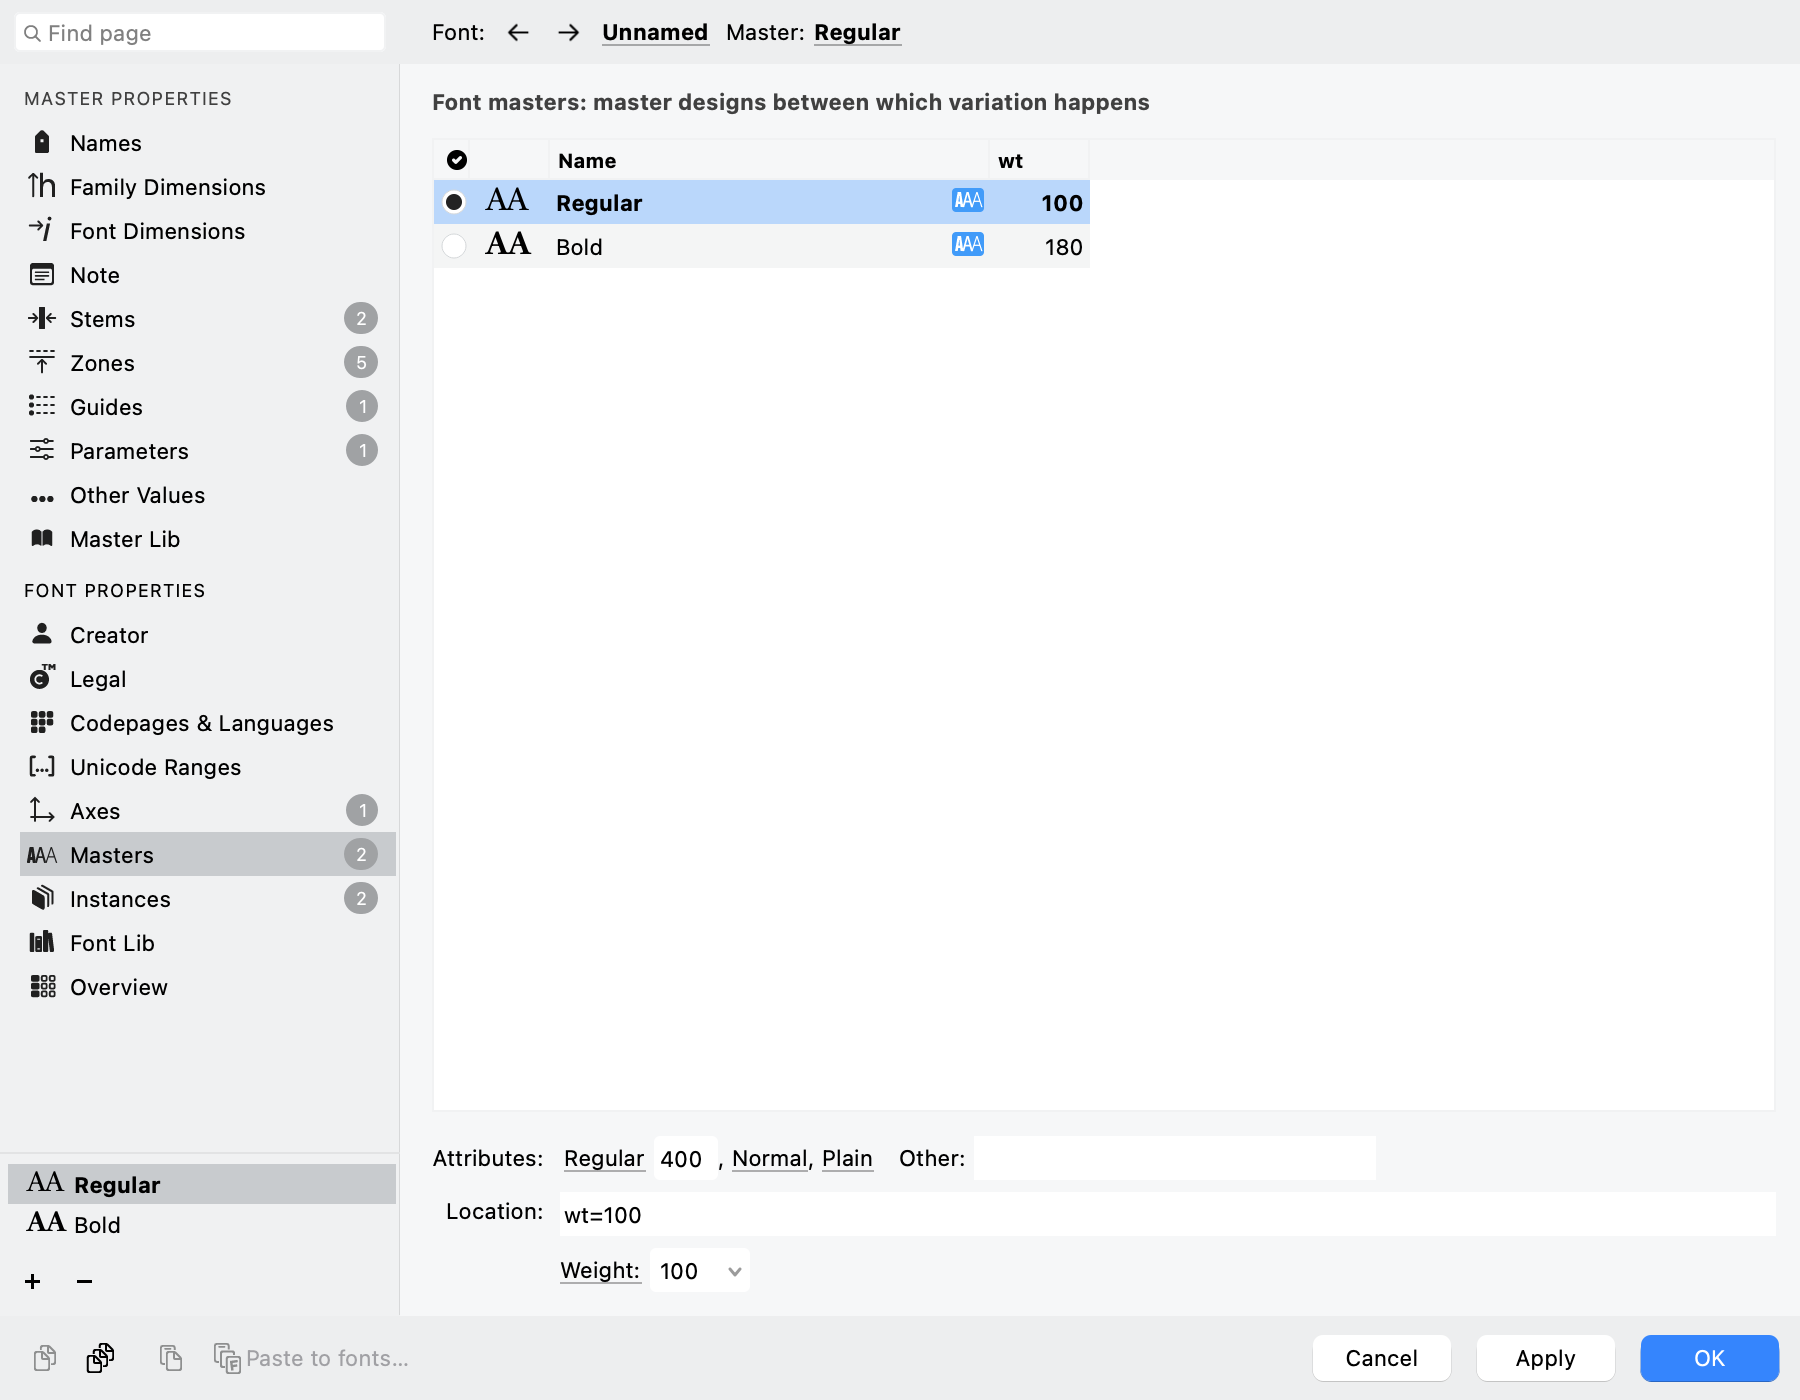
The Masters page lists the registered master designs and their axis locations.
A complete master supplies the intended design across the glyph set. Start by deciding the axis and range: for a weight family, identify the light and heavy extremes you intend to support. Build those drawings to correspond, then inspect the intermediate results. Add a complete intermediate master when the design needs another independently controlled stage across the family.
An intermediate master is a design inside the range, not necessarily its mathematical midpoint. Its purpose is to guide the blend where the original endpoints are insufficient. Partial corrections can instead use sparse or font-less masters, which need not duplicate every glyph.
Choose the main master
One font master is the main master, identified by a filled circle and bold name in Font Info > Masters. Click the circle in another master’s row to assign it that role. On export, FontLab uses the main master’s kerning classes as the common structure and its glyph hints as the basis for hints in other masters. In a variable font with TrueType outlines, it also supplies the default drawing shown by applications that load the font without interpreting its variations.
Choose it deliberately. It is not necessarily the lightest master or the first style you drew. The main master must also fit the interpolation model's axis connections: the other participating masters need usable paths through the designspace from it.
Creating and Managing Masters
Open File > Font Info and use the master-add menu. Choose the starting content that matches your task:
| Option | Starting point |
|---|---|
| Duplicate master, copy glyph layers | Copies the current master's drawings and associated master data. |
| Duplicate master, blank glyph layers | Creates blank glyph layers while retaining a starting set of master properties and widths. |
| Duplicate master, no glyph layers | Creates the master record without populating glyph drawings. |
| Empty master | Creates a new master record without duplicating a complete design. |
| Copy from an open font/master | Uses another open design as the source. |
When copying from another font, Add missing glyphs when copying from font determines whether source-only glyphs are brought into the destination. Review that choice before combining glyph sets.
For a second complete master:
- Select the source master and choose Duplicate master, copy glyph layers.
- Give the new master a meaningful, nonempty name.
- Review its axis location. Name-based inference can recognize names such as Bold, but an inferred value is not a substitute for checking it.
- Apply the Font Info changes, then switch to the new master and edit its design.
- Compare corresponding glyphs and confirm that they retain the structures needed to interpolate.
Font > Add Variation duplicates the current font master, including its Font Info data and glyph layers, as another starting source. Font > Overlay Fonts, recalled from Coloring Contour Elements, can use Overlay to layers to assemble matching glyphs from separate fonts into a layered source. Inspect names, glyph coverage, metrics, and compatibility after assembly; combining fonts does not repair their drawings automatically.
Opening a supported variable font can also populate a designspace. Variable OpenType TT and PS, TrueType GX, DesignSpace with UFO, and .glyphs sources can provide variation data, but an imported production font is not necessarily an exact reconstruction of the original editable project. Save a native working copy and inspect the imported masters before extending them.
In Font Info > Masters, the Allow interpolate control determines whether a master participates in interpolation. Hold Option or Cmd on macOS, or Alt or Ctrl on Windows, while clicking it to apply the new state to all masters. Check the resulting participation states before previewing the blend; visibility and participation remain separate choices.
Rename, reorder, and remove
Rename a font master through its Font Info entry, apply the change, and check the associated glyph-layer names. Respond to any scope or confirmation choice before assuming that the rename has propagated throughout the font. In the Layers & Masters panel, a rename can offer a scope choice; use the font-master scope when the change should apply throughout the font. Keep a nonempty name.
Drag master rows in Font Info > Masters to reorder them when another sequence makes switching and comparison easier. The order is reflected in master controls and navigation; it does not replace their numeric axis locations.
When removing a master, distinguish removing its font record from also deleting the associated glyph layers. Read the offered scope before confirming. Retaining drawings as ordinary layers and removing them entirely are different outcomes.
Work with individual layers
Use Glyph > Layer > Add… to add a layer and choose its name, properties, content source, and glyph scope. Use the Layers & Masters panel to make a layer current or remove it. Use Alt+Period for the next layer and Alt+Comma for the previous layer. These commands skip service layers, so select a mask or other service layer directly when you need it.

Choose whether the layer belongs to the current glyph, selected glyphs, or all glyphs. Adding a font master is a separate choice; review existing-layer and content-source options before confirming.
The Layers & Masters panel supports selecting several layer rows for Delete, Copy, and drag-and-drop. Check the highlighted rows before using a command: a group of selected layers is a broader target than the single current layer.
Edit > Copy Layer copies the current layer, including a layer from each selected Font-window glyph when used there. Paste can add those layers to the destination selection. Check source and destination order, layer names, and conflicts before a large batch; the clipboard's layer structure matters as much as its contours.
Undo and Redo return to the layer associated with the edit when that layer still exists in the glyph. Check the active layer after using them before making the next change.
Distinguish masters visually
A layer's preview color helps identify its active-layer indicator and visible wireframe overlays, including both non-current-layer wireframes and the dynamic #instance overlay. Set it in the Layers & Masters panel. This color is an editing aid, not an instruction to make the exported glyph that color.
The Masters widget along the left edge provides one button per font master for switching the current master; service layers, masks, and font-less masters are not represented. The Preview panel's Masters content, described as All or visible masters, compares the current glyph across all masters or only those marked visible in Layers & Masters, side by side or in stacked rows. Use switching for editing one source and simultaneous preview for judging their relationship.
Bracket masters are ordinary glyph master layers that participate in a subset of the axis range. They appear in bold beside their base master’s position in the Layers & Masters list. The duplicate-button popup offers both an ordinary duplicate and a bracket layer; use the workflow in Bracket Layers when the design needs a break rather than a continuous morph.