Add Glyphs»
Add Glyphs (Font > Add Glyphs) is one of several ways to add glyphs to your font. You should use it to create default glyph forms for Unicode characters. Add Glyphs cannot add glyphs that do not have a Unicode codepoint. If you need an unencoded or arbitrarily-named glyph, a special ligature, or an alternate of a standard glyph, use the Generate Glyphs command instead.
Add Glyphs can create more than one glyph at a time, and creates glyph layers for all font masters defined in Font Info > Masters.
Depending on the settings in Preferences > Operations > New glyphs, the added glyphs will either be blank or will have some contents (they will be composite or auto glyphs ).
For example, if your font includes the basic Latin letters and some diacritic marks, and you use Add Glyphs to add Western or Central European accented glyphs, they will be automatically be created with the appropriate Elements placed into the glyphs for both the base characters and the accents. If Preferences > Operations > New glyphs > create auto layers if possible is turned on, the new glyphs will become auto glyphs, so their contents, metrics and positioning of elements and anchors will be automatically updated whenever you add or modify any primary glyphs.
Note
If Add Glyphs is set to generate composite glyphs, it will only add element references if it can find appropriate primary glyphs in the font. For example: if the only lowercase letter you have is an “a” and you have no diacritical marks, and you add all glyphs for Western European languages, FontLab will generate a lot of blank glyphs, as well as a bunch with just the “a”. But if Add Glyphs is set to generate auto glyphs, the contents of the generated glyphs will automatically fill and update over time as you add new base and mark glyphs.
When you choose Add Glyphs from the Font menu, you get this dialog:
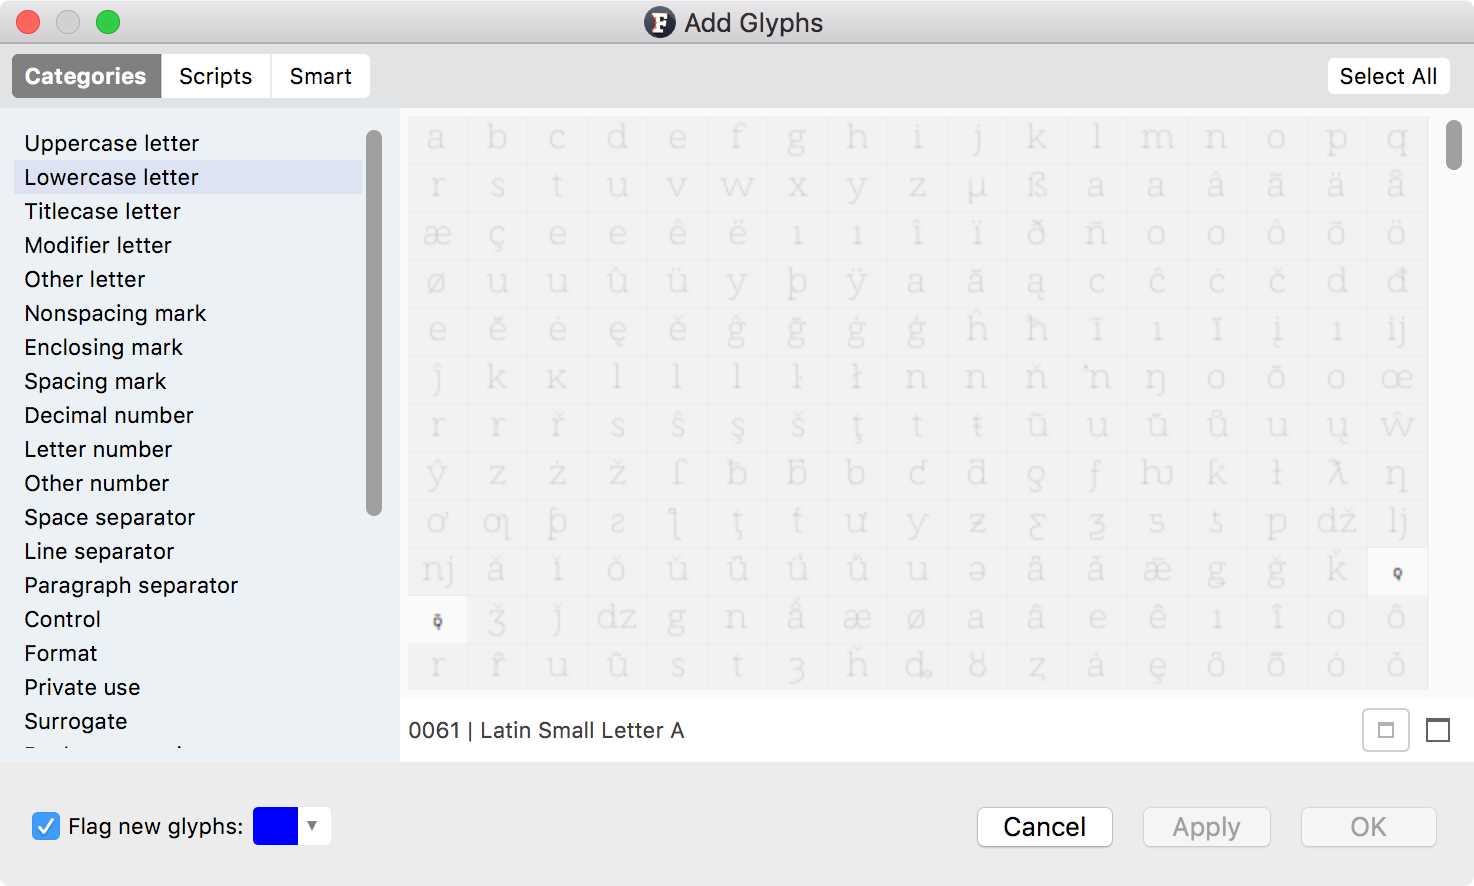
This dialog displays the list of all Unicode glyphs FontLab VI is aware of. The cells colored gray contain glyphs that already exist in your font, and cannot be selected. The remaining glyphs could be added; you can select any or all of them. Select any glyph, or use Cmd-click (Ctrl-click on Windows) to add additional glyphs to your selection, or use Shift-click to select a range. Then click on OK. The selected glyphs will appear in your current Font window. By default they will be marked in Blue. You can change the color flag using the dropdown menu in the bottom-left corner of the dialog.
There are three tabs in the upper left of the dialog:
Smart, Categories and Scripts, which indicate three ways in which you can find the glyphs you are looking for.
When in Smart mode, you can type the script name and/or category or some other word combining several Unicode characters. For example, you could type: ++“number”++, or ++“lowercase greek”++, or ++“uppercase geo”++ for Georgian, or just ++“tam”++ for Tamil. FontLab will show you the glyphs that fit the keywords you have typed in.
The Categories mode will show you a list of glyph categories like Uppercase Letter, Math Symbol or Private Use. Choosing one of the categories will bring up all the glyphs in it on the right. Most non-Latin characters are in the Other letter group, so if you need non-Latin characters you should use the Scripts tab for more specific results.
The Scripts mode shows a long list of all available Unicode scripts. Scripts is a technical word for a writing system. Latin, for instance, is the script used for writing English, Czech and Vietnamese among other languages. Click on one of the scripts in the list to see all of its available characters.