Making a Font From Color Bitmap Images»
Making a font from bitmap color images is similar to making one from vector graphics: almost all operations are the same.
You can have all bitmap images in one file or in separate image files. The bitmaps can be prepared in any drawing application, like Adobe Photoshop, and then brought to FontLab to generate a full color pictorial font. Here is how you can make a font from color bitmap images drawn in another application:
Preparation of images»
For this example, we are using images from Apple’s iChat application, which are located in /Library/Application Support/Apple/iChat Icons/Flags, though you will want to use original images that you have created or have the license to use:
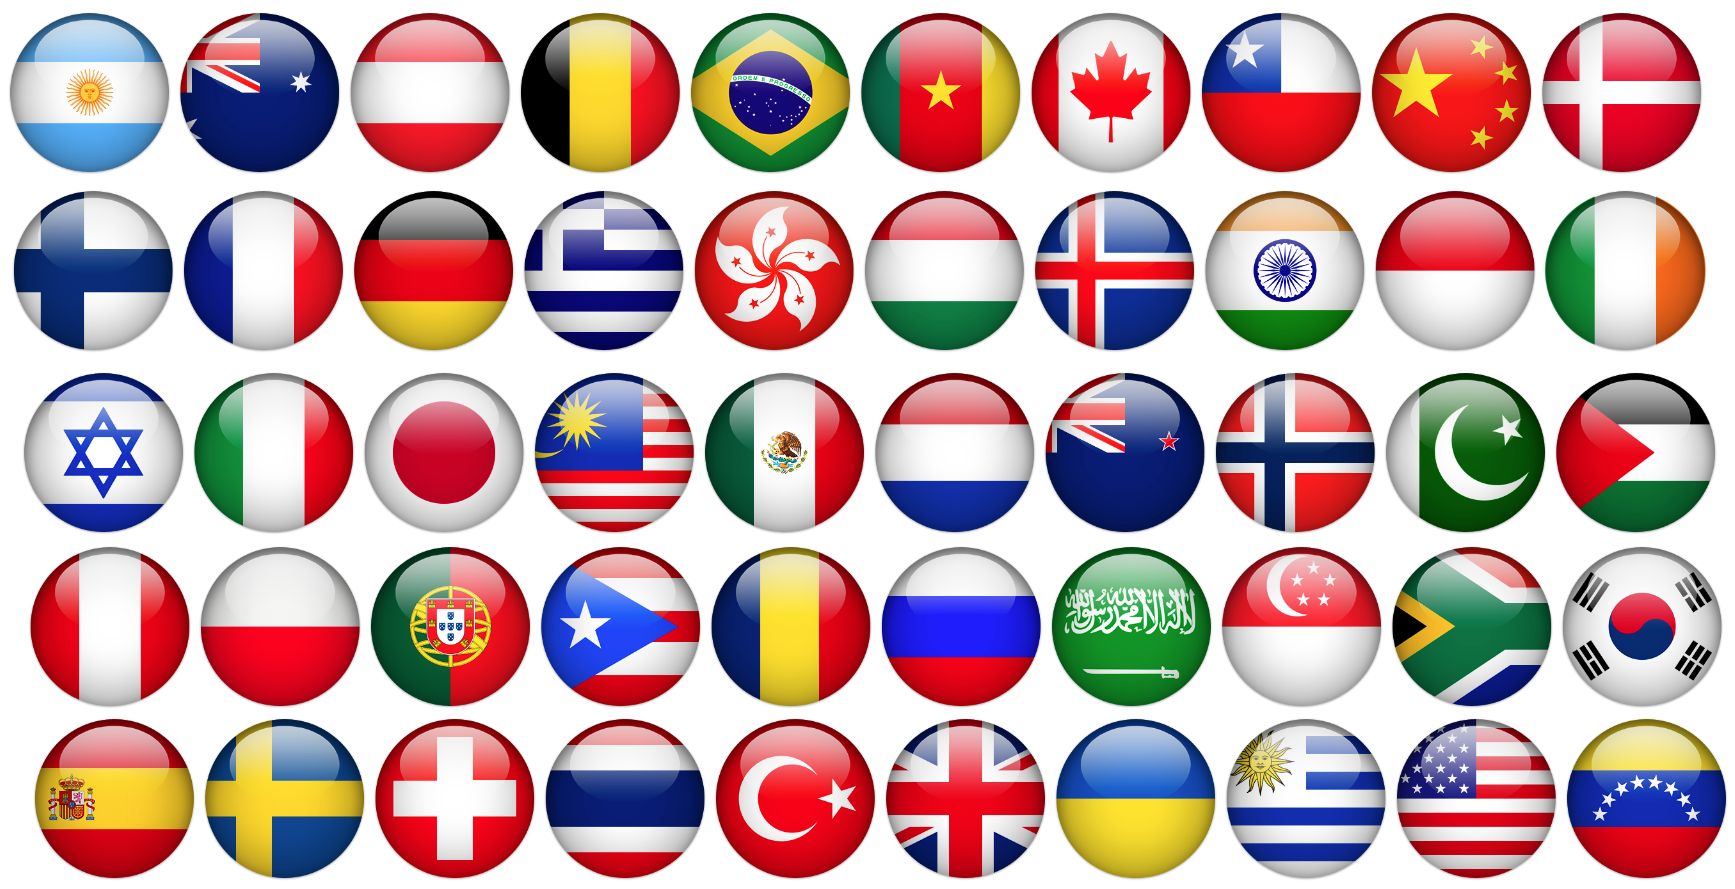
These are PNG images, 256x256 pixels in size, having 72ppi resolution. An image size of 256x256 pixels, or even 128X128 pixels, is quite enough for a screen pictorial font. Large images may slow down the app which will use the font.
Bringing the images to FontLab»
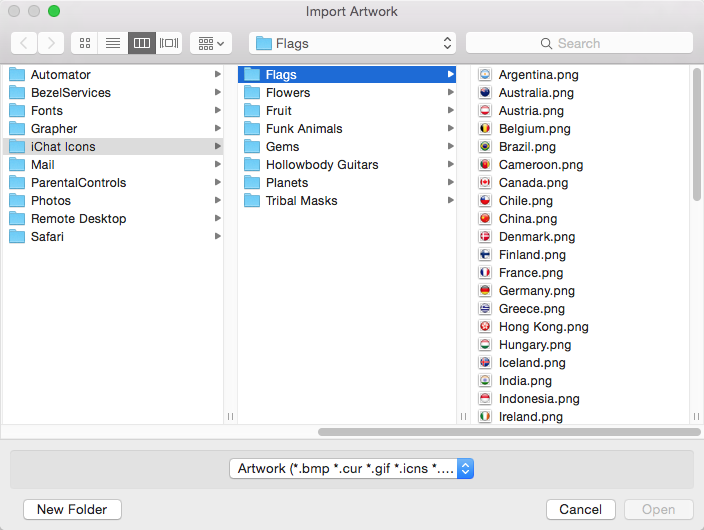
Run FontLab, and open the Sketchboard Window > Open Sketchboard, if it is closed. In FontLab, choose File > Import > Artwork and select images in the standard File Open dialog. You can use Shift or Cmd to select several images:
Or you can import one large image file containing all your drawings inside. In this case you will need to separate images by going to Element > Optically Separate.
Separating the images»
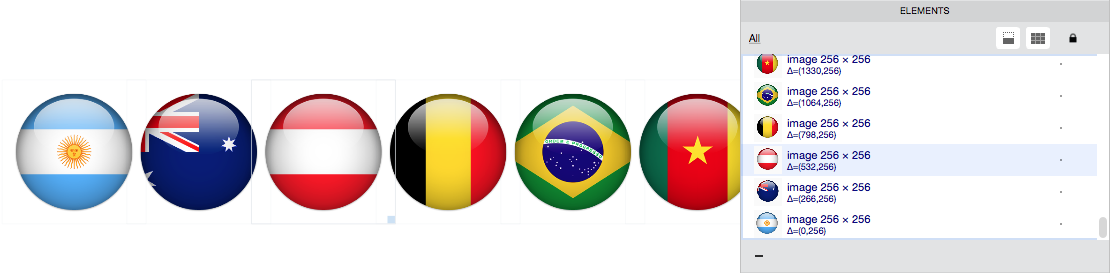
If you imported a set of image files, each representing one glyph, they will all appear as separate elements (with shape frames, as shown in the image below, if that has been selected in the View panel), and you can see them listed in the Elements panel:
In this case, you can skip to the next step.
If you imported one large image file, you will need to divide it into elements:
- Open Preferences > Operations and turn off the option to “recognize alphabetic characters” in Optical Separation.
- Now, click on the image once to select it and choose the Element > Optically Separate menu command.
One image element will be separated into smaller elements. You can select, move, scale or free transform each element separately using the Element tool.
Updating Font Info»
Now open a new font File > New Font and then open the Font Info dialog File > Font Info. Here, name your font and set the font UPM value to the multiple of the image’s height that is closest to 750. In our case, each image is 256 pixels in height. So, we will set the font UPM size to 256x3=768. Put the same value to the Caps Height field in the Font Dimensions section. We need to be precise here because we are going to scale images to the Caps Height.
Placing to font»
Switch back to the Sketchboard window.
- Turn on Rulers View > Rulers, and drag a guideline down from the top ruler bar.
- Position this guideline below the row of images to designate their baseline.
- Shift-drag the same guideline up to add thickness to it. Position it so that the thickness of the guideline corresponds to the height of images. You can open the Guideline panel to set its thickness to precisely 256 units.
- Click on the guideline name and rename it “c1” for caps height.
- Press Alt and copy this guideline to another row of images if you have several. Repeat this operation for all rows.
- Select the Element tool V, marque-select all images you want to place in the font, and choose Element > Place As Glyphs > Selected Elements.
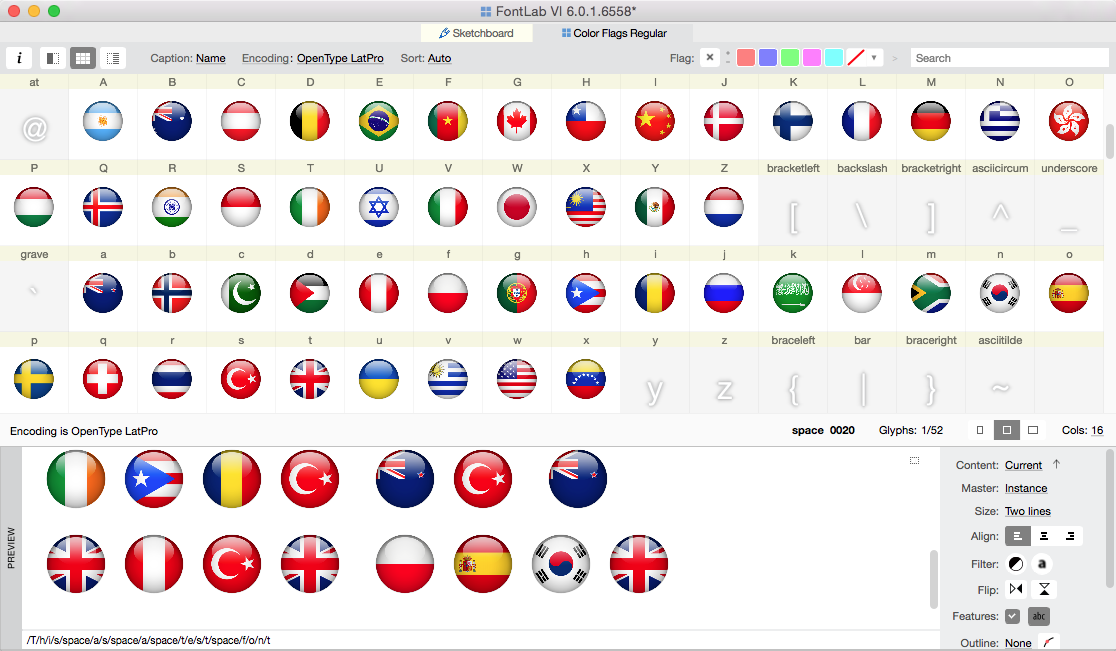
- Switch to the font you created above. You will find new glyph cells at the end of the chart with each of them populated by an element you created earlier. These glyphs will have predefined names like “.elm.1”, “.elm.2” etc.
- Select each of these glyph cells and move them to the cells where they belong.
9. Finally, add the space glyph.
Saving and testing»
Choose File > Save Font to save the font in the native FontLab format VFC. You can use the Sketchboard for the first test of your new font. Select the Text tool, click in the Sketchboard and type some text to see how glyphs are rendered. Adjust spacing and kerning, if needed, and test again.
Exporting the font»
To export your color font, select File > Export Font As and choose OpenType-TT profile in the list. Select a destination folder and click on Export. By default, color fonts are exported in the OpenType+SVG format. You can check what browsers, operating systems and applications support your color font here.