Image panel»
The Image panel Window > Panels > Image lists bitmap filters which can be applied to image Elements. Selecting an item in the list shows the filter options.
The Image panel can be used in the Sketchboard or in the Glyph Window. First, select the element which you want the filter to be applied to. Click on the Eye button to show or hide the preview of transformation. Change filter options and click on the Apply button to apply filter to the selected image.
Note that some filters will have little or no effect on some images, depending on the nature of the image and the particular filter effect. For example, Despeckle and Reduce Noise only work if there is speckling and noise, respectively.
Sharpen»
This filter makes the image sharper and higher contrast. It is the opposite of the Soften filter.
 |
 |
|---|---|
| Before | After |
Click on the Apply button in the panel to apply the transformation. You may use this command several times, but be careful to check the effect after every use.
Soften»
This filter makes the image less sharp and lower contrast. It blurs the image. It is the opposite of the Sharpen filter.
|
 |
|---|---|
| Before | After |
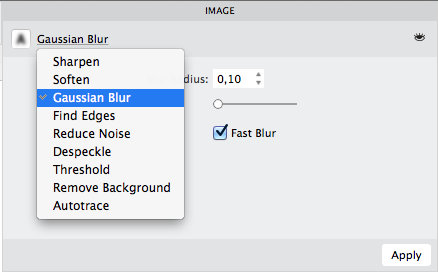
Gaussian Blur»
The Gaussian Blur filter blurs the glyph using the Gaussian algorithm.
Use the Radius slider to define the blur degree. Use the Fast Blur option to strengthen the effect.
|
 |
|---|---|
| Before | After |
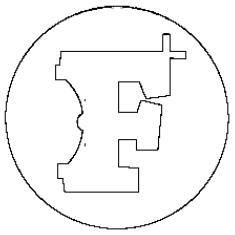
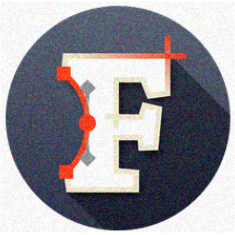
Find Edges»
The Find Edges filter allows you to get the “contour” of an image. As this can be relatively destructive, you may wish to run it on a copy of your image, or be ready to use Undo.
Note that: (1) This is is not an outline, but still a bitmap image; (2) the filter eradicates “non-edges,” which means that if it can’t find any edges, you might have nothing left.
As this filter has no customizable parameters, you will see the result immediately.
 |
 |
|---|---|
| Before | After |
Reduce Noise»
The Reduce Noise filter makes images less noisy. Some small details of the image may disappear so be ready to use Undo.
Enter the Radius value to define the best transformation parameters.
 |
 |
|---|---|
| Before | After |
Despeckle»
The Despeckle filter is used to remove small defects due to dust, or scratches, on a scanned image, and also moiré effects on image scanned from a magazine. The filter replaces each pixel with the median value of the pixels within the specified radius. You can apply it several times to strengthen the effect.
|
 |
|---|---|
| Before | After |
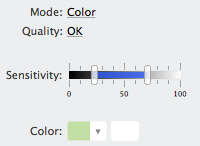
Threshold»
The Threshold filter fills light pixels of the image with white color and dark pixels with black. Actually it turns color image into black & white image. The boundary between “light” and “dark” can be moved by the Threshold slider.
The threshold operation can be performed by one of the following methods:
| Method | Description |
|---|---|
| Luminosity | The luminance countered from pixel’s red, green and blue channels |
| Opacity | Pixel’s opacity/transparency component |
| Color | Pixel’s hue angle |
|
|
|---|---|
| Before | After |
The Colorize popup menu allows to additionally fill the result of the Threshold operation with any color.
Remove background»
The Remove background filter is one more way to make the image cleaner. This filter tries to separate the element from its background and then clear the background.
Use the Mode popup menu to select the base algorithm of the operation. You can remove the background by luminosity or by color. There is also a smart algorithm. You can try them all looking at the preview and choosing the best one. The more contrast in the preview the better result you will get.
In the color mode, use the Color popup menu and the color picker at the right to define the background color. Click on the color picker button and then click on the image background to pick up a background color.
 |
 |
|---|---|
| Before | After |
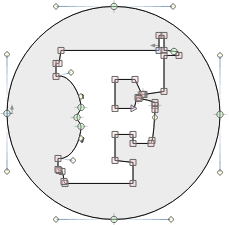
Autotrace»
The Autotrace filter traces bitmap images trying to create smooth and quality outlines.
The Precision slider is actually the trace tolerance. It allows you to change the distance between the generated outline and the edge of the original bitmap.
FontLab also needs to make its best guess as to whether various places on a contour should be straight lines with corners, or smooth curves. Depending on the nature of the source material, one guess may be more likely to be correct than another. You can influence FontLab’s autotrace to favor one interpretation or the other by moving the Smoothness slider between “Lines” and “Curves.”
|
 |
|---|---|
| Before | After |
You will need to manually adjust contours for better results.