Working with Glyphs»
Copy-pasting Glyphs»
Copy-pasting using drag-drop»
The quickest way to copy-paste glyphs is using the drag-drop method. It can be especially handy when copying glyphs from one font and pasting them to another one, because it is visual. To copy-paste glyphs using the drag-drop method, follow these steps:
- Select one or several glyphs.
- Position the mouse cursor on the selection.
- Press the mouse button and hold down the Alt key.
- Now drag the selection to the place where you want it to be copied.
- Release the mouse button, making sure that the Alt key is still pressed.
Using Menu Operations»
To copy selected glyphs»
To copy selected glyphs, select Edit > Copy (CmdC / CtrlC). This action will copy not only the glyph outline, but also the glyph information, such as its name, Unicode codepoint, metrics, etc. The copied glyphs will be placed in the Clipboard and can be pasted into the same font or into another font.
To cut selected glyphs»
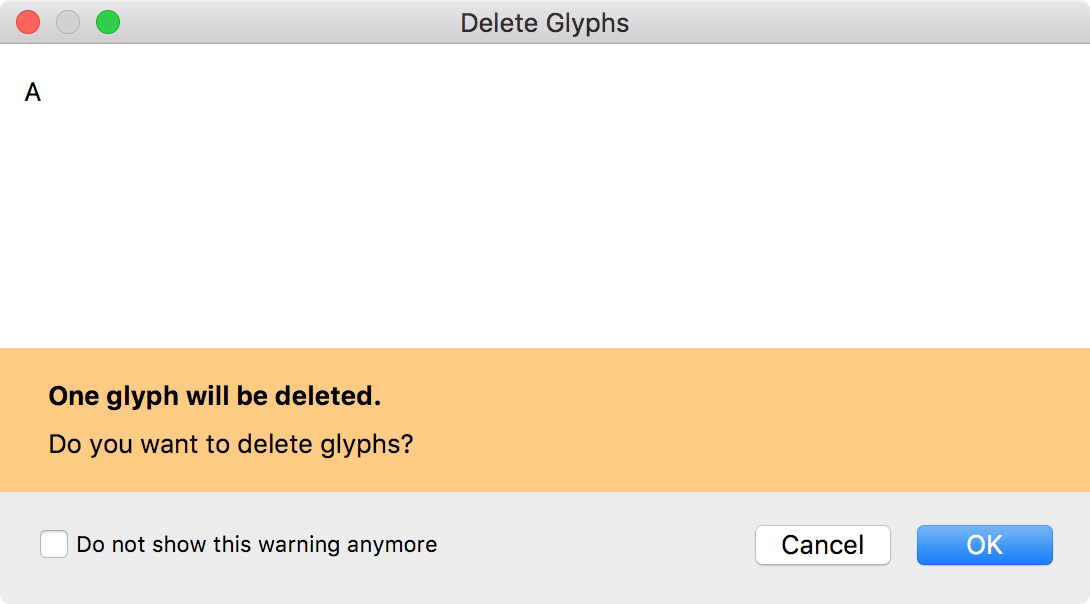
To cut selected glyphs, select Edit > Cut (CmdX / CtrlX). The glyphs, along with their glyph information, will be copied to the clipboard and deleted from their source positions. Before this action is completed, FontLab will show you a warning dialog and will proceed only if you give your confirmation:
To paste copied glyphs»
FontLab allows you to paste glyphs from the clipboard in the following commands:
Paste»
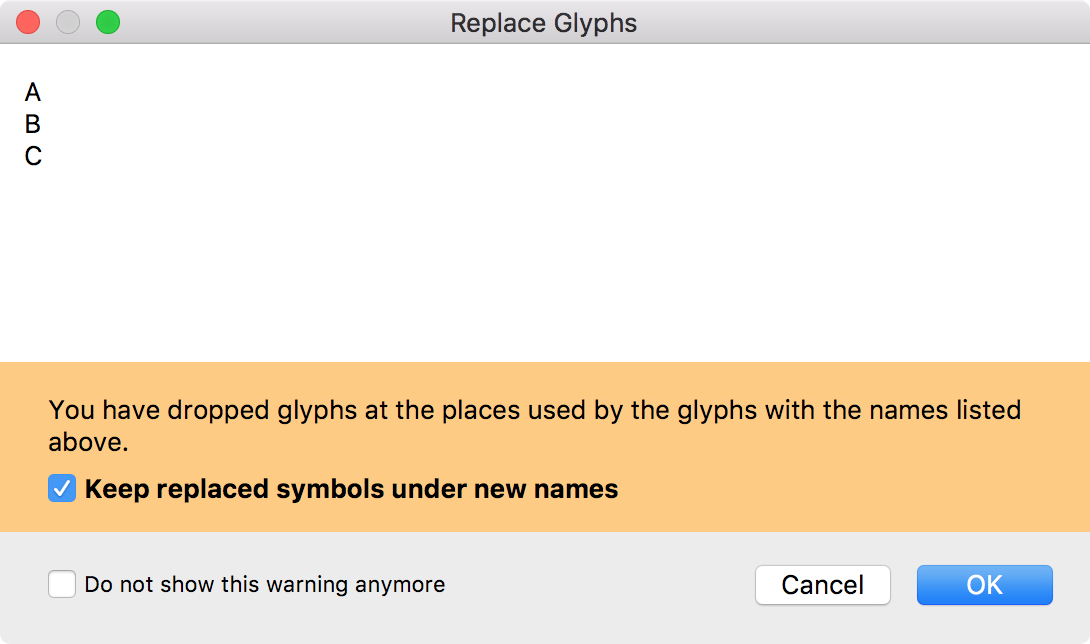
To paste copied glyphs along with all glyph information, layers and elements, including anchors, guidelines, etc., select Edit > Paste (CmdV / CtrlV). Glyphs from the clipboard will be placed starting from the first selected glyph in the destination font. If the destination position is occupied by existing glyphs a warning dialog box will appear:
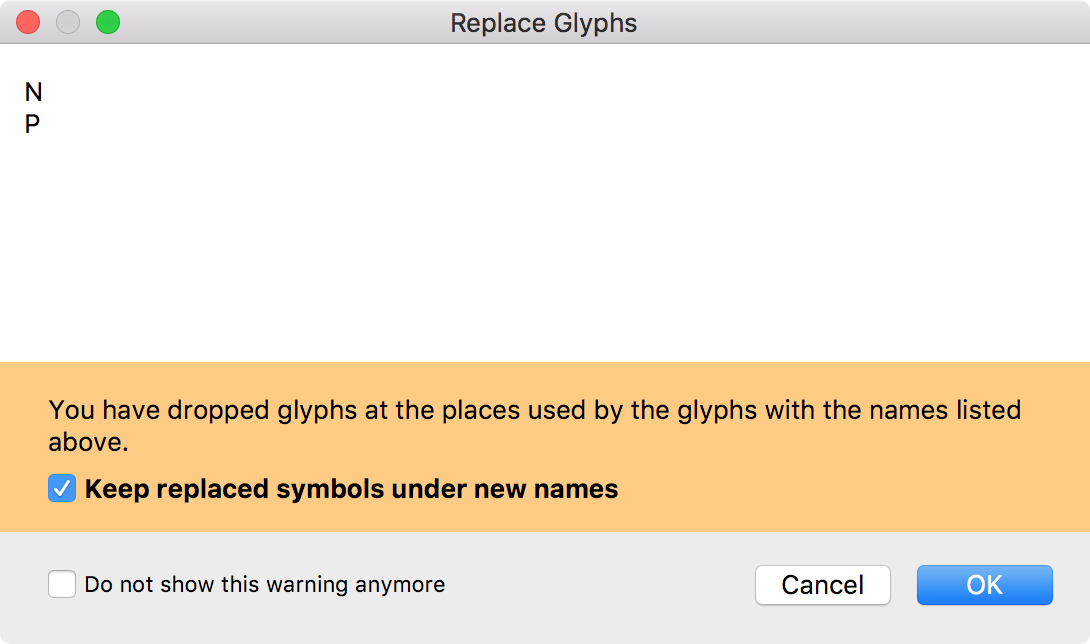
Keep replaced symbols under new names should be checked if you would like to put the new glyphs in the cells and move the existing glyphs to new renamed cells. If left unchecked, this action will delete existing glyphs, and replace them with the glyphs from the clipboard.
Note that this command will paste unlinked copies of elements, i.e. editing the contours of the pasted glyph won’t affect other glyphs because their elements are not linked.
Note
In the Index mode, Edit > Paste appends glyphs instead of overwriting them, like it did in FontLab Studio 5.
Paste Glyph Reference»
To paste copied glyphs such that references to copied elements are pasted, use Edit > Paste Glyph References. As a result of this operation, the pasted elements will be linked to their source elements. Editing the source element will affect the pasted glyph, and this glyph will be exported as a composite.
Paste Special»
To exercise control over what glyph information is pasted, Edit > Paste Special. Once you select this command, the Paste Special dialog will appear:
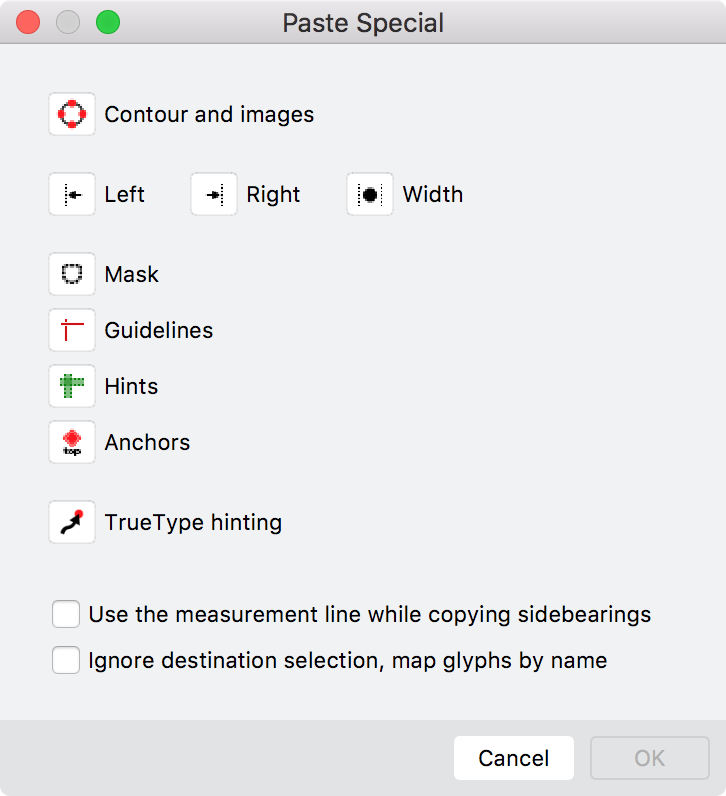
In this dialog, you can choose what glyph information you would like to paste by clicking on them. Check Use the measurement line while copying sidebearings to calculate glyphs’ sidebearings on the basis of the measurement line. Read more about this line in the Measurement line section. Select the Ignore destination selection, map glyphs by name option, if you would like the paste operation to replace glyphs that have the same name as those being pasted. Click OK to finish pasting glyphs.
When pasting with this special command the destination selection does not have to be continuous, i.e. you can select cells to be replaced in any order and combination. The selection is ignored if you choose to map glyphs by their names.
If you paste contours they are pasted to the selected layer replacing its contents. So be careful when pasting contours with this command.
When you choose to paste TrueType hints from one glyph to another FontLab tries to do this in a “smart” way. Surely these “pasted” hinting instructions may need to be reviewed and corrected manually.
Append»
To paste glyphs in their expected Unicode code positions with correct names, select Font > Append Glyphs. This action can be especially useful if you are copy-pasting glyphs from one font to another to add language support. Here is an example: Your first font contains Latin glyphs but has no Cyrillic glyphs. A second font is a Cyrillic font with the matching style and you want to add Cyrillic support to the first font. Select the Cyrillic glyphs in the second font (this will be easy if you select the 1251-Cyrillic codepage or the Cyrillic Unicode range) and copy them to the clipboard using Edit > Copy. Now switch to the first font and select Font > Append Glyphs. The Cyrillic glyphs will be added to the font with their correct Unicode codepoints and names, so you will not have to re-map the font.
Duplicating Unicode codepoints»
In FontLab you may assign more than one (up to 63, actually) Unicode codepoints to a glyph. Visually this means that a glyph that has several Unicode indexes will appear several times when one of the filter modes (Encodings, Ranges or Codepages modes) is selected in the Font window:

But if you switch the Font window to the Index mode you will see only one glyph entry.
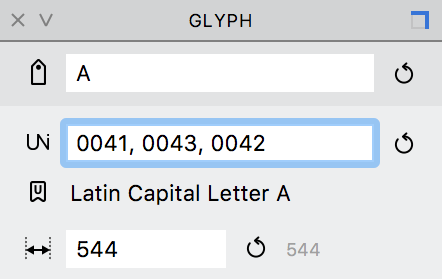
To make several characters based on a glyph, select it and enter additional Unicode codepoints separated by a comma in the Glyph panel:
Duplicating Glyphs»
To duplicate glyphs, select glyph cells in the Font window and use the Edit > Duplicate (CmdD) command. The special Duplicate Glyph dialog appears to let you define how your new glyphs will be named:
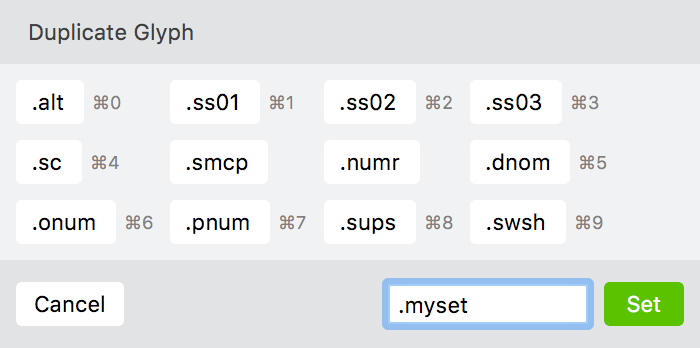
Click on one of the 12 predefined name suffixes or enter your custom suffix in the edit box and click on Set. New glyphs will be added to the font. For example, if you selected “A” and duplicated it using the “.ss01” button, the new glyph will be named “A.ss01”.
Moving Glyphs»
You can change the positions of glyphs in the Font Window or Font Map panel just by moving them to a new place (select, click and drag). Note that moving glyphs is an undoable operation.
To move glyphs in the Font window or Font Map:
- Select the glyphs that you want to move.
- Position the mouse cursor on the selected glyphs.
- Press the mouse button.
- Drag the glyphs to the new position. Release the button to complete the process.
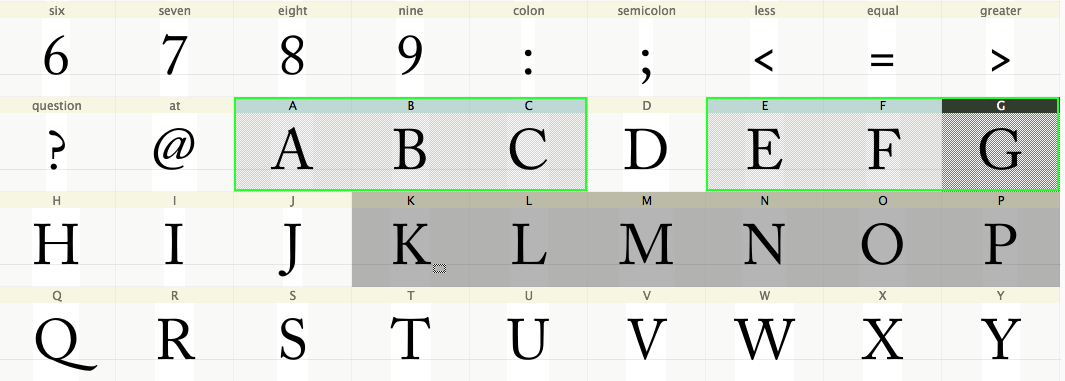
If you move glyphs over the cells of existing glyphs, you will see a dialog box prompting you to choose whether to replace the existing glyphs or save them by renaming:
Leave Keep replaced symbols under new names checked to save the glyphs (I.e. put the new glyphs in the cells and move the existing glyphs to cells at the end of the encoding) or clear it to replace them (I.e. delete the existing glyphs).
Note that even if source selection is not continuous the destination selection will be continuous:
If you are working in the Codepages, Unicode or Encoding mode, when you move glyphs they automatically get new names and Unicode codepoints. The source glyph cells become empty.
If you are working in the Index mode, moving glyphs is used to manually rearrange their physical sequence in the font. That is what the index is: the order of the glyphs in the final exported font file. When you move glyphs in Index mode, glyphs are never replaced, just re-ordered—they do not replace the glyphs at the destination location but instead the moved glyphs are inserted in front of the existing glyphs. The names and Unicode codepoints of the moved glyphs are unchanged. What is changed is the glyph index. To rearrange the physical sequence automatically, use the Font > Sort Glyphs menu.
Renaming Glyphs»
Usually it is not necessary to manually rename glyphs, because their names and Unicode codepoints are assigned automatically when you move glyphs in the Font window, and these are generally correct. But if you want to see glyph names and codepoints and change one or both, either on single glyphs or a batch, select the Rename Glyph command from the Glyph menu. You will see this dialog box:
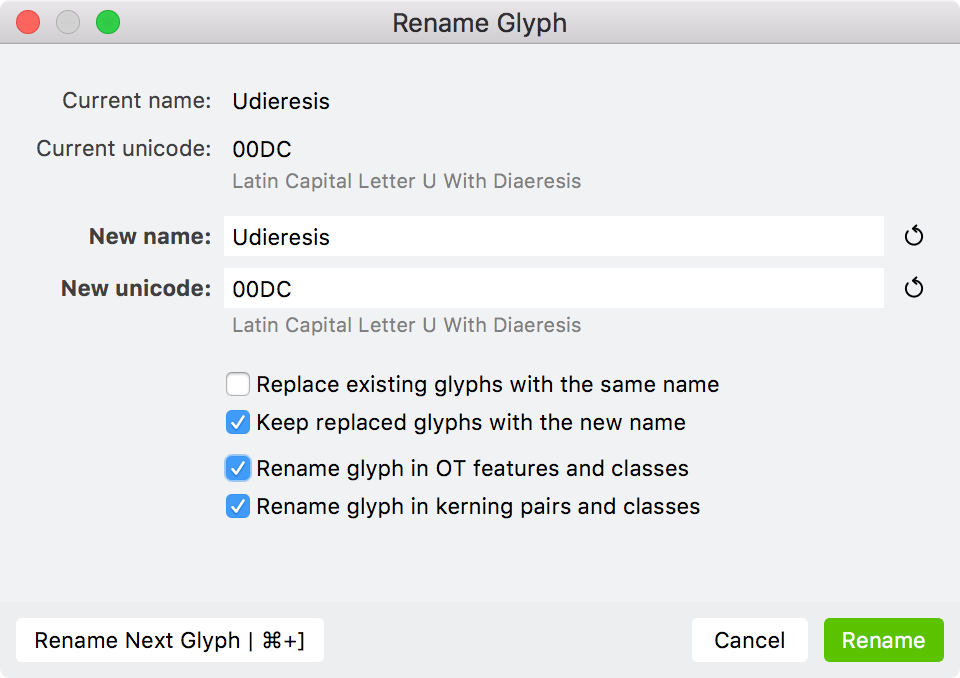
In the top part of the dialog box you see the current name and Unicode codepoint (indexes) of the glyph. In the middle there are two edit fields where you may change the information. Below them lie the options controls.
To change a glyph’s name enter a new name in the field. If this glyph has a properly assigned Unicode codepoint and you want to find the name mapped to that index in FontLab database press the Auto button to the right of the edit field and FontLab will fill in the New name field for you.
If the option Replace existing glyphs with the same name is not checked, then if you enter a name that is already assigned to one of the font’s glyphs, the Rename button will be disabled and you will not be able to assign that name. Switch the option on to allow FontLab to replace glyphs. Use the next option to control how FontLab does the replacement.
Use the New Unicode edit field to change a glyph’s Unicode codepoint(s). You may enter more than one Unicode codepoint separated by a space: this will cause the glyph to be associated with multiple codepoints. Use the Auto button to find the Unicode codepoint(s) mapped to a glyph’s name in FontLab’s database.
Note
You might want the same glyph to get more than one codepoint when several codepoints need the same shape and metrics. For example, perhaps the Latin cap A, Cyrillic cap A, and the Greek cap Alpha all share the same shape. If you wanted to use the same shape but space them differently, you could use the same Element in multiple glyphs.
Rename glyph in OT features and classes – this option will automatically change the glyph name in OpenType classes that contain the glyph name, and in OpenType feature text.
Rename glyph in kerning pairs and classes – this option will automatically change the glyph name in kerning classes that contain the glyph being renamed and in the “kern” feature text.
Press the Rename button to assign a new name to the glyph. You may see the glyph may move to a new place in the Font window, depending on the currently selected encoding vector, Unicode range or codepage.
If you want to rename more glyphs in sequence, instead press the Rename Next Glyph button. A new name will be assigned to the current glyph (as if you had pressed the OK button) and data from the next glyph will appear for editing.
Renaming by Adding a Suffix»
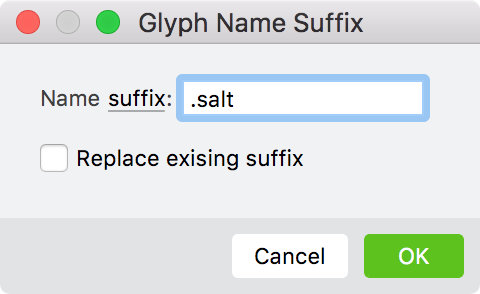
The “suffix” is the portion of a glyph name after a period. To rename glyphs by either adding a new suffix or changing the existing glyph name suffix, first select glyph cells. Then choose Font > Add Suffix to Name. Enter new suffix or select the name of the OpenType feature to pick up the suffix from the list. Check the Replace existing suffix checkbox if you need to replace old suffix with the new one.
Deleting Glyphs»
To remove glyphs from the font, in the Font window or Font Map panel:
-
Select the glyphs that you want to remove.
-
Select the Delete command from the Edit menu or press the Backspace (or Del) key on the keyboard.
-
A dialog box appears asking you if you are sure that you want to delete the glyphs.
Note
Deleting glyphs from the font is now undoable, but it is better save your work before deleting glyphs.