Elements»
In FontLab VI, an Element is a basic piece of your glyph design that is used in a glyph layer. Go to Using Elements to learn about how to work with elements.
In traditional fonts (non-variable monochrome outline fonts), a glyph is made either from one Contour element that contains a series of contours, or from one or more Components, which are special elements that “borrow” their contours from other glyphs.
In fonts with multiple masters (variable fonts), a glyph is a collection of master layers, and each glyph master layer is made of its own elements. The glyph is variable (an interpolated instance can be made from the masters) only if the number and order of elements matches across all master layers of a glyph, and if all elements across the glyph master layers match, that means, have the same number of contours and the same number of segments.
In color fonts, glyph layers are made from Image elements, SVG elements or from Contour elements. Each Contour element has its own fill color and/or stroke color and thickness.
FontLab VI allows you to design glyphs for all these kinds of fonts thanks to elements. Also, inside FontLab VI, you can design glyphs using with more advanced types of elements that will be converted to simpler forms when you export your font into a final format.
Elements can be manipulated using the Element tool. See Using Elements for more information on how to use them while you design type.
Element types»
Contour element»
A Contour element is a collection of one or more closed or open contours built from PostScript and/or TrueType segments. This is the most common element type. It can also contain alignment objects: element guides and pins. The “inside” (i.e. the existing contents of a contour element) can be modified using the Contour tool, Eraser tool, Knife tool, or Scissors tool. New contours can be added to an element using the Brush tool, Pencil tool, Rapid tool, Pen tool, Ellipse tool and Rectangle tool.
Image element»
An Image element contains a bitmap image. You can apply some image filters to bitmap images inside FontLab using the Element > Image menu, but you should do more detailed editing bitmap images in dedicated apps outside FontLab. You can also convert Image elements into contour elements via autotracing.
SVG element»
An SVG element contains vector-based graphics in Scalable Vector Graphics format. SVG elements can consist of numerous contours that have different strokes, fills (including gradients and transparency); they can also contain bitmap images. You can convert SVG elements into editable Contour elements within FontLab, but more advanced SVG effects like gradients will be lost.
Compound element»
A compound element is a collection of one or more contour elements and a contour filter that adds advanced, live (non-destructive) contour effects to the contours: Fill makes open contours and advanced fill effects, Smart Corner makes rounded or inktrap corners, Glue can fluently stick an open contour to another contour, and Power Brush creates skeleton-based calligraphic strokes.
Element group»
Element group consists of two or more elements grouped together, so that they can be moved, transformed etc. together. Although a single element can only have contours or images, both types may be in a single element group.
Sticker»
An Element Sticker is a special element that can be used to create “sticky notes” with arrows inside glyphs.
Reusing Elements»
In FontLab, there are two ways in which you can re-use the same piece of design across different glyphs: Components and Element References.
Components»
A Component in FontLab is an element that points to the same layer of another glyph, the Component’s source glyph, and “borrows” (inherits) the source glyph’s contents (contours). If you change the source glyph, all components in other glyphs that point to the source glyph will update. If you’ve used Components any other font editor, you’ll find yourself at home easily.
A Component has its own transformation (usually shift, optionally also scale, rotation or slant).
Components are great if you build composite glyphs from other glyphs. For example, you can Adieresis from the Components A and dieresiscomb. You can use nested Components that point to glyphs that are made of Components, so for example, you can build a dieresiscomb glyph from two dotaccentcomb Components, and then build Adieresis from the Components A and dieresiscomb.
You can build composite glyphs from Components in one or all masters — via Generate Glyphs, Add Component, Copy-Paste or Auto Layers. You can mix Components and other elements (including Contour elements) within the same glyph layer.
If you FontLab will keep your Component structure when it exports your font to a format that supports components (TTF, VFB, UFO), and will decompose Components as needed when a format does not support components at all, or does not support some aspects such as rotated Components or Components mixed with contours.
Note
Previous versions of FontLab VI simulated components using Element References, by locking some references and dynamically finding the best candidate glyph for a component source. But this was never a fully satisfying experience, so we’ve decided to add Components as a separate element type.
Element References»
You can also use Element References to work with repeatable shapes across a font. Element References work great when you want to re-use a design pieces such as a stem, a serif or other glyph fragments (contours or images) across multiple glyphs in the same layer, and maintain a link between all the places where you’ve placed it. All Element References are equal. There is no source glyph to which they point to — they all link to each other. Element References have no knowledge about glyph metrics or anchors. In a way, they’re very similar to subroutines used in PostScript-flavored (CFF) OpenType fonts.
Element References are great if you link between pieces of glyphs, or even between pieces within the same glyph. So FontLab VI 6.1 has both mechanisms, each to fit its purpose.
You can build composite glyphs from Components in one or all masters — via Generate Glyphs, Add Component, Copy-Paste or Auto Layers. You can mix Components and simple contours in one layer. You can use nested Components that point to glyphs that are made of Components (for example, you can build a dieresiscomb glyph from two dotaccentcomb Components, and then build Adieresis from the Components A and dieresiscomb).
FontLab VI will keep your Component structure when it exports your font to a format that supports components (TTF, VFB, UFO), and will decompose Components as needed when a format does not support components at all, or does not support some aspects such as rotated Components or Components mixed with contours.
Any element can be referenced in multiple glyphs. Each element reference shares the same contours, element guides and pins, but has its unique transformation (position, scale, rotation, slant) as well as, for color fonts, its own fill color and stroke color and thickness.
Element > Add Element Reference… will open a dialog which allows you to select and insert elements by glyph names in the list:
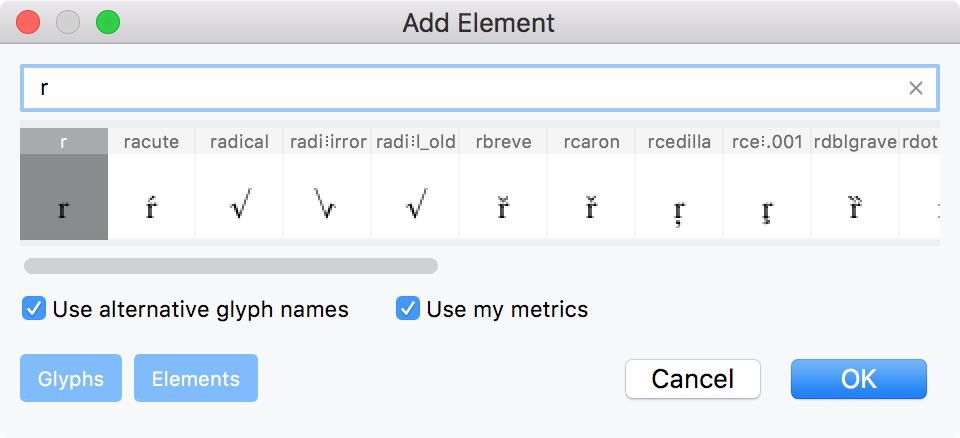
Start typing the glyph name and then choose the element you need from the list. When you click on OK, a reference to that element will be pasted to the current glyph layer.
Element references (or references) are linked. If you edit the contents of one reference, the other references change as well.
Element references can work like traditional components. You place an unlocked reference to an element in a primary glyph (such as A). There, you can edit the contours. Then, you place locked references to the same element in other glyphs (e.g. Aacute, Adieresis). When you try to edit the contents of a locked reference, FontLab will open the primary glyph where you can modify the contours, and the changes will propagate to all the locked references. So locked references behave like TrueType, UFO or VFB components.
However, you can always unlock some or all of the locked references. Then, you can also edit the contours in-place in each unlocked reference, and the changes of the element contents will propagate to all references including the one in the primary glyph. So in fact, the primary glyph is just one of the glyphs that contains a reference to a given element where that reference is unlocked. If a reference is unlocked only in one primary glyph, FontLab will use that glyph as the contour glyph when generating fonts in formats that support components (TrueType-flavored OpenType, VFB or UFO), while all the other references will be exported as components. If you unlock more than one reference, FontLab will automatically pick the best contour glyph.
If a glyph is an auto glyph in the current layer or master (i.e. the current layer has the Auto layer property turned on in the Layers and Masters panel), then FontLab tries to automatically build the contents of the layer by adding anchors, adding and positioning element references from the primary glyphs, and by inheriting the sidebearings of the base glyphs. As long as the layer is an auto layer, you cannot manually edit or position the metrics, any anchor, guide, element or its contents — but you can define a custom glyph generation recipe to tell FontLab how the layer should be generated. If you turn the Auto layer property off, you will be able to edit the contents of the glyph.
Element frame»
Elements are drawn within a light gray rectangle which we call the Element frame. These frames may have captions with element names and the number of references to this element in the font:
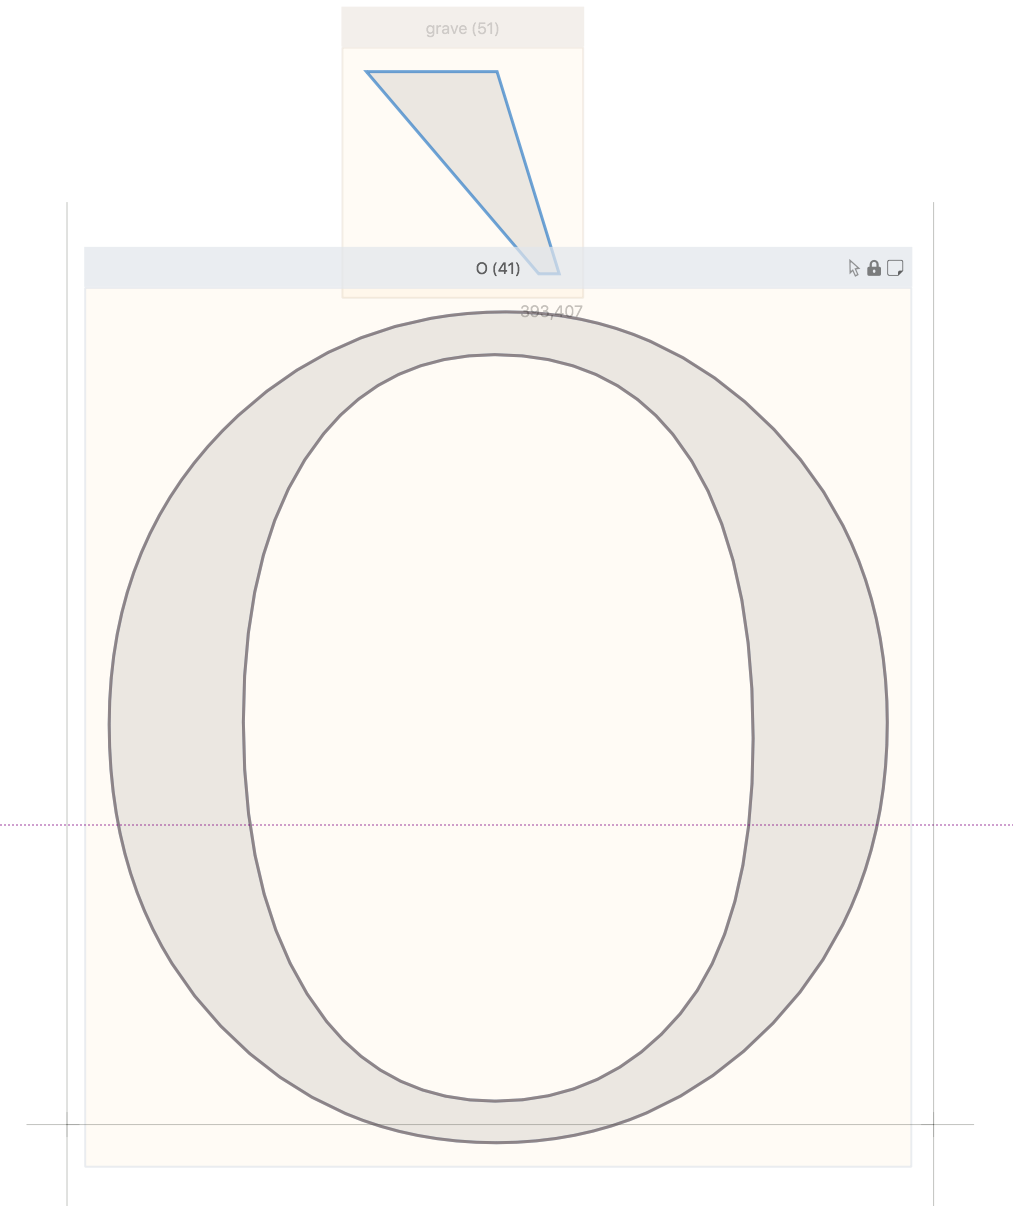
You can turn element frames off and on using the View > Element Frame command.
In the element frame caption, you can see how many references in the current font exist for the current element. There, you can also lock and unlock an element. If an element is locked, its contents cannot be edited in-place, but if you double-click on it, the primary glyph will open where you can edit the contents.
Element guides»
Elements can have their own guides. Differently than regular ones, Element guides are not created from the rulers. With the Guides tool, hold Alt and drag anywhere in the Glyph Window to create a vector element guideline in the current element. Hold Shift while dragging to maintain the vertical or horizontal direction.
Element guides belong to Elements and are moved and transformed with them.