Find and Replace Outline Operation»
This performs a find/replace operation on an outline or sections of an outline. You can replace one or more identical outlines (or sections) that occur in multiple glyphs with an alternative version.
Here is a typical situation where you could use the Edit > Find Outline command:
 |
 |
| Original glyph | Modification |
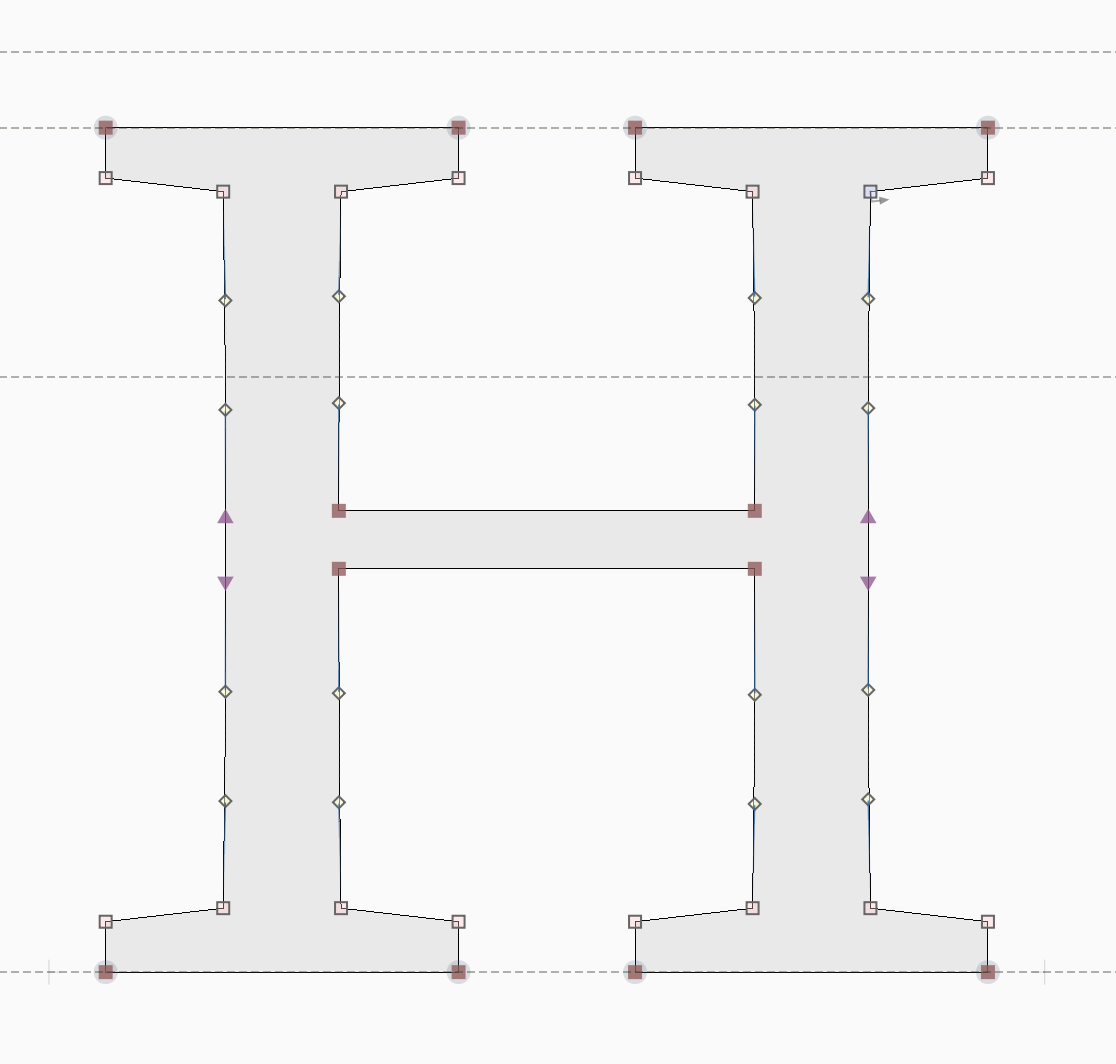
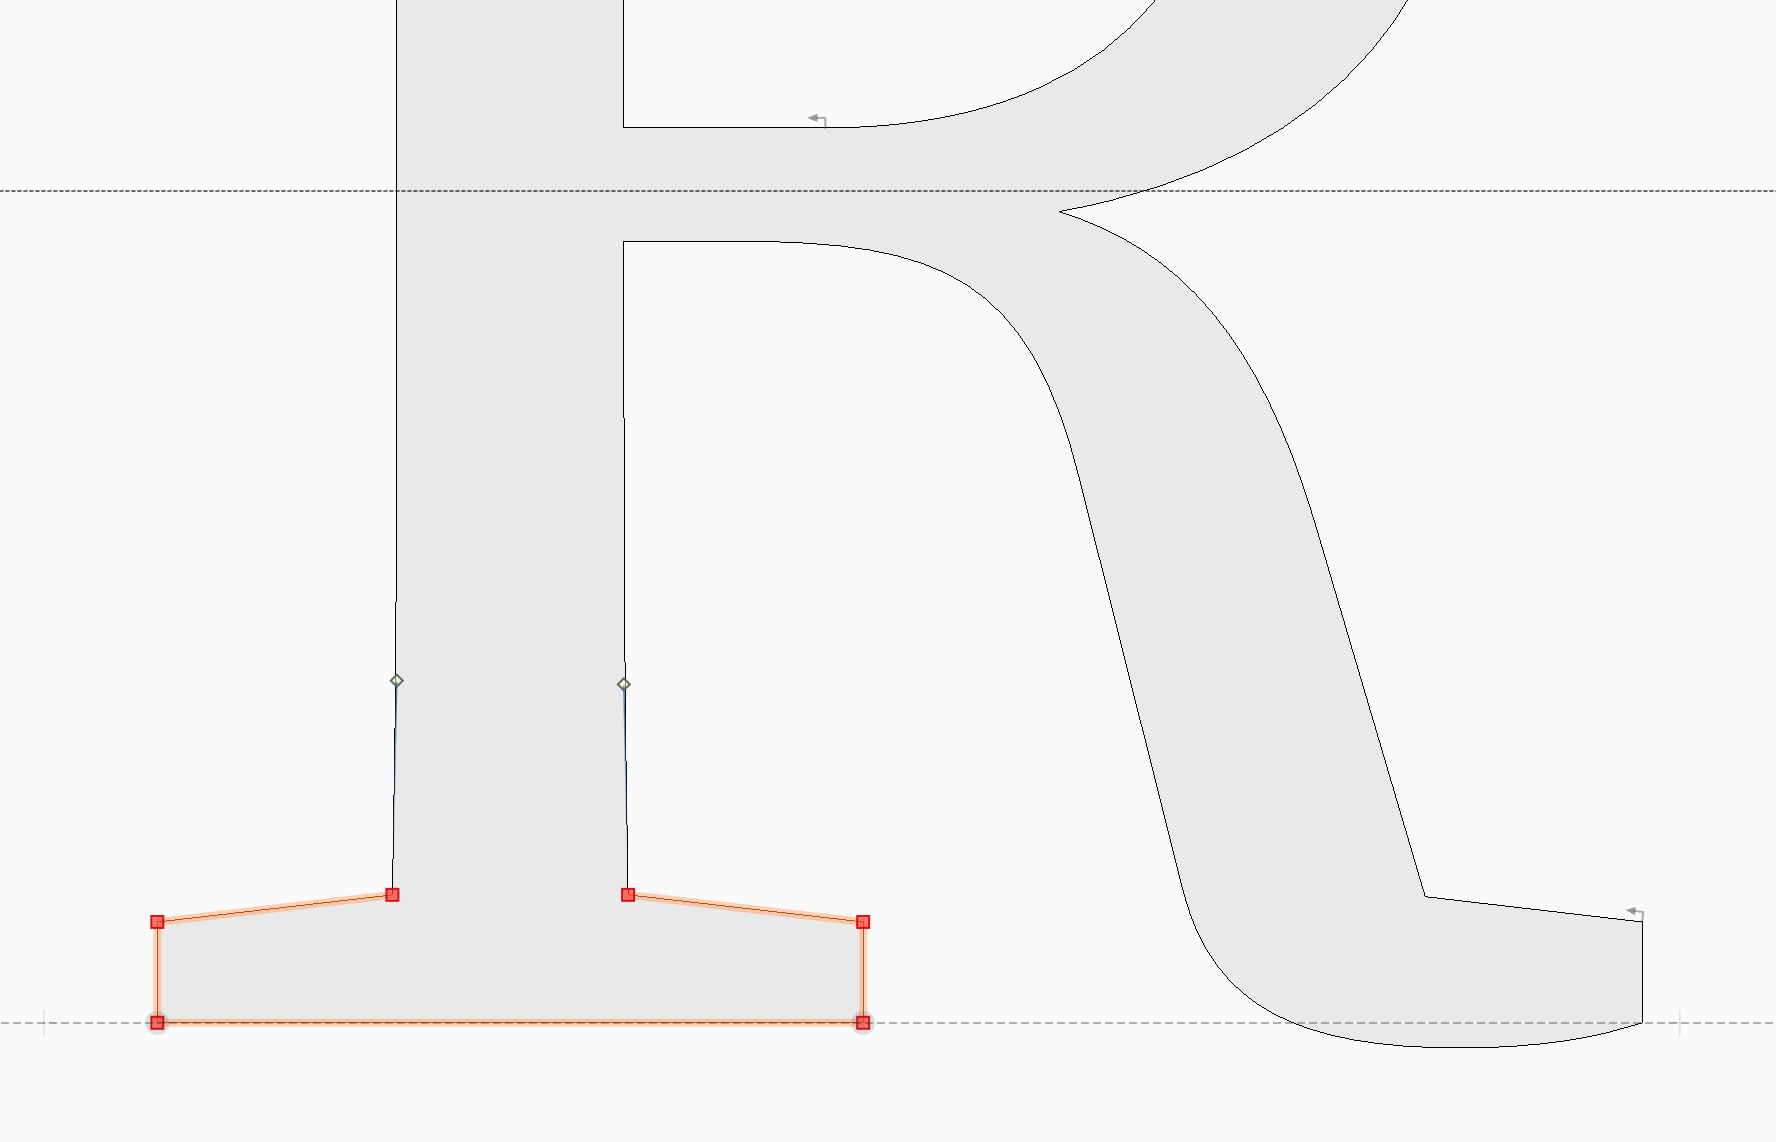
It is relatively easy to make the change above in a single glyph, but what if you want to do the same thing in all glyphs of the same font that have serifs?
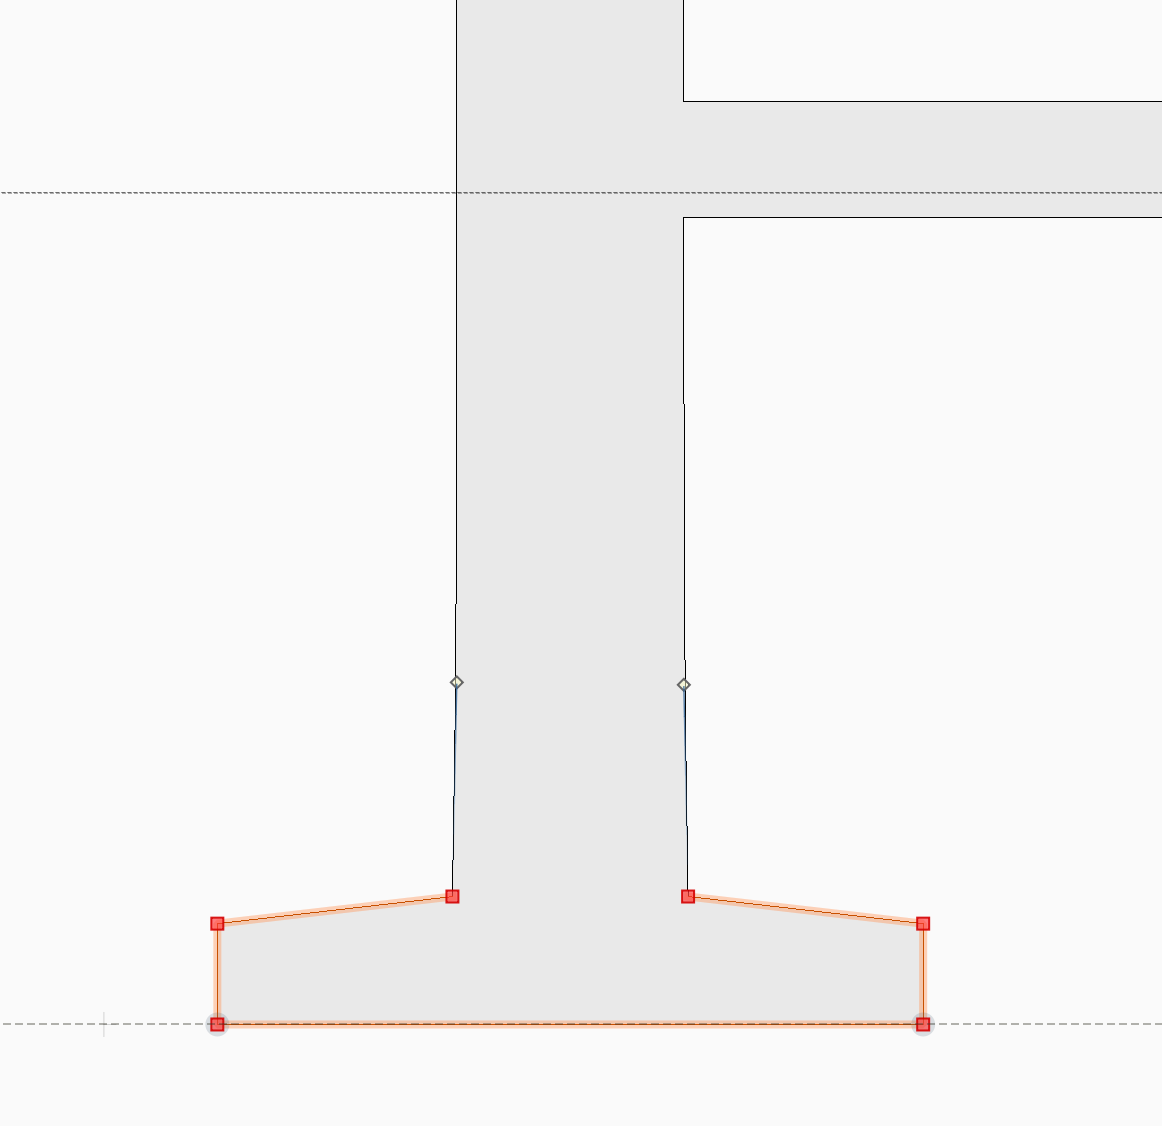
- Select the part of the contour that you want to find:
2. Copy the selection to the Clipboard with the Edit > Copy command.
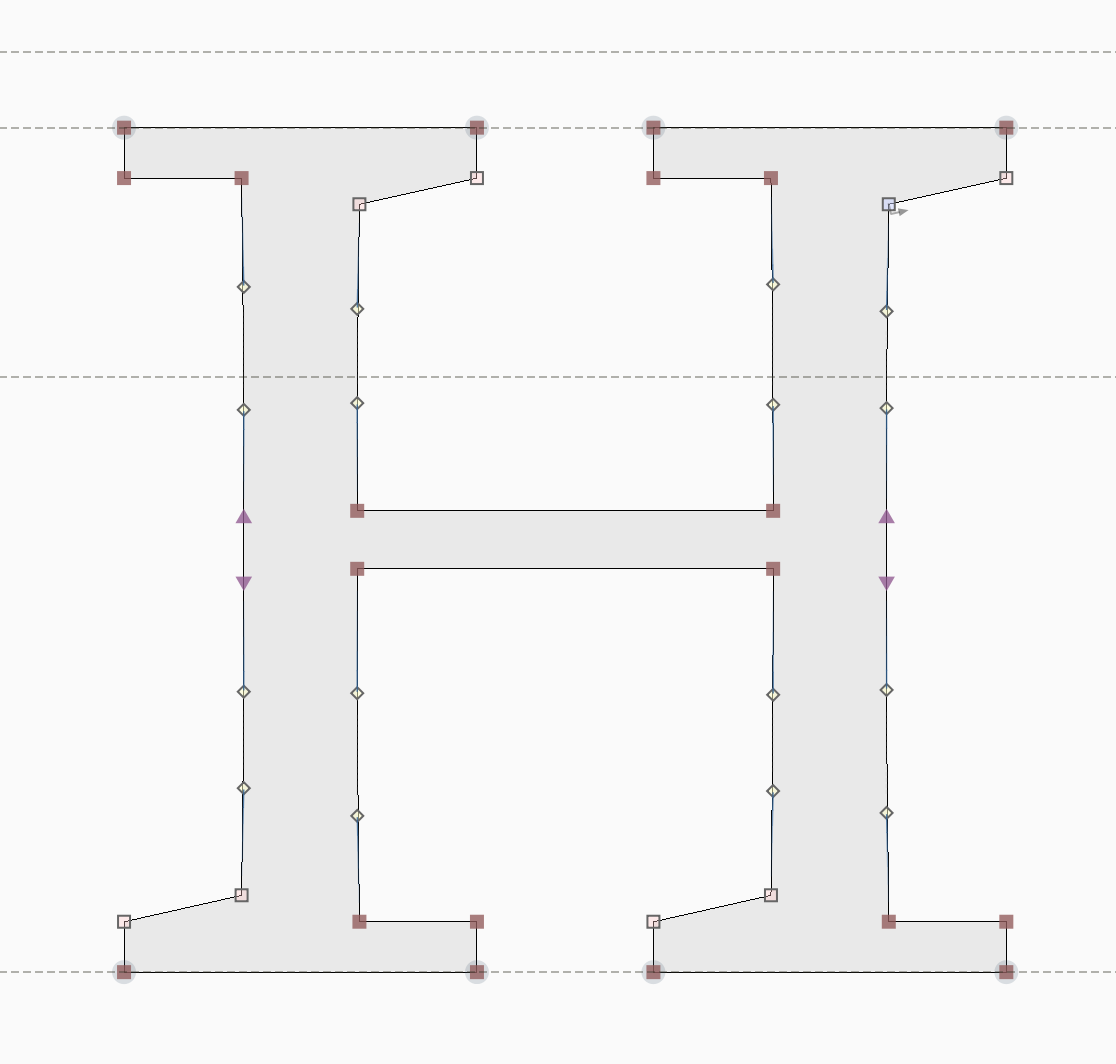
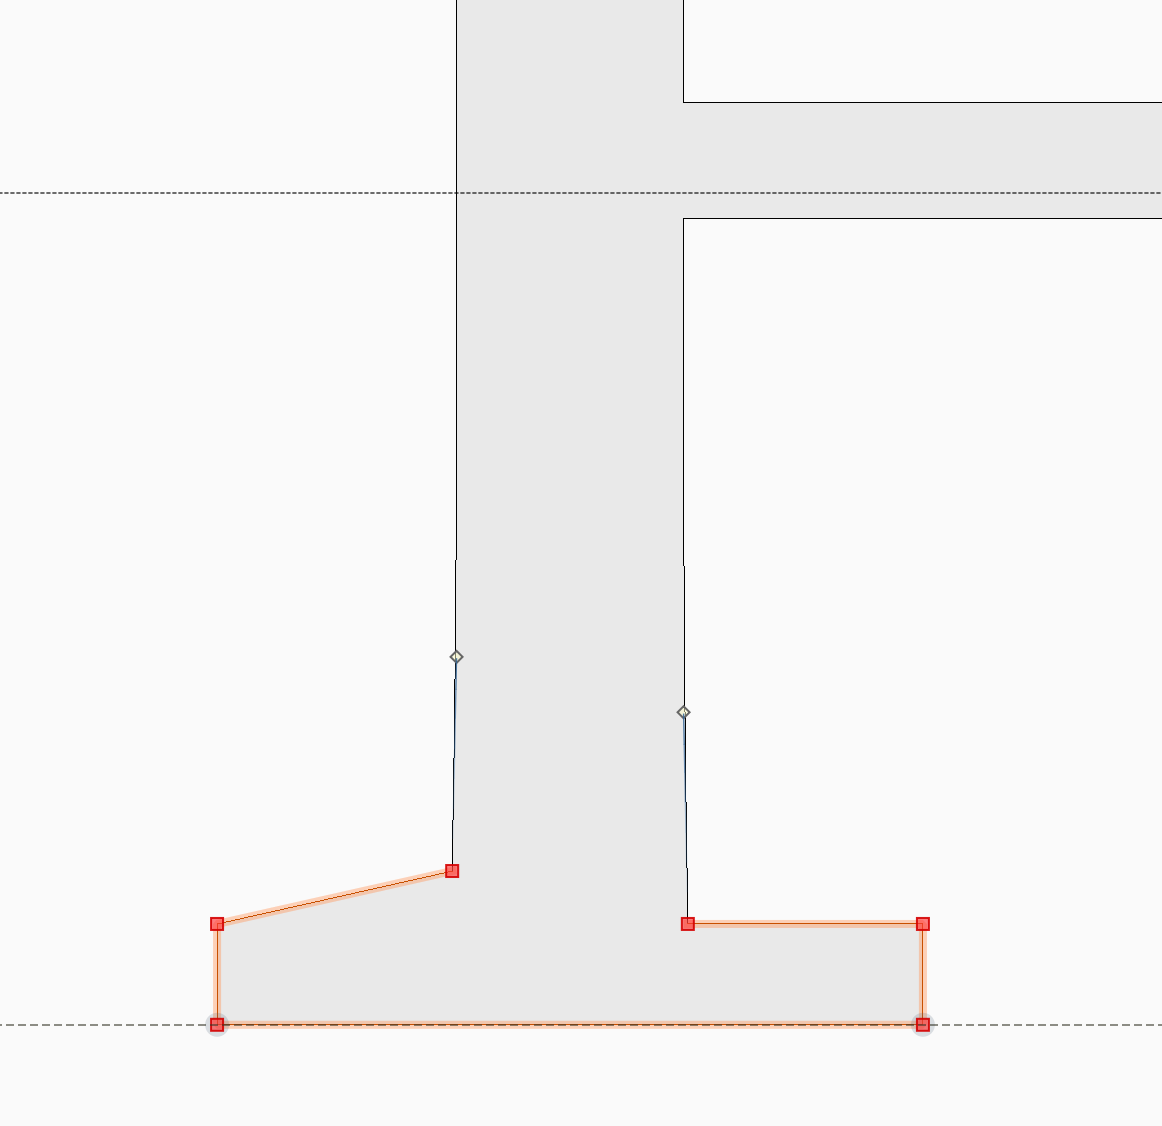
3. Modify the original shape as needed and select the new version of the serif:
4. Using the Edit > Find Outline command open the Find Outline dialog box:
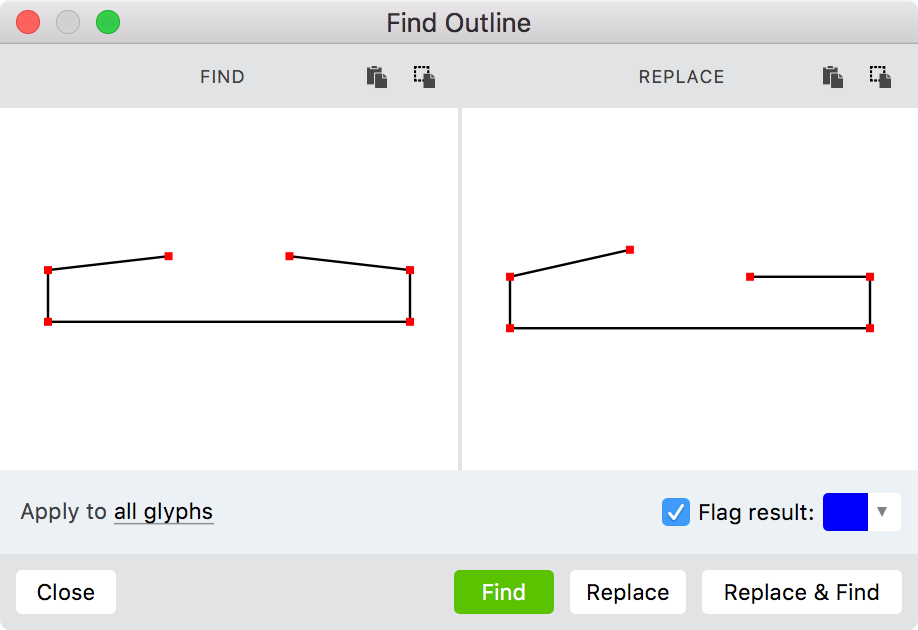
The left panel shows the path that FontLab will look for and the right pane shows the path it will use as the replacement.
The two buttons above each pane mean:
 - Place the Clipboard contents into the pane
 - Place the current selection into the pane.
In our sample you need to place the Clipboard contents (original path) into the left pane (click on the button) and the selection into the right pane () button.
You can also use the dropdown menu in the bottom-left corner of the dialog to choose whether you would like to run the operation on all glyphs or only on glyphs with a particular tag. If you choose tagged glyphs, then a text field will appear where you can type in the name of the tag.
- Click the Find button to find the next appearance of the source path in one of the glyphs. The first such glyph located will appear in the Glyph Window and the path that is found will be selected:
-
Click Replace to replace the old path with the new one or click Replace & Find to replace and find the next location of the path.
-
Check Flag Results to color-mark all found glyphs in the Font window (whether or not you replace them).
This operation can also be used for finding differences in contours which are supposed to be identical. For example, glyphs a agrave aacute acircumflex atilde adieresis aring amacron abreve if decomposed must contain two identical contours. To check if they are really identical:
- Color-mark
a agrave aacute acircumflex atilde adieresis aring amacron abreveglyph cells with some color, red, for example. - Open
aglyph and select the outer contour by double-clicking on it. - Using the Edit > Find Outline command open the Find Outline dialog box.
- The left Find pane contains the contour to look for. The right Replace pane is empty. Click on the button to place the current selection into the pane. Both panes are identical now.
- Click the Find button to find the next appearance of the source path in one of the glyphs. The first such glyph located will appear in the Glyph Window and the path that is found will be selected.
- Click Replace & Find to replace and find the next location of the path. The found contour will be replaced with the same contour.
- Repeate step 6 several times until the
aglyph appears in the Glyph window again. - Close the Find Outline dialog box and look at the
a agrave aacute acircumflex atilde adieresis aring amacron abreveglyph cells in the Font window. Those marked blue were found and replaced with the contour from theaglyph; any glyphs still marked red were not replaced, which means theiracontour must be different than the ones that were replaced.