Kerning panel»
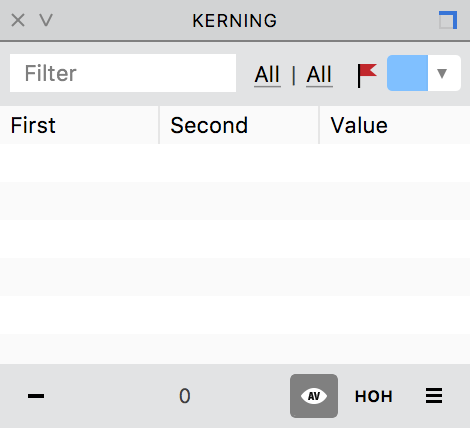
The Kerning panel Window > Panels > Kerning includes the list of kerning pairs defined in the current font. If the Kerning panel is empty this means the font doesn’t yet contain kerning. Besides the list of pairs the panel includes a Preview area and a Status bar.
As soon as you start kerning your glyphs in Kerning mode, which can be activated using the Kerning tool, you will see kerning pairs appear in the list.
To select a kerning pair, click on it. Once you click on a pair, you can also see its preview in the preview area below the list. If the kerning pair you have selected is comprised of kerning classes, the preview will show all members of the class.
To select multiple kerning pairs, hold down the Shift key and select adjacent pairs, or hold down the Cmd to select any non-adjacent pairs in the list.
To manually adjust kerning for selected pair(s), use the left and right ++Arrow++ keys. ++Shift+Arrow++ will change the kerning values by 10 units, ++Cmd+Arrow++ will change them by 100.
To edit the kerning value directly in the table, double-click on the kerning value, or select a pair and press Enter.
To put a kerning pair in the Glyph window, open a Glyph Window and select the pair in the panel. The same method works for multiple pairs as well.
To delete selected pair(s), click on the – button.
Local toolbar»
Filter»
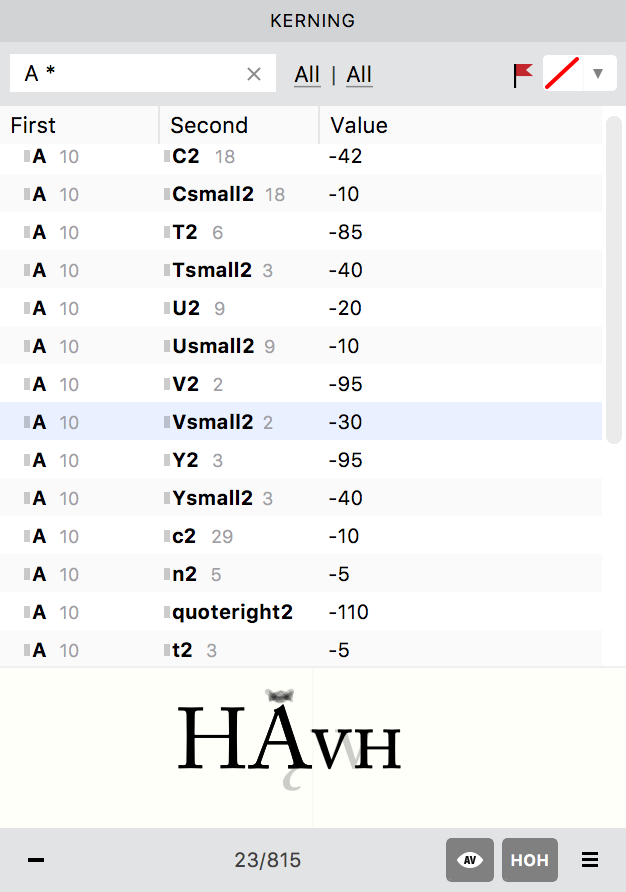
You can find a particular kerning pair using the Filter field in the local toolbar. Type the first letter of the glyph name in this field and only pairs with this glyph will be shown in the list. You can also use this field to see all the pairs that contain a particular glyph on the left or the right. For instance, if you want to see all pairs that have the glyph A on the left, type A * (note that there is a space between A and *) in the field. Similarly, to see all pairs that have the glyph A on the right, type * A.
Use the All | All dropdown menus to only show the particular sets of pairs:
- To show pairs that belong to the encoding, codepage, etc. currently selected in the Font window, choose Enc.
- To show only pairs including glyphs that were selected in the Font window, choose Sel.
The status bar at the bottom of the panel shows the number of pairs currently displayed and the total number of pairs in the font (separated by a forward slash):
Flag»
You can assign color marks to kerning pairs to differentiate them from one another by using the Flag ![]() option. To assign a color to a kerning pair, select it from the list in the main area of the panel and choose one of the standard colors or pick a custom color. If a kerning pair comprises kerning classes that have already been assigned colors, those colors will be shown in this panel. In case you mark such a kerning class in this panel, all three colors will be shown here:
option. To assign a color to a kerning pair, select it from the list in the main area of the panel and choose one of the standard colors or pick a custom color. If a kerning pair comprises kerning classes that have already been assigned colors, those colors will be shown in this panel. In case you mark such a kerning class in this panel, all three colors will be shown here:

Local Kerning menu»
The local kerning menu can be accessed using the hamburger button  at the bottom-right of the panel. The following operations are listed in the menu:
Import Kerning»
Use Import Kerning to import kerning from another font or font master. If the source font includes kerning classes they are imported as well. If you have more than one font open, or the current font has multiple masters, this option will be active.
Remove All Pairs»
Remove All Pairs removes all kerning pairs from the font. You may also need to remove the “kern” feature in the Features panel.
Compress to Class Kerning»
With Compress to Class Kerning operation, you can convert flat kerning (i.e. glyph-to-glyph kerning) into class kerning “safely” — only pairs where all class members have identical flat kerning values will be converted into a class kerning pair. If you have two kerning classes (AÁÄ and VW) you have two flat kerning pairs (AV and AW) with the same value, but there are no flat kerning pairs that involve the Á or Ä glyphs, then Compress to Class Kerning will produce one kerning pair between the A glyph and the VW class; so after the operation, the glyph combination ÄV will have no effective kerning.
The Flatten and Compress operations are fully reversible. When you have flat kerning, create some classes, then Compress and then Flatten, you will end up with the same number of pairs as you had before.
Flatten Class Kerning»
Use Flatten Class Kerning to convert all kerning pairs that involve classes (class-to-class, glyph-to-class, class-to-glyph) into a large flat list of glyph-to-glyph pairs. When you run this operation, the kerning classes aren’t removed. They are simply not used because the kerning pairs are now associated with glyphs. This operation was previously called Expand.
Extend Class Kerning»
With the Extend Class Kerning operation, you can convert flat kerning into class kerning “more aggressively”. This option is useful when you’ve kerned individual glyph pairs already (using flat kerning), and then you’ve created some classes or added glyphs to classes, and you want the glyphs in the new classes to inherit the kerning of the previously-defined individual glyph kerning pairs. If you have two kerning classes (AÁÄ and VW) you have two flat kerning pairs (AV and AW) with the same value, but there are no flat kerning pairs that involve the Á or Ä glyphs, then Extend Class Kerning will produce one kerning pair between the AÁÄ class and the VW class; so after the operation, the glyph combination ÄV will have the same effective kerning as AV.
Because the Extend operation is more aggressive, when you have flat kerning, create some classes, Extend and then Flatten, you’ll end up with more pairs than you started with. When there are some flat kerning pairs with one value and some flat pairs with another value, but glyphs that are kerned that way belong to the same kerning class, Extend will choose the more common value as the class kerning value, and the less common value as a series of exceptions.
Adjust»
The Adjust command brings the dialog box allowing you to automatically change kerning for selected or all kerning pairs:

You have three options here:
- you can adjust positive kerning values by several units or percents
- you can adjust negative kerning values by several units or percents
- you can round kerning values by the selected number of units
To apply changes to all pairs in the font, select the corresponding option and click OK.
Filter»
The Filter operation opens the dialog box allowing you to remove kerning pairs by some parameter:

You have the following options here:
- you can remove pairs with small values. For example, enter 10 to remove pairs with values from -9 to 9;
- you can remove pairs containing glyphs from different scripts;
- you can completely remove kerning for particular selected script(s).
For any case you can see the number of pairs which will be deleted.
For general information on regular and class kerning, see Kerning; for specific information on how class kerning is handled during font generation, see Using Kerning Classes; and for details on how to do regular and class kerning, see Editing Kerning.