Preview Panel
The Preview panel Window > Panels > Preview is a text editor within FontLab VI. It allows you to type in any text, using the current font—or using any font selected in the Fonts panel. You can change size, alignment, OpenType features, and more.
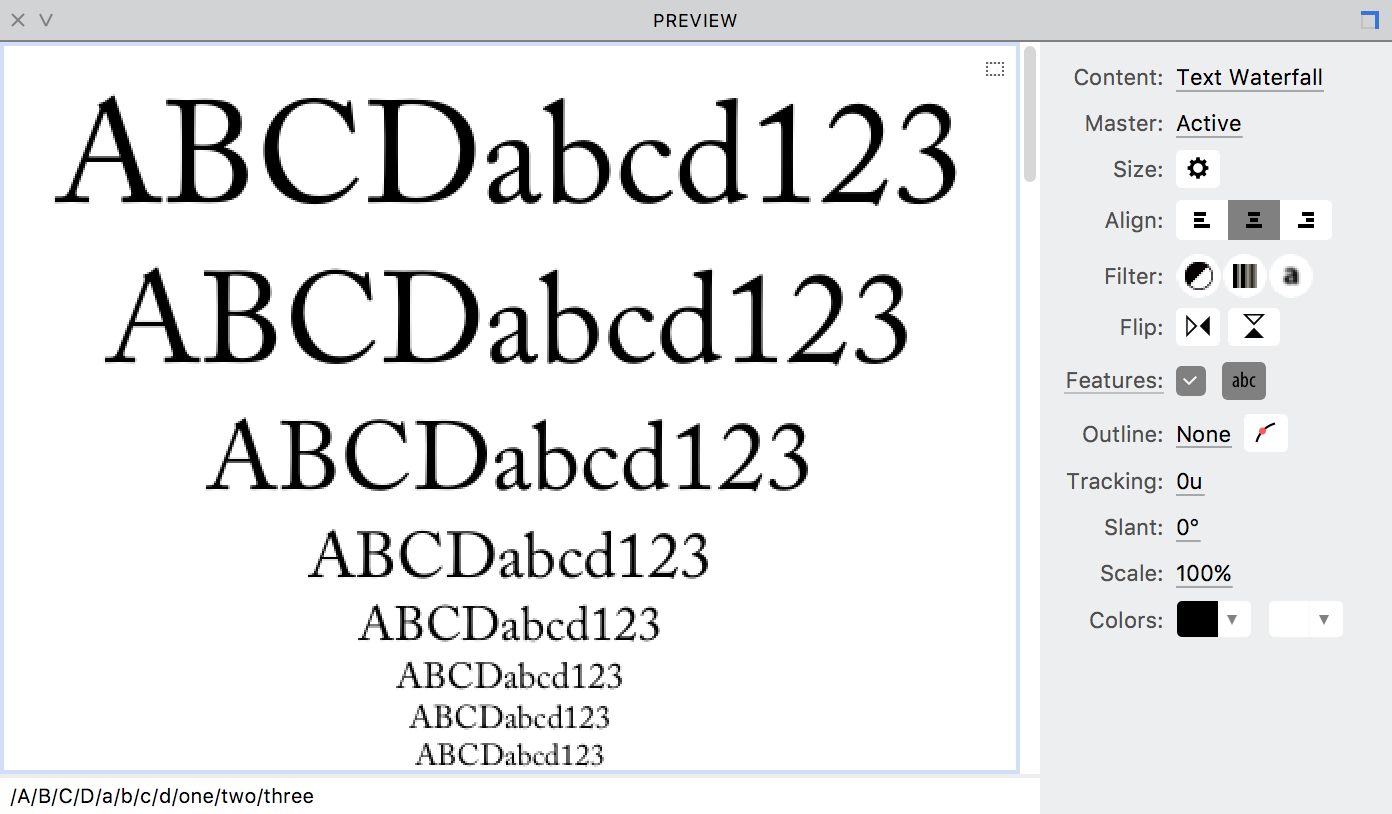
Click on the button on the top-right corner of the preview area to open/close the right-side panel, which gives the following options and features for previewing glyphs:
Content
You can use the Content menu to change how you would like to preview the content in the panel. The Preview panel allows two kinds of content: Current glyph(s) meaning the glyph(s) that is either currently selected in the Font Map panel or is open in the Glyph Window; and Custom text which is text you type or paste into the panel. The menu has the following options:
- Current shows the current glyph(s) from the Glyph window or glyph(s) selected in the Font window
- Custom allows you to type or paste your custom text into the panel
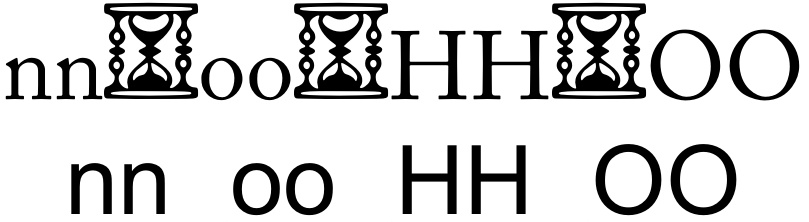
- Context shows the current glyph between the reference characters: nn@oo@HH@OO
- Text Waterfall displays custom text (or in its absence, the current glyph(s)) in descending sizes
- Glyph Waterfall displays the current glyph in descending sizes
- Clones shows all glyphs containing the same element references as the current glyph
- Anchors shows all virtual composite glyphs with the current glyph as base
Note that in Context, Glyph Waterfall, Clones and Anchors modes, which focus on a single glyph only, if more than one glyph is selected in the Font Map panel or open in the Glyph window, there is one glyph which is current anyway.
To copy the glyphs in the Preview panel to the Glyph window, open the Glyph window and use the  button, which is available in the Current, Custom, Context, Clones and Anchors modes. This function comes in handy if you want to have your custom text glyphs open for editing in a Glyph window, all at once.
To open one particular glyph in the Glyph window, you also can Cmd-double-click on it in the Preview panel. This doesn’t work in the waterfall views though.
Master
The Master menu allows you to choose between the active master of a variable font, and an instance. When “Active” is selected, the preview of the active master is shown when you switch between layers in the Layers and Masters panel. If the “Instance” is selected you can see a preview of the “virtual” instance.
Size
Use the Size menu to choose the font size of the displayed text samples. In the Text Waterfall and the Glyph Waterfall modes, you can set the number of steps in the waterfall, as well as the different text sizes within it. In the other modes, you can choose from a list of pre-defined sizes.
Align
You can left, center or right align the text you are previewing.
Filter
The panel offers three filters that can be applied to the glyphs you are previewing: Inverted Preview, X-Ray Preview and Blurred Preview. Inverted Preview lets you preview your glyphs in white on a black background. The X-Ray Preview offers you a “bird’s eye” view on your text. It allows you to see the visual rhythm of your text more clearly, so stems and counters are immediately visible. X-Ray can help you to achieve more balanced spacing and kerning. Blurred Preview lets you set a specified degree of blur on the glyphs. You can apply several filters at the same time.
Flip
Use Horizontal Flip and Vertical Flip to flip your glyphs, to judge your glyph shapes and their stroke balance better.
Features
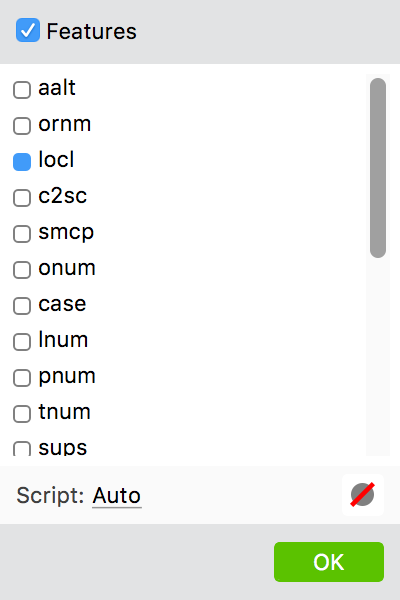
If you have OpenType features compiled they will work in the Preview panel as well, as long as the Features box is checked. To define what particular features should work in the preview, click on the Features link – the dialog box allowing to select/deselect features appears:
To see and edit the Unicode strings of the text in the panel, click on the  button. Once enabled, a bar will appear at the bottom of the panel with the Unicode strings. You type in this bar directly to edit the strings.
Outline
Use the Outline menu to choose if you would like to see the glyph(s) as regular (choose Outline None for that), or unfilled with a Thin, Normal or Thick outline. Select the button next to the menu to see nodes.
Tracking
Use the Tracking menu to change tracking by predefined values between -100 units to 100 units.
Slant
Use the Slant menu to slant the glyphs you are previewing by predefined values between -15° to 15°.
Scale
Use the Scale menu to preview the glyphs as horizontally scaled. 100% means that the glyphs are not scaled at all, negative values will make them narrower, and positive values will make them wider.
Colors
Changing the foreground and background colors helps, for example, to simulate low-contrast rendering.
If some glyphs are absent in one of the selected fonts the Preview panel will show them gray or completely empty: