Classes panel»
The Classes panel Window > Panels > Classes helps you define, view and edit the OpenType and kerning classes in your font.
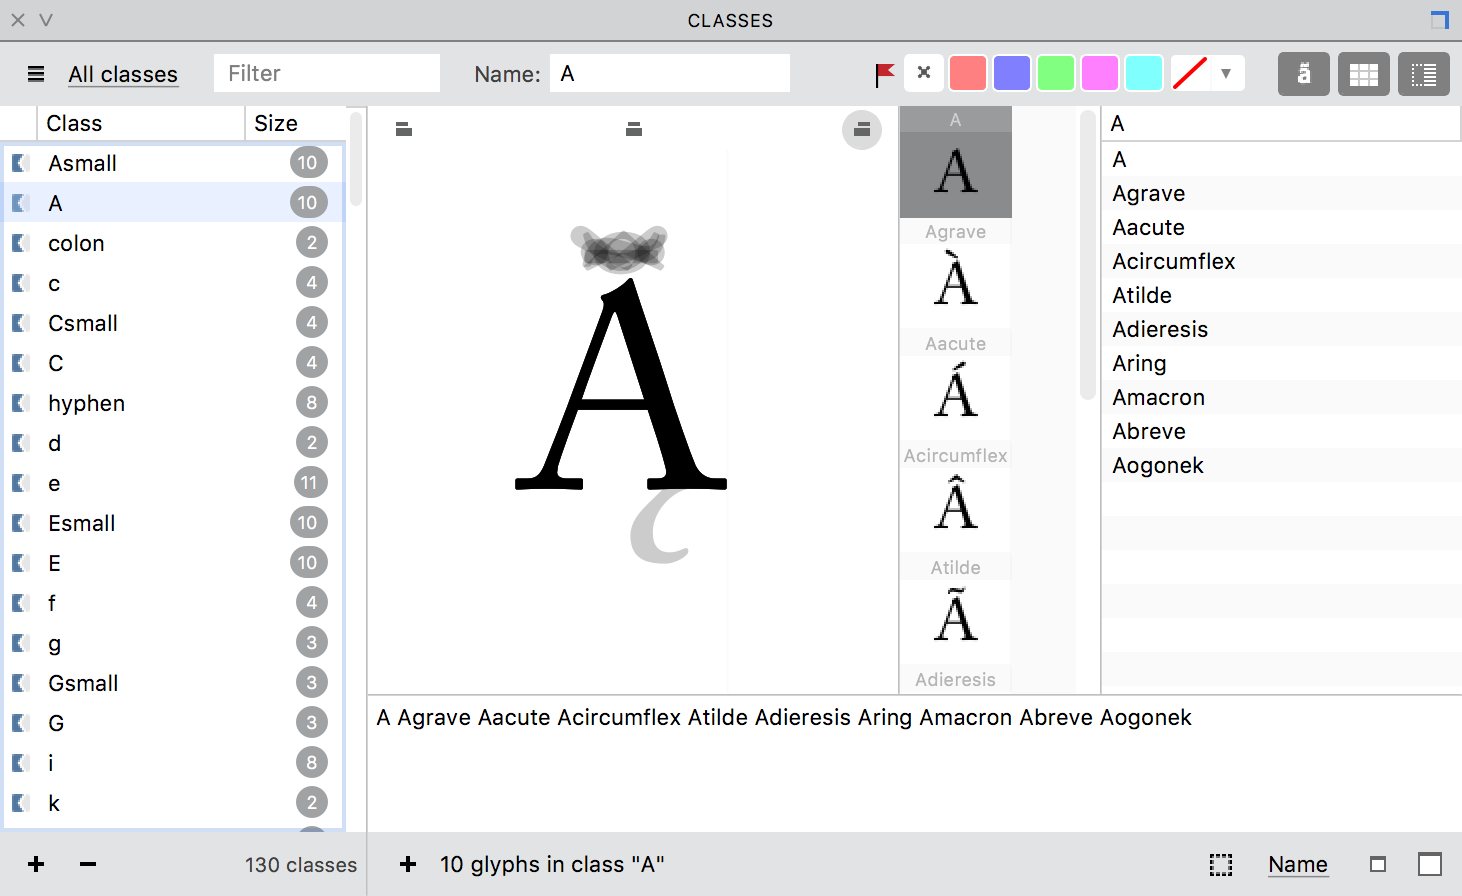
This panel contains a local toolbar, list of classes, status bar and three view modes: Preview area, Table area and List sidebar.
Local toolbar»
On the toolbar there are several buttons and fields:
- Hamburger menu includes commands for classes import, creation, and other services
- All classes is the default selection of the menu to filter what classes or tags are shown in the list. You can choose between all classes, first kerning classes, second kerning classes, first and second kerning classes, OpenType classes, tags and virtual tags.
- Filter field can be used to type in a class name to quickly find it
- Name field is for renaming classes and tags. Select a class or tag in the list on the left, and type in a new name in this field.
- Flag options to assign colors to classes
- Preview area button toggles the preview of all glyphs included in the selected class or tag group
- Table area button toggles the table of glyph cells included in the selected class or tag group
- List sidebar button toggles the list of glyph names included in the selected class or tag group
Status bar»
On the left of the status bar under the list of classes, apart from showing the total number of classes and/or tags, there are two buttons: + creates new class or tag and – - removes the selected class(es) or tag(s). On the right, the status bar shows the number of glyphs in the selected class or list, along with the buttons to increase/decrease the size of cells in the Preview Area and a menu, where you can select whether you would like to see the name, unicode or character in the List Sidebar. In addition, the + button lets you add the current glyph to the selected tag or class. The last button in the status bar is Select Glyphs, denoted by  . Click on the Select Glyphs button to select glyph cells belonging to the currently selected classes. After cells are selected in the Font window you can color mark them or apply any other glyph operation.
View modes»
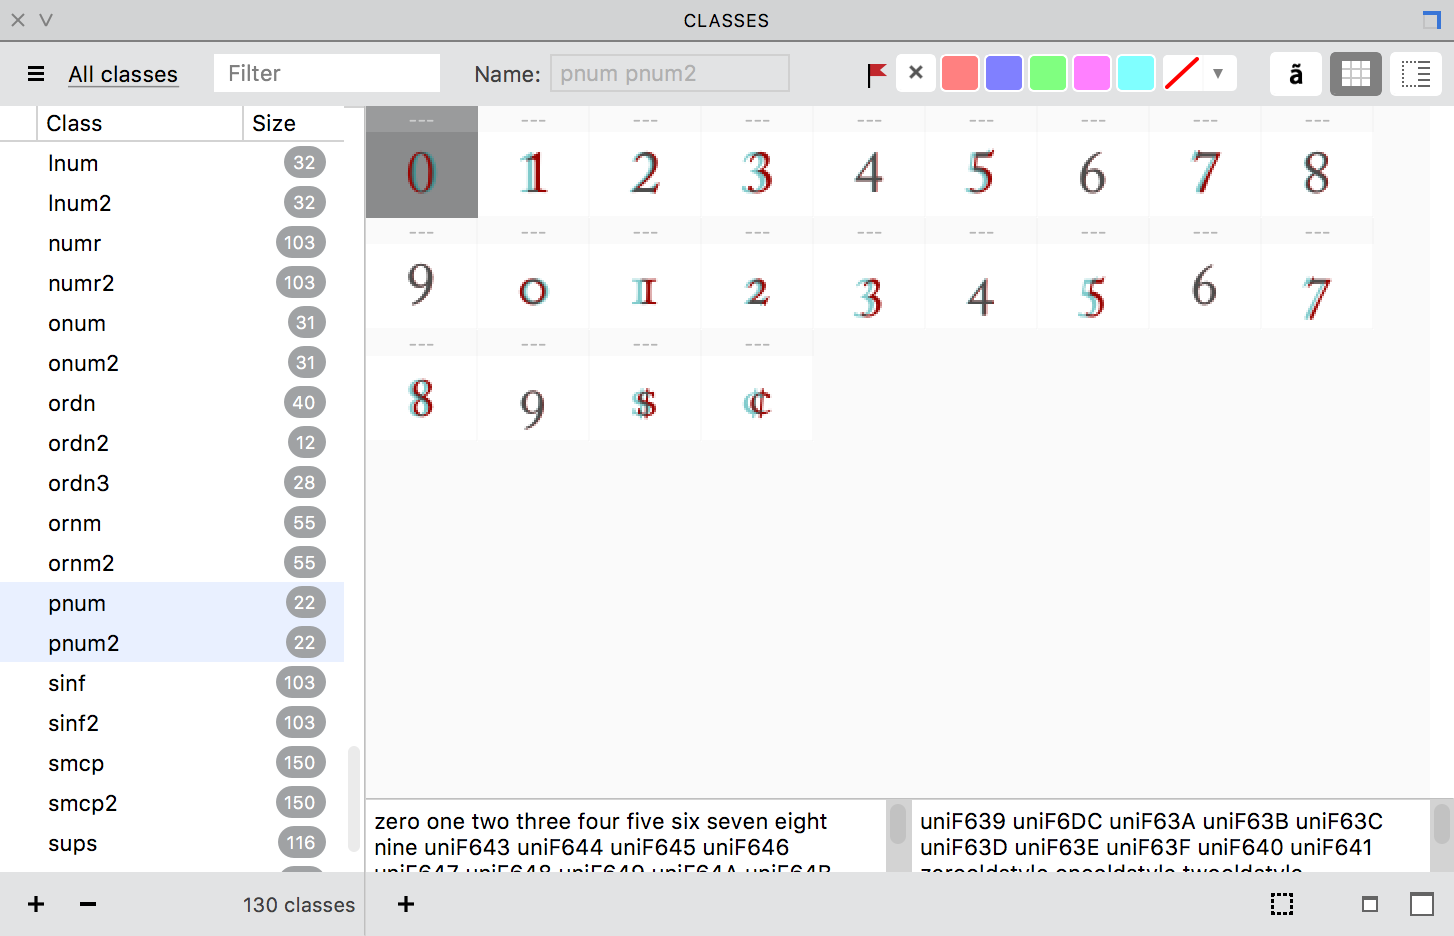
There are three view modes in the Classes panel controlled by the following buttons: 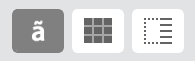
Preview area»
The Preview area shows the preview of all glyphs included in the selected class(es), and can be opened by clicking on the  button in the local toolbar.
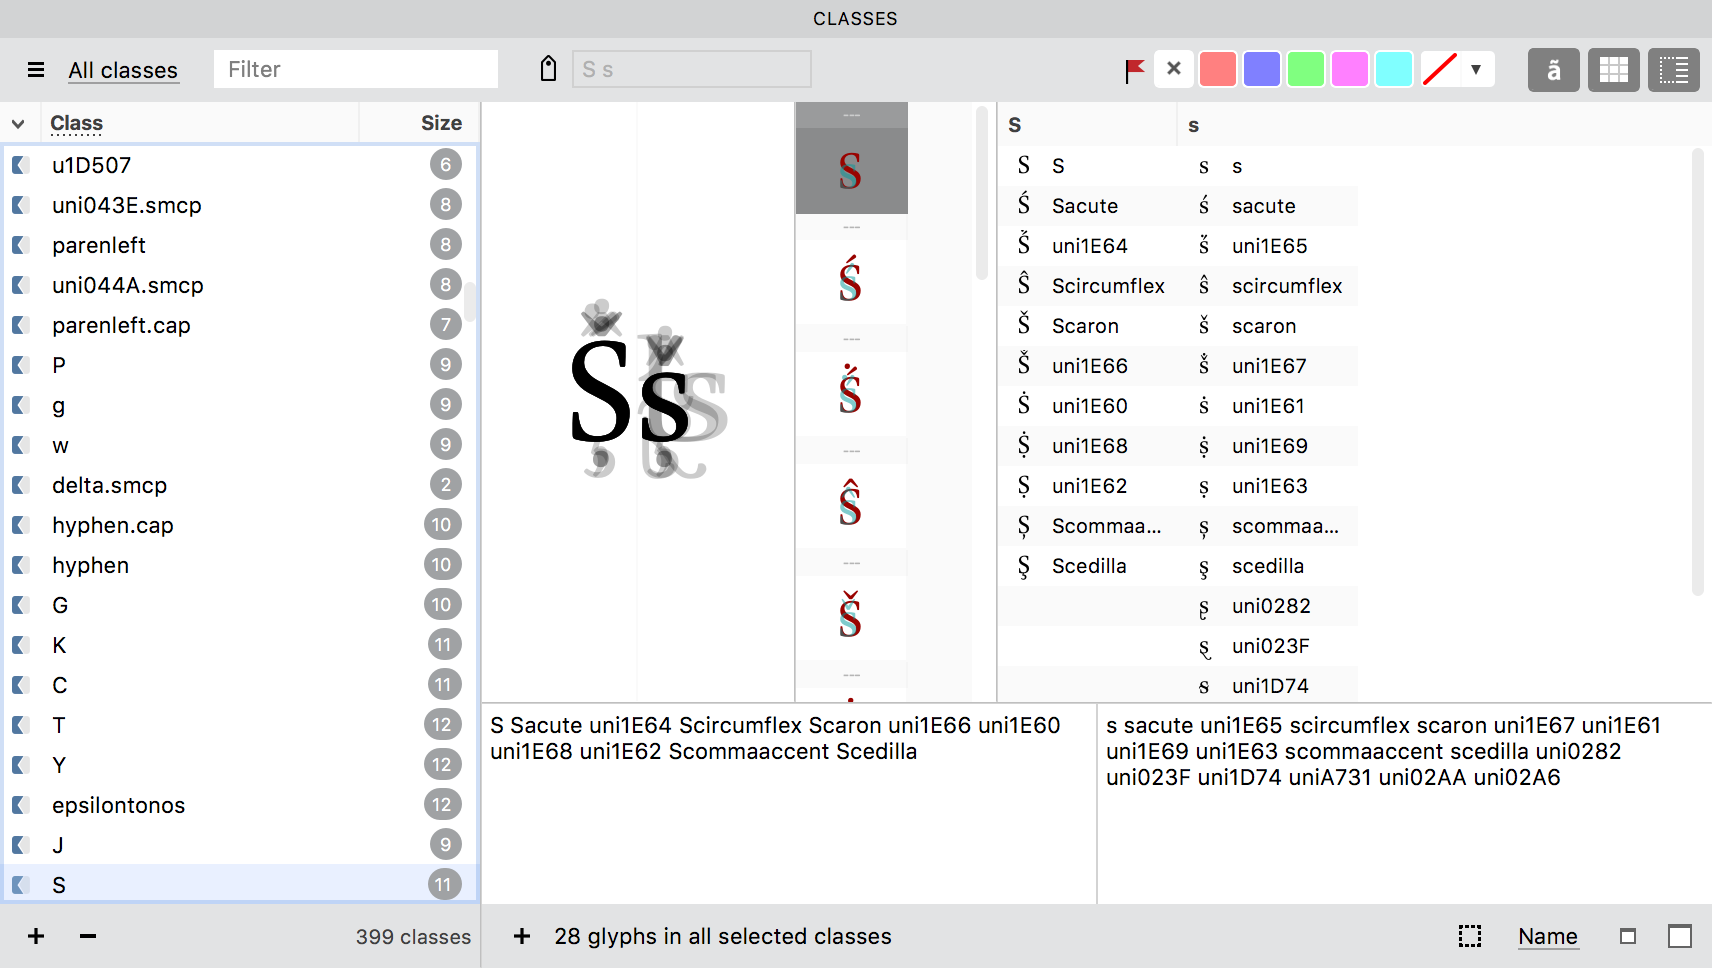
This mode is useful for previewing kerning classes. To preview kerning classes in this mode, select the first (left) kerning class and then Cmd-click to select the second (right) kerning class, or select the same classes in the Kerning panel. Because the Classes preview and Kerning panel work in sync, when you select a pair of kerned classes in the Kerning panel, it is shown in the Preview area of the Classes panel. Both classes will appear in the Preview area, and if kerning is defined for them, it will be applied to the preview:
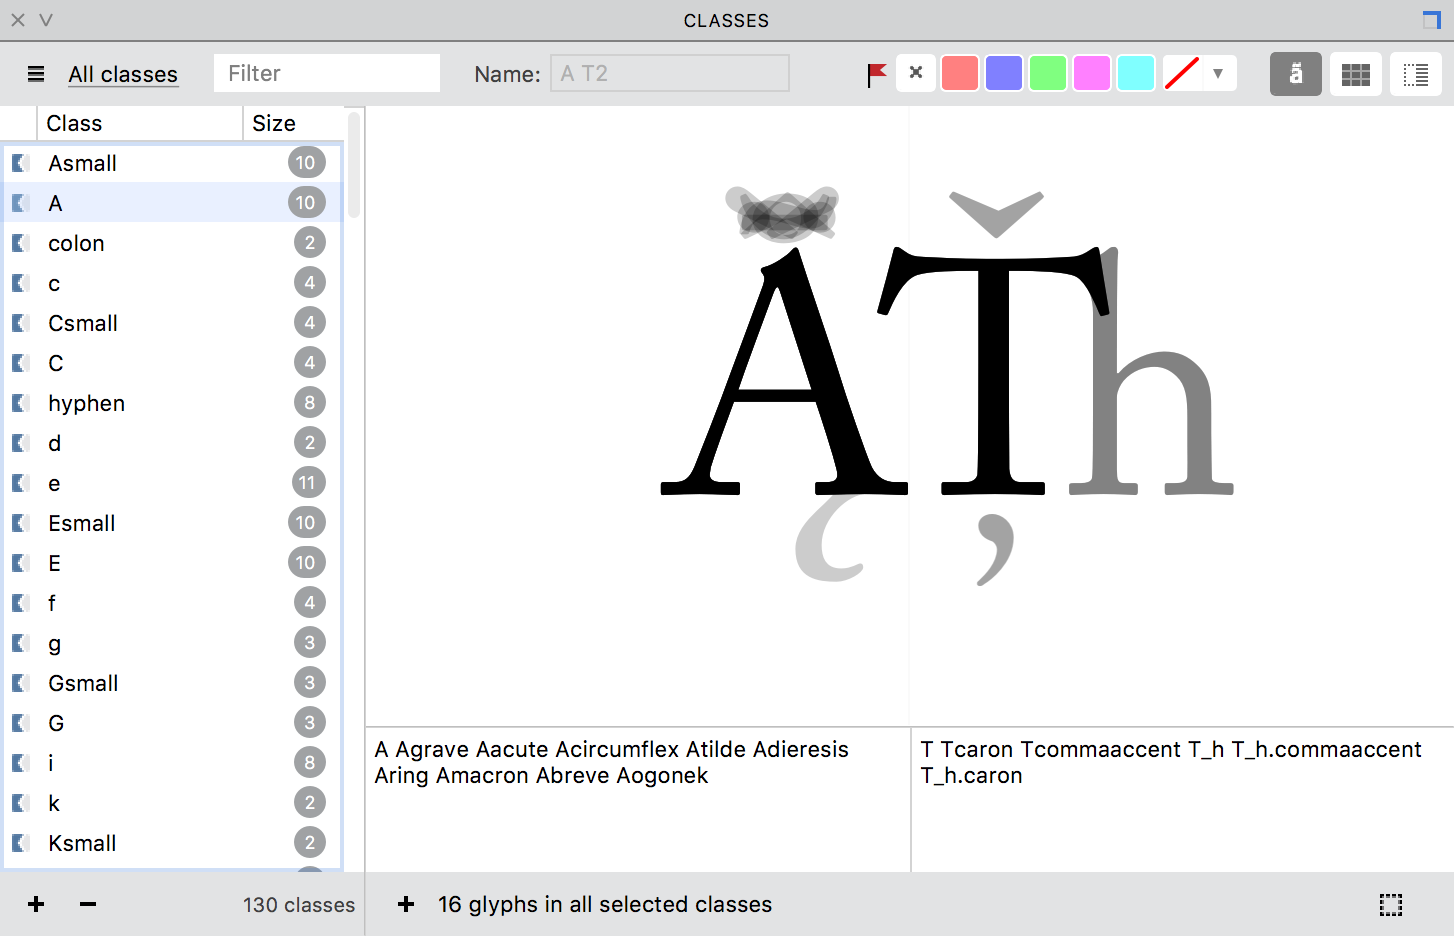
Table area»
The Table area shows glyphs belonging to the selected class(es) as cells along with their names, and can be opened by clicking on the  button in the local toolbar.
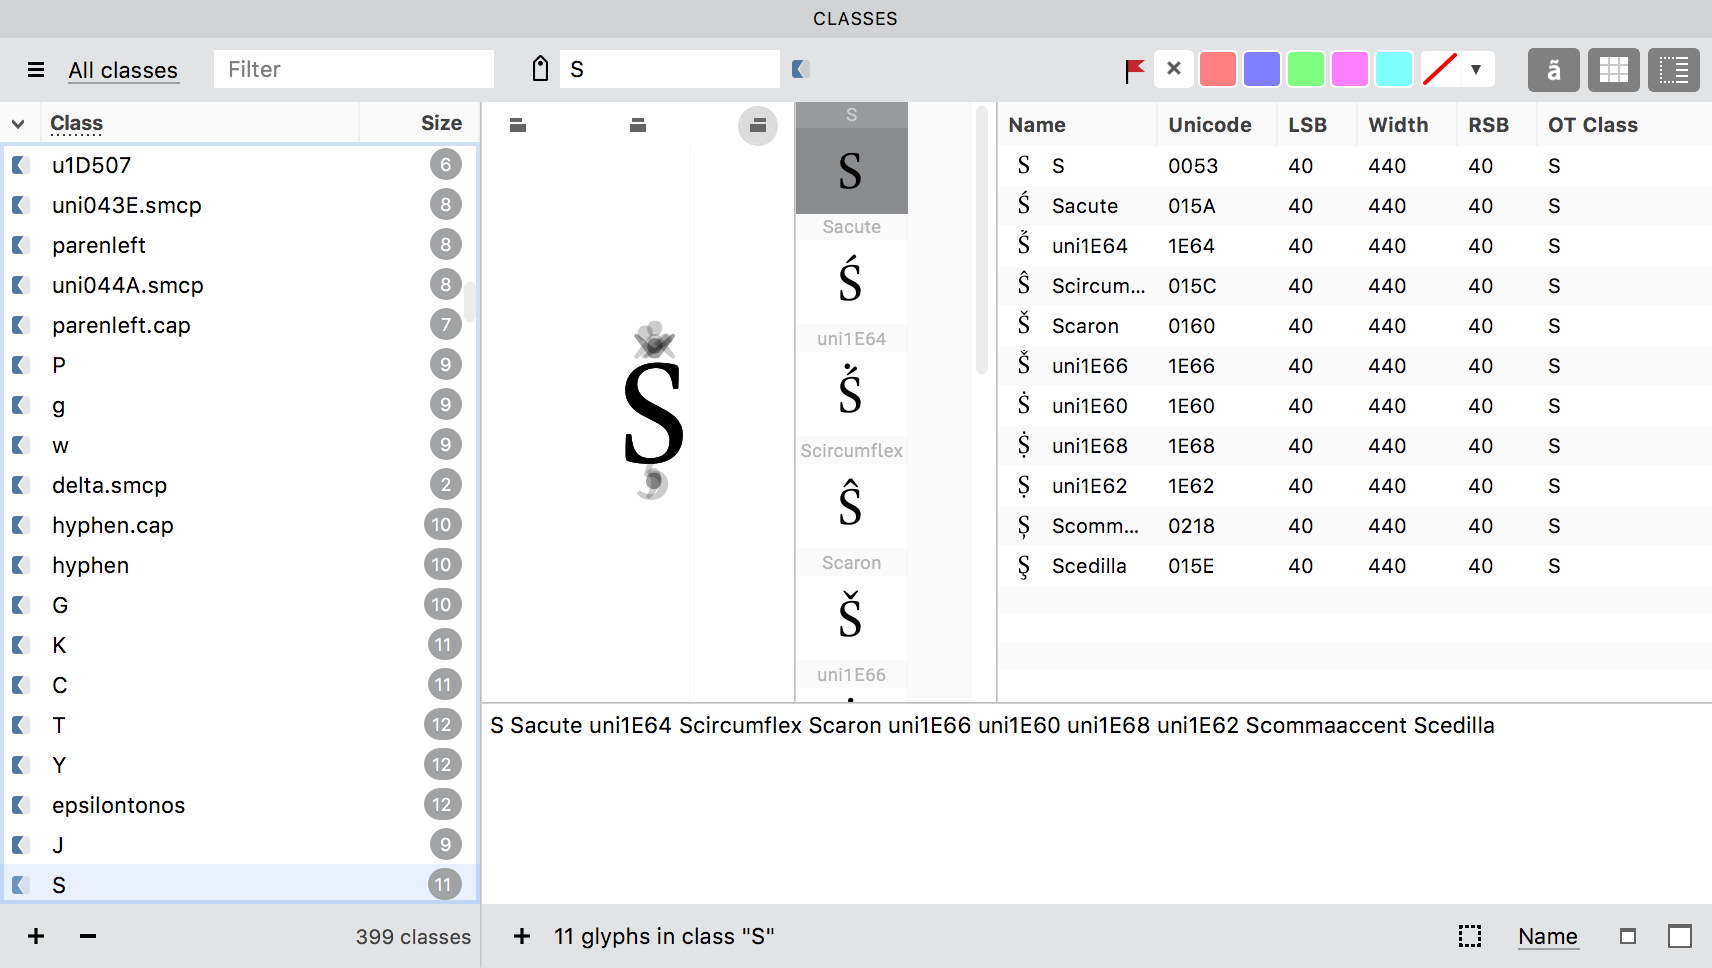
This mode is useful for previewing OpenType classes that are being used for substitution rules. If two or more classes are selected, glyph cells from the selected classes are shown overlapping in the cells. This makes it easy to verify that classes for substitution have the same set of glyphs.
List sidebar»
The third view mode is the List sidebar which is a list of class names. It can also help to compare and synchronize two or more OpenType classes:
The list includes Name, Unicode, LSB, Width, RSB and OT Class, and can be sorted by any of these criteria. Unicode values are shown in uppercase, and variant glyphs without Unicode (such as “E.smcp”) show the Unicode of the base glyph. Glyphs can be selected, reordered and deleted from classes right in the List view.
Importing classes»
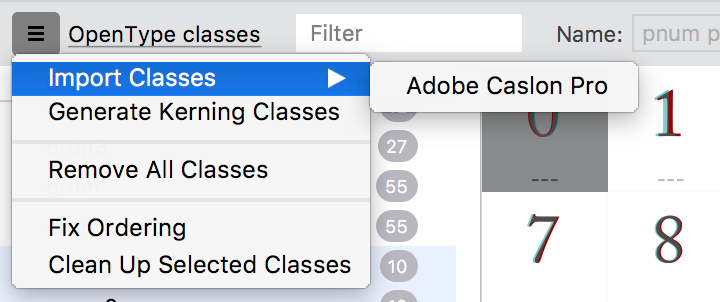
To import classes from another open font (or font master), select the Import submenu in the panel’s local menu. This submenu contains names of all opened fonts/masters:
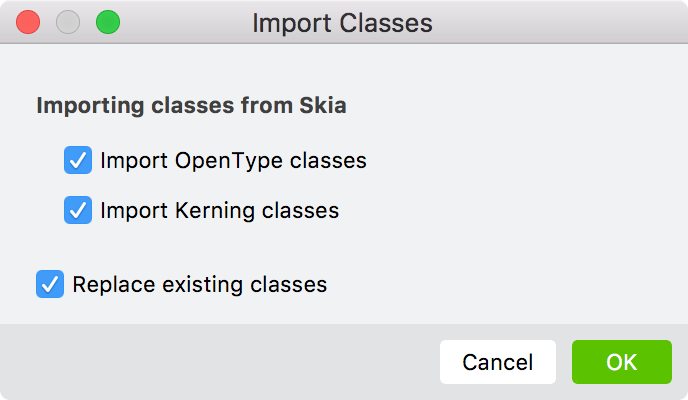
Selecting one of the fonts/masters opens a dialog box, where you can choose what classes will be imported and how existing classes will be dealt with:
Copying classes»
To copy-paste classes from one font (or font master) to another font (or master), select classes in the list, choose Edit > Copy Classes, switch to another font, click on the classes list and choose Edit > Paste Classes.
Defining a new class or tag»
To define a new tag or class, click on the + button below the list of classes on the left of the panel. Clicking on this button brings up a dropdown menu where you can select whether you want to add a 1st Kerning Class, 2nd Kerning Class, OpenType Class or Tag. Select the option you need. Once you do that, a new class or tag with a default name will be created, with the glyphs selected in the Font Window as its members.
You also can drag-drop the selection from the Font window to the list of classes.
Modifying classes or tags»
To rename a class or tag, select it in the list, and enter a new name in the Name field in the local toolbar of the panel and click anywhere to apply the change.
To add glyphs to a class or tag, enter glyph names to the text field under the Table area; or select glyphs in the Font Window and press the + button under the view area; or drag-drop glyphs from the Font window to the Table area or List sidebar. If you are dragging-dropping glyphs from the Font Window, you can use the window’s Search field to find the glyphs you are looking for.
Sorting classes»
To sort classes by their type and names, click on the Class column title in the list of classes. OpenType classes sorted by their names go first in the list, then 1st classes and finally 2nd classes.
To sort classes by the number of members, click on the Size column title in the list of classes.
To manually reorder classes, just select them and drag-drop lower or higher in the list.
Merging classes»
To merge two or more classes, select them in the list sidebar, click on the Select Glyphs button, and then on the + button under the Preview/Table Area. The selected glyphs will be added to the first class that you’ve selected, and — if this was a kerning class — they will be removed from the other kerning classes of the same type.
Marking classes»
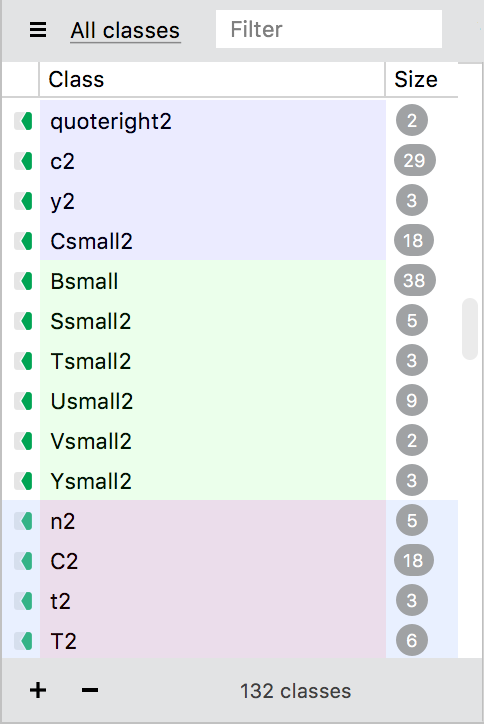
Kerning classes are already marked in the Classes panel. If a class has the  icon on its left, it is the 1st kerning class, and the
  icon on the right means that it is the 2nd kerning class. In addition to these icons, you can assign color marks to classes to differentiate them from one another using the Flag options in the local toolbar:

The result of marking glyphs looks like this:
Removing classes and tag groups»
To remove a class or tag group, select it in the list and click on the – button.
To remove all classes, click on the local menu button and choose the Remove All Classes command. It will remove classes but leave the tags intact.
Note that virtual tags cannot be removed at all.
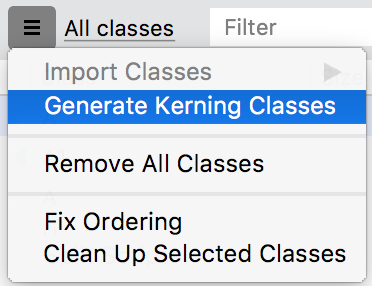
Generating kerning classes automatically»
FontLab VI can automatically generate kerning classes for you if you would like. Click on the local menu button in the Classes panel to open the menu and choose the Generate Kerning Classes command:
Clean Up Selected Classes»
The Clean Up Selected Classes command will remove any glyphs from selected classes that are not present in the font (remember that classes can be defined using glyphnames and not all glyphs must necessarily exist in the font).