Using the Metrics Table»
Opening the Metrics table»
The Metrics table is an optional feature for spacing and kerning, which can take up part of the Glyph Window. It can be easily switched on and off with the View > Metrics Table menu command or the  button in the Property bar of the Glyph window. When working on glyph contours you usually do not need the metrics table and can switch it off. It is automatically turned on when you toggle Spacing mode.
You may control the appearance of the Metrics Table using the small arrow in the top-right corner to move it to the top or bottom of the Metrics window.

Using the Metrics table»
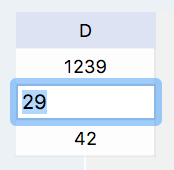
Click on any number in the table to enter an exact value. Just use the keyboard to adjust the number and press the Return or Enter key when you are done. Using the Esc key or a click outside the cell you are editing will cancel the changes.
Use the Up and Down arrow keys on the keyboard to move up and down in the table. Use the Tab key to move right and Shift-Tab to move left.
Linking Metrics»
In the Metrics table, you can use glyphnames as a reference instead of the real numeric values. We call this linking metrics. For example, if you want to set the left sidebearing of the glyph ‘D’ to be equal to the left sidebearing of the glyph ‘B’, click on the cell located at the intersection of the D column and the third row
and, instead of the numeric value for the metric, enter “B”. When you click Return key to accept changes, the left sidebearings of ‘B’ and ‘D’ will be linked. Now when you change the LSB for B it will be changed for D as well.
The Width, LSB and RSB fields can accept basic expressions using basic math operations: + - / and *. Please see additional information at Linking Metrics.