Create Parallel Contour»
The Create Parallel Contour operation can be used to create Contours that are parallel to an existing contour. The method of selecting contours for processing this operation is simple. All contours that have at least one node selected will be taken into account. If no nodes are selected, the whole glyph outline is processed.
Select the contours that you want to process, and choose the Contour > Create Parallel Contour command from the menu. You get a dialog box for specifying options:
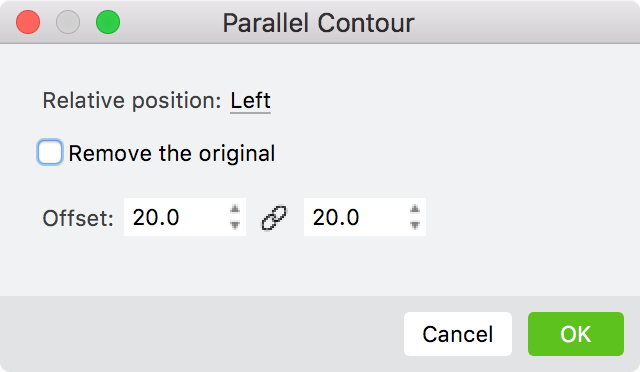
- The Relative position option lets you specify the side of the original path at which the new contour will be created. The side depends on the direction of the original path. The Path direction can be seen as a small arrow at the start point of the contour. Given a closed contour with PostScript curves, the default “left” side of the path creates a new contour inside the original, and the “right” side will create one outside the original.
- Select the Both option to generate contours on both sides of the source contour.
- Contour offset defines the distance from the source contour at which the new path will be created.
- Use the Uniform option to have the same distance set for X and Y directions.
- Check the Remove the original check box to remove the source contour(s), and keep only the generated contour(s).
Below are some samples of what you can do with the parallel path feature and editing tools:
- If you start with the letter B, making one parallel contour towards the left produces an inline effect on the glyph (towards the right would produce an outline effect).
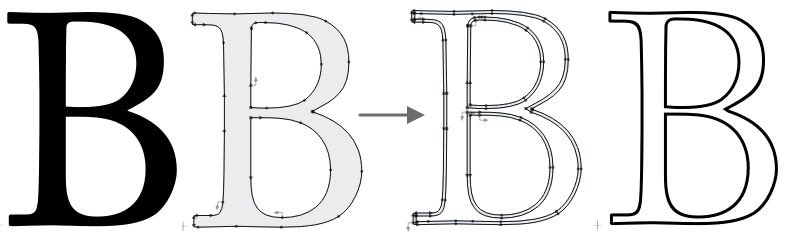
- Plain B to outlined B
- If you start with a circle, repeating the command several times can help you draw concentric rings (like a target) faster
- Target