FontLab VI Multi-Seat License Setup»
This particular instruction is for those who purchased a “floating” (multi-seat) serial number and need to setup the default license manager for it. By default, we suggest you use RLM (Reprise License Manager) software. But you also have an alternative as we support KeyServer (Sassafras Software) as well. Please contact Fontlab Support if you need to switch from RLM to KeyServer (or back).
Installation»
To install FontLab VI in a lab, you need to download the file multi_license_activation_package.zip.
This file includes:
- RLM (Reprise License Manager) Software - the server app for managing floating (multi-seat) licenses. You must install this first. We deliver both the Mac and Windows version of RLM in this package. If your Server OS
differs from your workstations’ operating system, just install the appropriate version for the server. - RLM Documentation from Reprise Software. You can refer to it as well.
- Template license file “com.fontlab.fl60.lic” for workstations.
- These instructions.
License Manager/Server Setup»
Attention
Please - you should NOT run Fontlab VI and enter the serial number in the Activation dialog prior to the License Server setup.
To setup the License Server and activate your license please follow these steps carefully:
- Choose a computer to be the License Manager Server. It can be the same computer where you will work with FontLab but usually it will be a dedicated Server.
- Copy the RLM folder (corresponding to your server OS) from this package to any place on your Server computer. We recommend you use the common folder for Server applications. This can be the Applications folder on macOS or Program Files on Windows.
- Launch the executable file rlm (rlm.exe) found in the RLM folder. A Terminal session will be opened with “Server Started” printed in the window.
- Open your browser and start the Reprise License Server Administration tool – just enter localhost:5054 in the address string and press Enter.
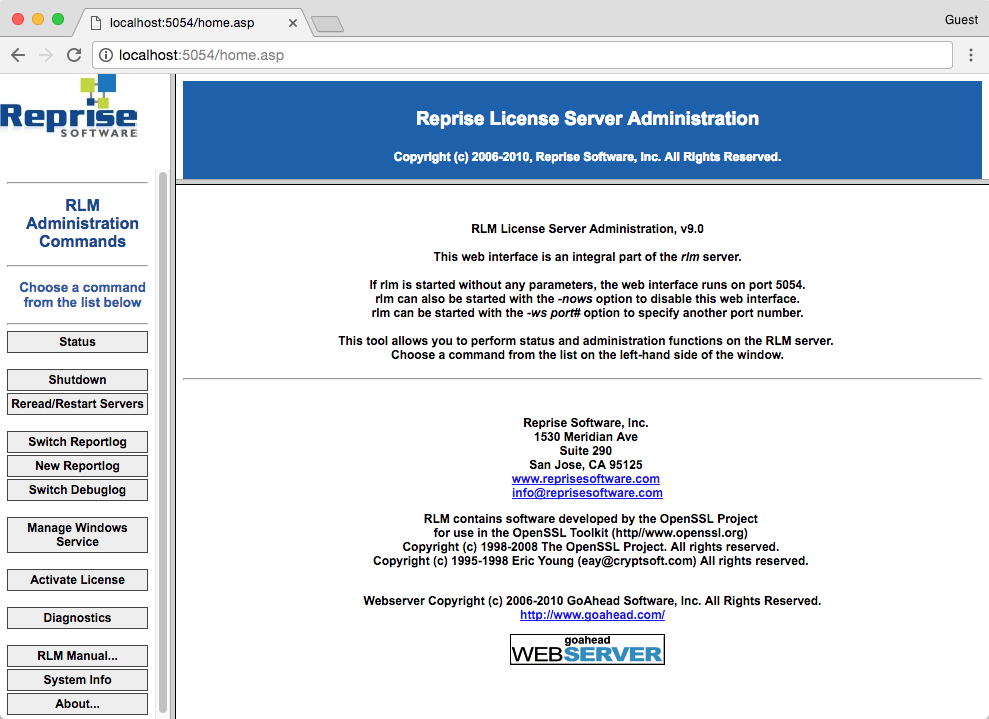
4.1. Click on the ACTIVATE LICENSE button in the left side menu and then on Begin License Activation.
4.2. Choose Other (URL) and type www.register.fontlab.com in the text box.
4.3. Set ISV to: fontlab and enter your serial number in the License Activation Key field.
This is the only place where you will enter the serial number. You will not need to enter the serial number on the workstations.
4.4. In the License Server or Node-lock hostid text box RLM automatically prints the host ID of the computer. This host ID will be used as an anchor for the generated license.
You should enter the number of purchased licenses (seats) in the License count text box.
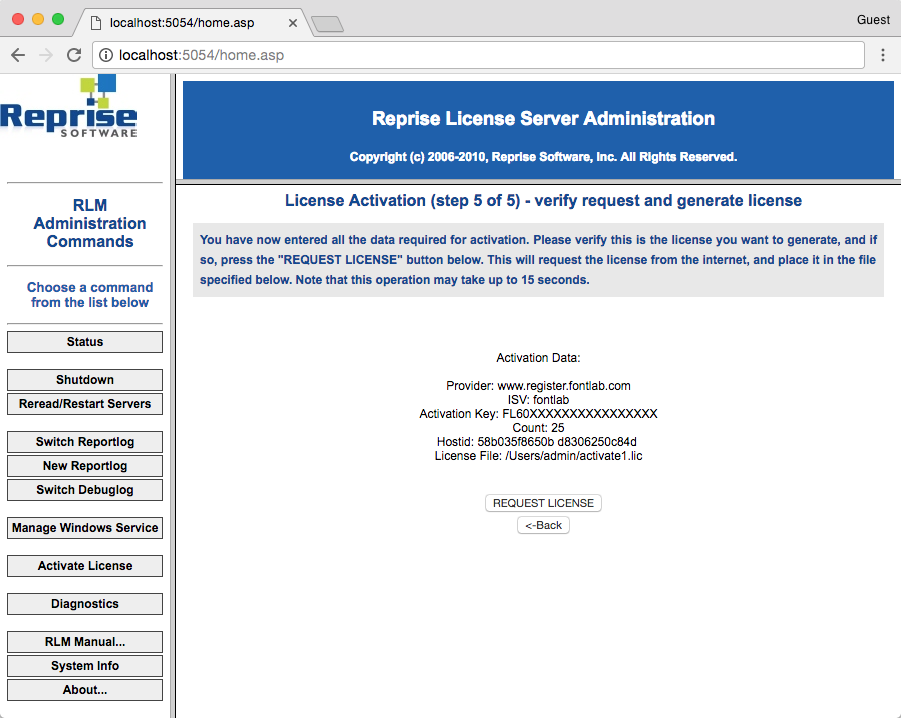
4.5. The full path of your newly created license file will be shown at this step. (user folder\activate1.lic or RLM folder\activate1.lic are the most probable).
Remember this Path.
4.6. Verify all your input data and click on the REQUEST LICENSE button.
4.7. Go to the path mentioned in 4.5 just above and move the license file right into the RLM folder (where rlm executable was just run from). We recommend you change the file name to “FLVI_server.lic” or “FLVI_20seats.lic”. Note that the file name extension must be “lic”.
Changing the content of this file will make the license invalid so do not allow anyone to change it in any way. Make a backup and store it in a safe place at the end of activation.
4.8. If the process does not finish successfully an error message will be shown. Try to repair the situation and perform your request again. If you have any trouble, please send us a problem report at support.fontlab.com.
4.9. Click on the RESTART LICENSE SERVER button to refresh the Server with the newly generated license.
The installation of the RLM Server is now complete.
Note
The RLM application (rlm.exe on Windows or rlm executable on Mac) must be relaunched at every server reboot. On Windows you can use the button Manage Windows Service in the RLM Admin tool. On Mac OS X, add RLM to the list of startup applications. See the “Running the rlm server as a service on Windows” or “Starting the rlm server at system boot time on Unix systems” parts of the RLM documentation for details.
Workstations Setup»
Now you must prepare a license file for all workstations where FontLab is to be installed.
-
Find the template file “com.fontlab.fl60.lic” in the package “multi_license_activation_package.zip”. This file contains only two lines:
HOST <ServerName> ANY 5053 ISV fontlab -
Edit the file in a text editor and replace the
parameter with the network name or numeric IP address of your server - the one where the server RLM program was just installed. The server name or IP address must be pingable. In other words, sending the command ping to this name or IP address from workstations must work successfully.
The result file can look like the following examples:
HOST our_best_server ANY 5053
ISV fontlab
or
HOST 192.168.1.5 ANY 5053 ISV fontlab -
Copy the newly edited “com.fontlab.fl60.lic” file to all your workstations into the following folders:
<System Disk>:\Program Data\Fontlab\on Windows
or
Macintosh HD/Library/Preferences/on macOS. -
Now install FontLab VI Application on each of the workstations.
Your installation is now complete.