Making a Font From Color Vector Graphics»
You can draw color vector images right in FontLab or draw them in another application, like Adobe Illustrator, and bring them to FontLab and generate a full color vector font from them. Here is how you can make a font from color vector graphics drawn in another application:
Preparation of drawings»
First, draw your color vectors in a vector application such that they consist of only filled contours without strokes. To illustrate this article, we have used some stock vector clip art called GraphixMania.

Each letter in this clip art consists of small color triangles, and the triangles have been grouped into letters:
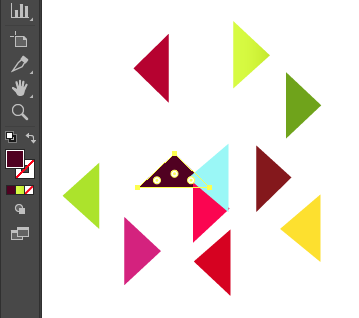
Note that triangles have fill, and do not have strokes.
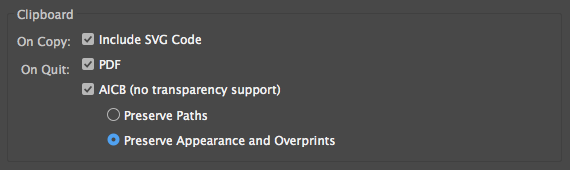
If you are in Adobe Illustrator, go to Preferences > File Handling & Clipboard and make sure the Clipboard options are set to Include SVG Code:
Select all the letters in Illustrator, and choose Edit > Copy to copy them to the clipboard.
Bringing the drawings to FontLab»
Launch FontLab, and open the Sketchboard Window > Open Sketchboard, if it is closed. Click on the Sketchboard, then Paste. The Clipboard contents will be pasted as one element group.
Separating the letters»
Now you need to separate the pasted image so that each “letter” becomes a discrete element. The easiest way to do this is to use FontLab OCR module — Element > Optically Separate. Once you run this operation, each letter should become a separate element. If element frames are turned on (View > Element Frame), you will see a frame surrounding each element.
Placing to Font»
Turn on Rulers View > Rulers and drag a guideline down from the top ruler bar. Position the guideline below the row of characters to designate the baseline, Shift-drag the same guideline up to add thickness to it. Position it so that the guideline thickness corresponds to the height of the letters. Click on the guideline name and type “c1” for caps height. Press Alt and copy this guideline to another line of characters. Repeat this operation for each line of glyphs.

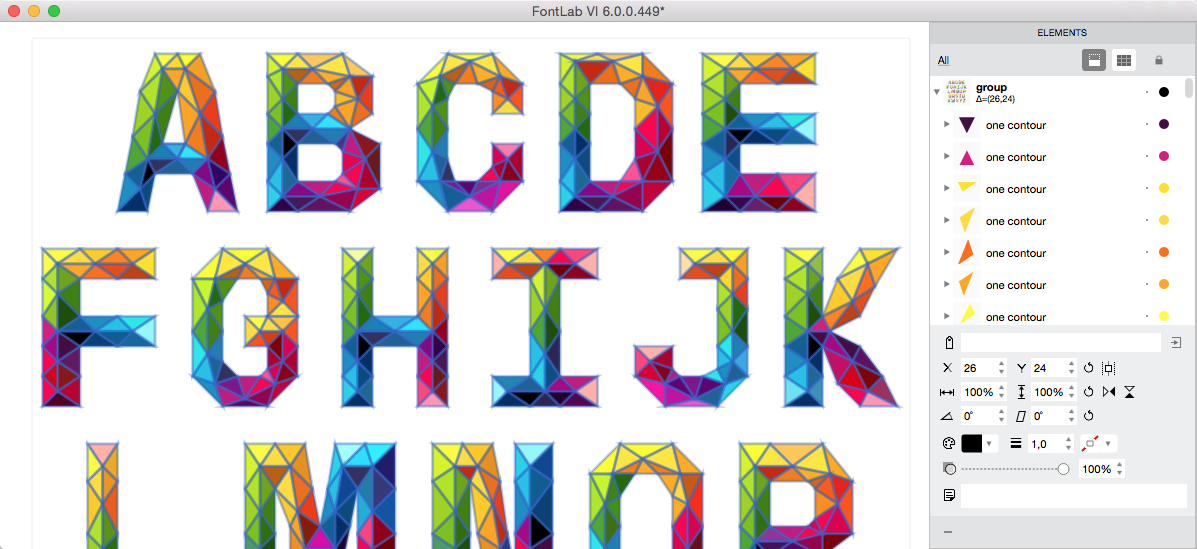
Create a new font File > New Font, switch back to the Sketchboard, select the Element tool (V), marquee-select all images you want to place in the font and choose Element > Place As Glyphs > Selected Elements.
Setting Up the New Font»
Go to the Font window. Select and drag your new color glyphs to the correct glyph cells, as needed. Add the space glyph: double-click on it, and then open it and set its width to something that seems appropriate.
Open the File > Font Info dialog and name your font. Fill in other relevant font attributes, such as the designer’s name, copyright string, version etc.
Saving and testing»
Choose File > Save Font to save the font in the native FontLab format VFC. You can use the Sketchboard for the first test of your new font. Select the Text tool, click in the Sketchboard and type some text to see how glyphs are rendered. Adjust spacing and kerning, if needed, and test again.
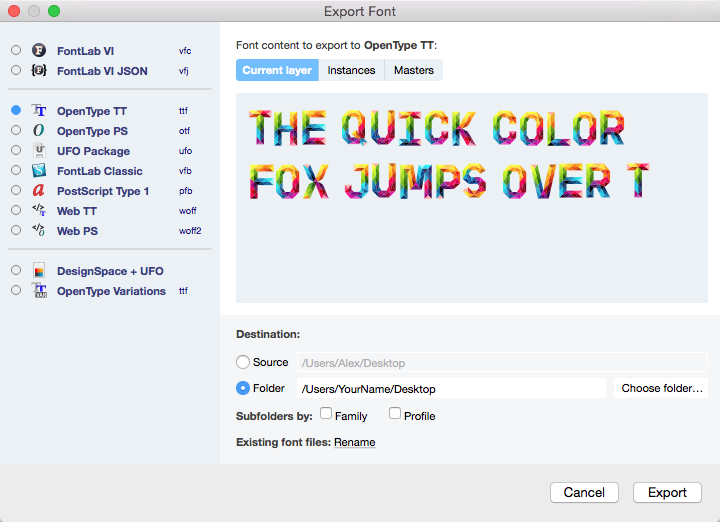
Exporting the font»
To export your color font, select File > Export Font As and choose the OpenType-TT profile in the list. Select a destination folder and click on Export.