Working with Layers»
FontLab VI allows multiple layers in the Glyph Window. Layers may contain contours or bitmap images. You can use the Layers and Masters panel to manage the layers in your font.
Adding layers»
To add a new layer click on the Plus button in the status bar or the Glyph > Add Layer (CmdShiftN) command. This dialog will appear:

Here you can enter a Name for your layer and set its main properties: whether it will be a service layer ![]() , be locked
, be locked ![]() or be displayed as wireframe
or be displayed as wireframe ![]() . You can also select if the new layer should appear at the end of the list by pressing the Put to Background button
. You can also select if the new layer should appear at the end of the list by pressing the Put to Background button  ; if this option is off, the new layer will be added to the top of the list.
In addition to the name and properties of the layer, the dialog gives you the following options:
-
To choose whether the new layer should be added to the current glyph only, selected glyphs or all glyphs.
-
Fill new with content of this font allows you to copy glyph elements from another opened font to the new layer of the current font, and choose whether you would like this copy to be left, right or center aligned. If no other font is open at the time, the contents of the currently selected layer of the same font will be copied.
-
Check the Make it master layer checkbox if you would like FontLab VI to name the master in such a way that it works as a master. This will be a font master if you add the contents of the opened font, or it will be a glyph master if you create the layer for just some of the glyphs in the font.
-
Use instance layer if available
-
Check the Rasterize layer to this PPM checkbox and enter the value you need to put the result of the glyphs outline rasterization to the new layer.
Switching layers»
To switch between layers and masters, click on their names in the Layers and Masters panel, or use the Glyph > Next Layer (++Alt+.++) and Previous Layer (++Alt+,++) menu commands. Note that these commands skip service layers.
Removing layers»
To delete a layer, select it and click on the Minus button ![]() in the status bar of the Layers and Masters panel, or select the Glyph > Remove Layer command. This dialog will appear:
in the status bar of the Layers and Masters panel, or select the Glyph > Remove Layer command. This dialog will appear:
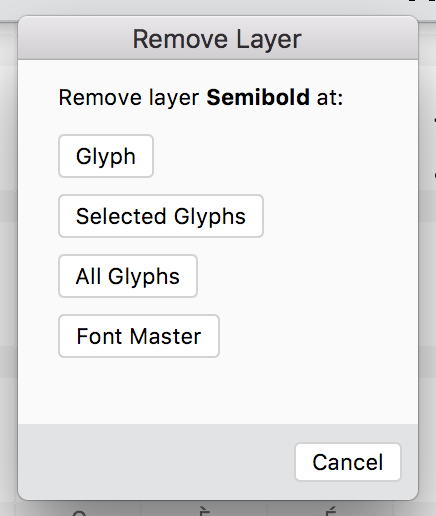
Here you can choose whether you would like the selected layer to deleted in the current glyph, the glyphs selected in the Font Window or Font Map panel, all glyphs, or in the font master.
Copying layers»
To copy the current layer, select the Copy Layer command from the Edit menu. If you are in the Glyph window the current layer of the current glyph is copied to the Clipboard. If you are in the Font window you can select several cells. Edit > Copy Layer will copy the current layer of all selected glyphs.
Pasting layers»
To paste the copied layer(s), select glyph cells where you want to paste and select Edit > Paste. If you have one glyph layer on the Clipboard it will be pasted as a new layer to all selected glyphs. If there is the layer for several glyphs on the Clipboard, it will be pasted as a new layer to the selected glyphs respectively.
For example, imagine you copied the “Body” layer for glyphs a, b, c, d, then selected 9 glyphs from “one” to “nine” and selected Edit > Paste. Glyphs “one”-“three” will get layers from a, b, c while glyphs “four”-“nine” will get layers from d. The pasted “Body” layer remains “Body” while the old layer gets renamed to “Body.1”.