Outline Appearance»
The appearance of outlines in FontLab varies based on your selected View Details and Settings, plus the glyph window mode you are currently in. Some Glyph Window modes offer many view options, while others will restrict what you can change and effectively override options (for example, showing glyphs filled when you are kerning).
There are a wide variety of options available in Element, Drawing and Editing modes.
In Metrics, Kerning and Text modes, you always see contours with an opaque fill, and limited options to adjust outline appearance. Similarly, TrueType Hinting mode offers few options to change outline appearance.
The following sections describe the different ways in which the appearance of outlines can be altered:
Appearance of Contours»
The View > Show menu and View panel give the following toggles for changing the contour view:
| Curvature | To show curvature or curve tension or not | |
| Smooth Outline | To show outline antialiased (default) or not. Contours without antialiasing will render faster | |
| Contour Direction | To show contour direction arrows on the starting point or not. |
Additionally, in the Preferences > Glyph Window, you can control how thick the glyph outline should be rendered and whether open contours are rendered filled or as outlines.
In the same section of Preferences, when you turn on Pixel-perfect rendering, the rendering of outlines, nodes, guides, sidebearings, font metrics and the crosshair will be rounded to full screen pixels, so all lines drawn in the Glyph window will be sharper, especially on non-Retina screens.
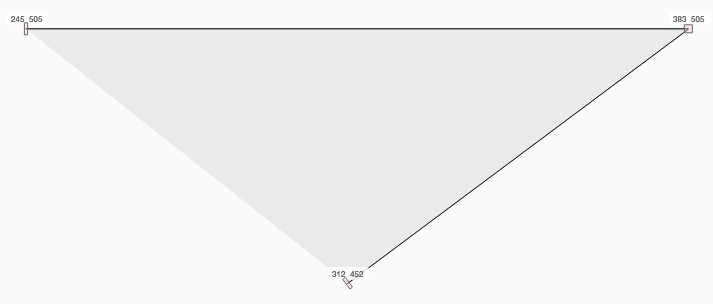
Note that open contours can be identified by special rectangular marks on their ends:
Appearance of Nodes»
In FontLab, nodes can be active or inactive based on whether the  option is turned on or off in the View panel. Active and inactive nodes look different. If the option is turned OFF, all nodes are inactive until the mouse cursor moves closer. When the mouse cursor moves close enough, inactive nodes become active and change their appearance. If the option is ON all nodes of the current element/glyph/layer are active depending on the Scope of Editing.
The first set of options in Preferences > Glyph Window are used to control the appearance of active and inactive nodes:
| Node Size |  |
Active nodes may be small, smaller, medium, larger or large |
| Node Style |  |
Active node icons may be filled or unfilled |
| Node Color |  |
Active node icons may be grey, light color or solid color |
| Inactive Nodes |  |
Inactive nodes may be invisible, small or large |
You can also decide whether to show co-ordinates for current, selected or all nodes, the font size of the node coordinates, and when you would like the node name to be displayed. When you turn on Pixel-perfect rendering, the icons for all nodes and handles will be rounded to screen pixels, so they will always be rendered sharp.
Other options in the View > Show menu or in the View panel for changing the nodes view:
|
All Nodes | To show all nodes or only those close to the mouse cursor |
| When OFF, all nodes look like inactive nodes (see the table above) | ||
 |
Coordinates | To show the coordinates of selected nodes or all nodes |
 |
Handles | To show curve control vectors or not |
Selections»
When you select a whole or part of an outline using the Contour tool, the selected segment and nodes will turn red. Even if nodes are hidden otherwise, selected nodes are visible and red.
If “Glow contour selection” is on in Preferences > Glyph Window the selection is additionally highlighted with a glow effect around it.
Fill and Preview»
If you are in Element, Drawing or Editing mode, FontLab VI shows closed contours with a fill whose opacity can be modified in Preferences > Glyph Window. Because you can control the opacity of the fill, you can view your contours with no fill at all, or with a fill of an opacity of your choice. In FontLab VI, you can also show open contours with a fill by selecting the option in Preferences > Glyph Window. Since an open contour can’t really be filled, it is shown filled as if it has been closed by an invisible straight line that connects the starting and ending points of the contour.
The fill color depends on the element color. Unless you are working on a color font, the color of all elements, and consequently of the glyphs, will be black. In a color font, each element could be a different color.
While drawing or editing glyphs, you can choose to preview your outlines with an opaque fill. There are two ways to do this, each with its own advantages:
- using the View > True Fill menu command or ShiftSpace keyboard shortcut will render the interior of outlines as their full solid color (without the usual transparency effect), while other elements will remain visible;
- using the Space or ++`++ keyboard shortcuts will render outlines as they appear in printed text and suppress other screen information (such as the baseline, metrics, guidelines, etc.).
Note that in Metrics, Kerning and Text modes, contours are always shown with an opaque fill. Your chosen preference about open contours will be applied in these modes as well. So if you have not chosen open contours to be shown as filled, in these modes they would display as outlines only.