Exporting Options»
Repeating the previous export»
To export the current or the selected fonts to the same destination and in the same format as during the previous export, select the File > Export Font command. FontLab will not ask for the destination and font format. It will use your previous selections.
Choosing new export options»
To choose new options during exporting a font in one of the available export formats, select the File > ==Export Font As menu command. The following Export dialog box will appear as a result:
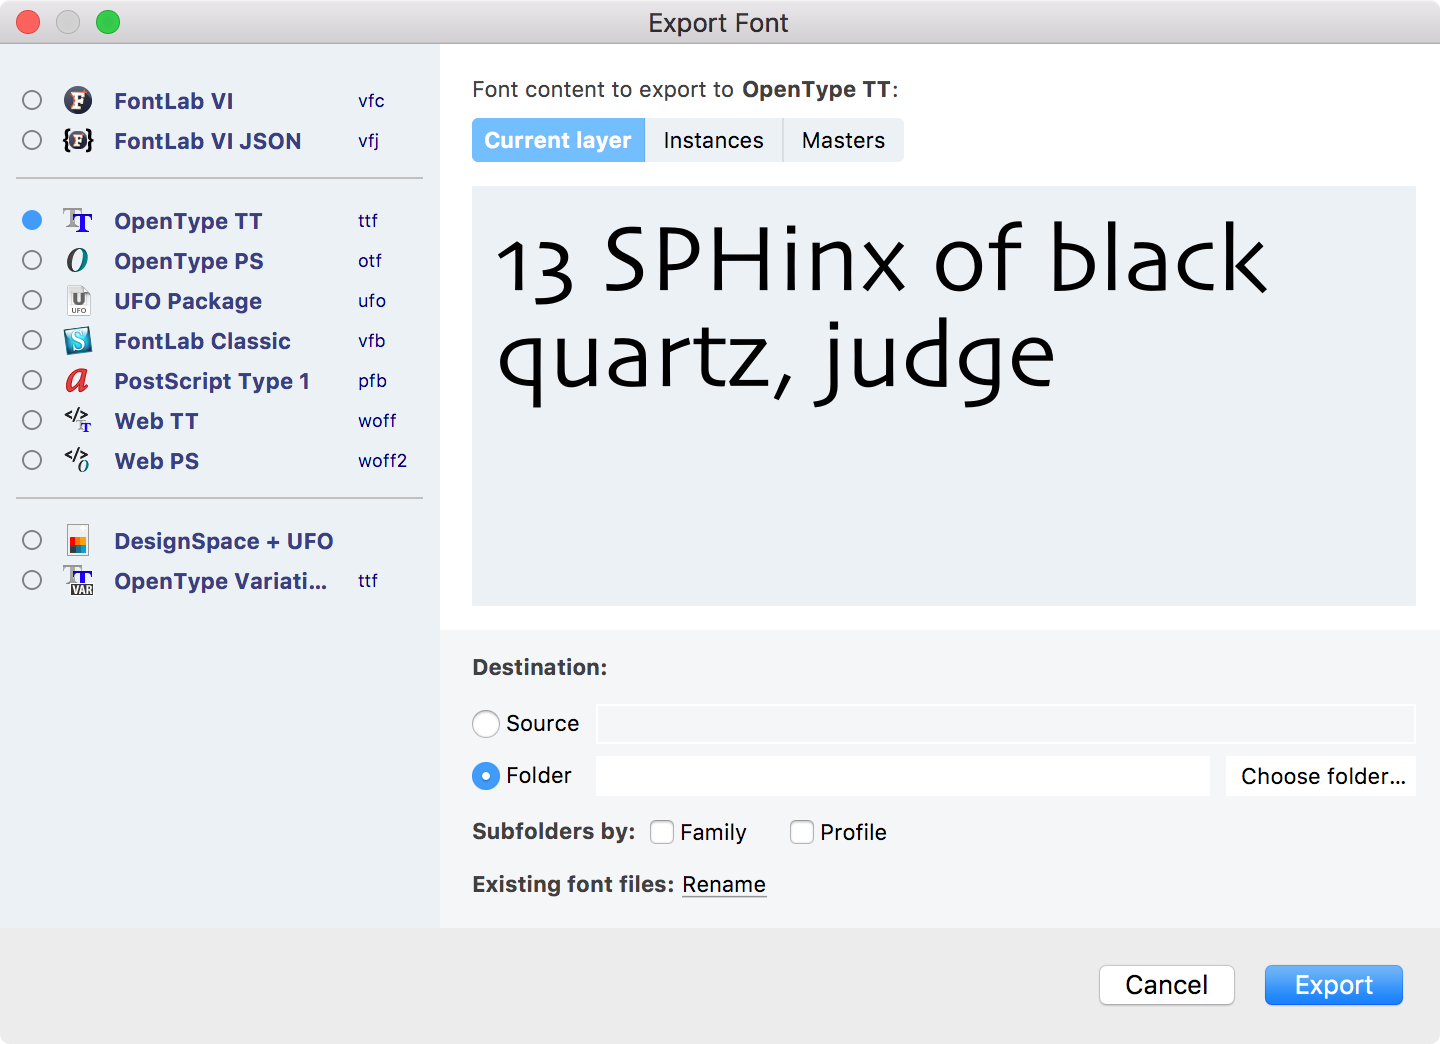
In this dialog, you can choose the final export format, what font content you would like to export, and the destination of the exported font.
Font formats»
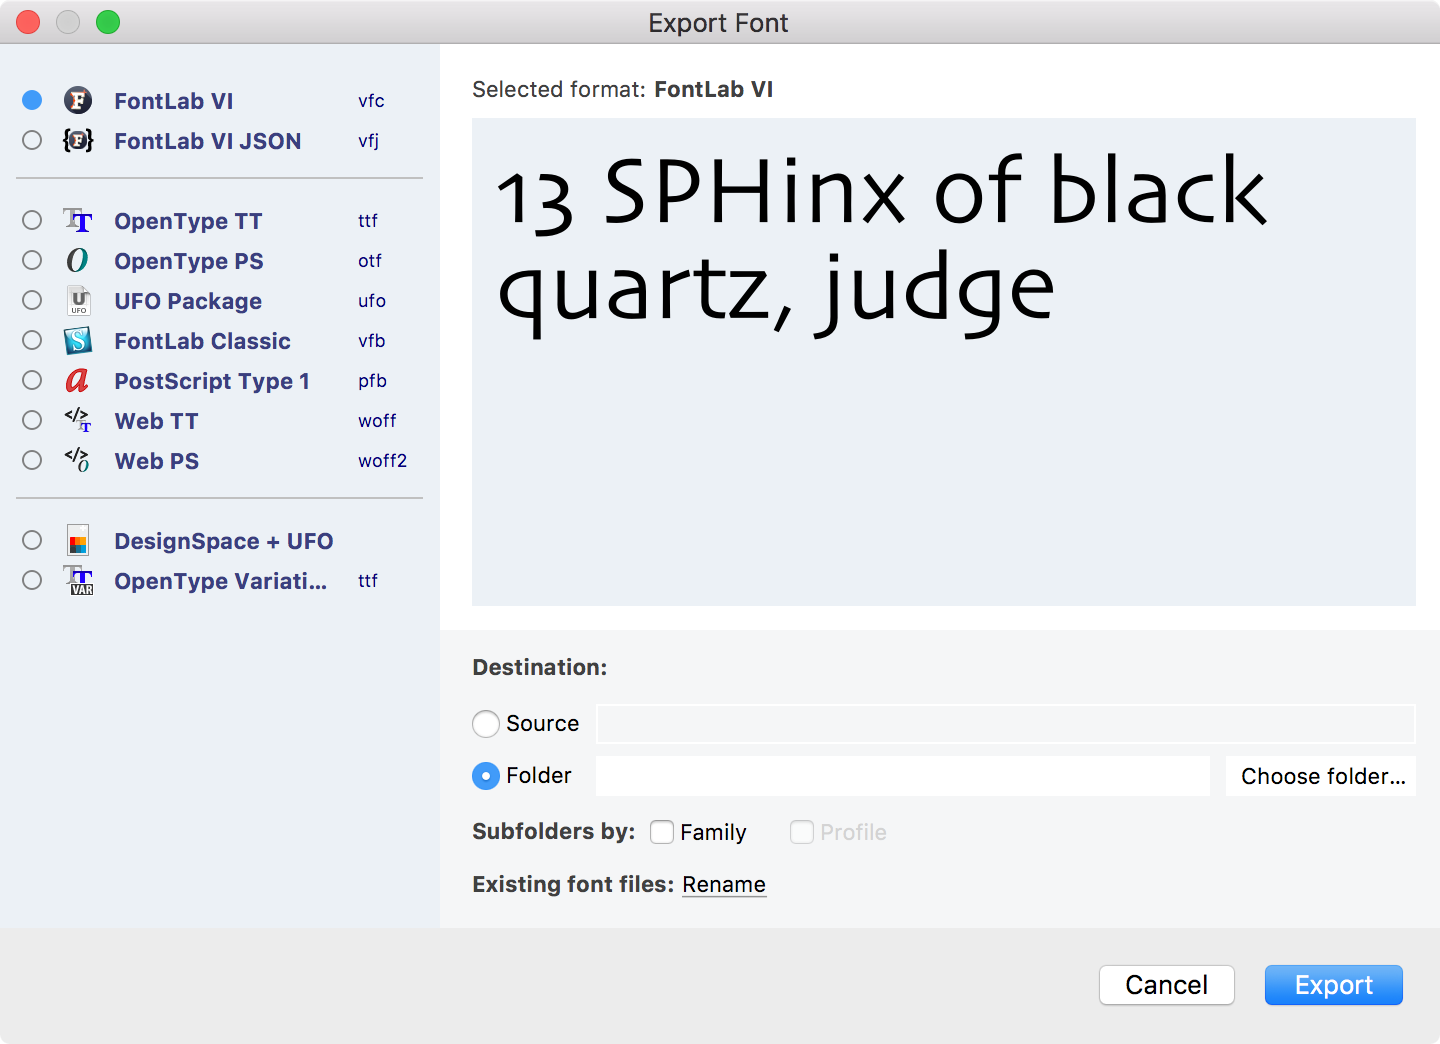
First, in the left part of the dialog box, select the output font format represented by the export profiles. The list includes only active export profiles that you turned on in the Profiles dialog File > Profiles. You cannot select multiple profiles for export, so choose just one of them.
Font content»
Your source font may have different kinds of font content that you may wish to use when exporting, especially if you are working with multiple masters or color fonts, such as different layers, masters and predefined instances.
Some export profiles are “multi-font” profiles. These include profiles for the FontLab VI native save formats that store the entire source font (.vfc and .vfj), and profiles that store multiple masters and instances in one file (such as the OpenType Variations profile) or package (the DesignSpace + UFO profile). These are listed at the top and bottom of the list respectively. FontLab VI automatically chooses the optimal content for multi-font profiles, and you do not need to choose this content yourself:
All other font profiles are “single-font” profiles. They are used to export “static” fonts, where each single font represents a single style of a font family. Examples of single-font profiles are: OpenType TT (.ttf), OpenType PS (.otf), UFO Package (.ufo), PostScript Type 1 (.pfb), FontLab Classic (.vfb), and the Web font profiles. When exporting into single-font profiles, you need to decide which font content should be written into the target fonts. In the dialog, you can choose which content (current layer, instances, masters) of the current source font will be exported:
Current layer»
If you choose Current layer as the font content, FontLab VI will export the currently active master or layer of your source font. Here are the situations where choosing this option is advisable or possible:
-
In case the source font is a “single-master design”, that is, if you only have one monochrome outline drawing per glyph and your source font is not a variable or multiple-master font design, you should always choose Current layer.
-
For color font designs, you should choose Current layer.
-
You can also choose Current layer if your source font has multiple masters or layers. However, before you invoke File > Export Font As, you must choose one of the following:
-
The current master or layer by using the Layers and Masters panel, the master selector in the top context bar of the active window, or the Masters bottom tab of the List mode of the Variations panel.
- The current master or layer by clicking on the appropriate orange rhombus in the Map mode of the Variations panel.
- The #instance layer in the Layers and Masters panel (though this method is not recommended).
Note that if your source font has multiple masters or layers, and you would like to choose a arbitrary instance via extrapolation, open File > Font Info > Axes and modify the Minimum and Maximum values per each axis. Those values control the range of the axes map and sliders in the Variations panel. Further, if you’re choosing an instance as your Current layer, FontLab VI will attempt to generate the instance via interpolation, and will automatically generate the font names based on a “best guess”. You may want to open such an exported font in FontLab VI or OTMaster to customize the font names and review the interpolation results.
Instances»
If your source font has multiple masters, and your masters are interpolable, you will most likely want to choose Instances as the font content. Exporting the Instances content allows you to quickly generate fonts for an entire font family in one step.
The Instances list shows all predefined instances that you have defined in the Font Info dialog box File > Font Info > Instances. Use the left-side toggles to enable the predefined instances you wish to export (filled toggle), or disable some (unfilled toggle). All enabled instances will be generated via interpolation, and then exported as separate fonts.
Before you invoke File > Export Font As you can edit your predefined instances in the Font Info dialog box File > Font Info > Instances.
Masters»
If your source font has multiple masters, you can choose Masters as the font content.
The Masters list will show all the font masters that you have defined in Font Info dialog box File > Font Info > Masters. Use the left-side toggles to enable the font masters you wish to export (filled toggle), or disable some (unfilled toggle). All enabled masters will be exported as separate fonts.
Before you invoke File > Export Font As, you can define your masters in Font Info dialog box File > Font Info > Masters, and then use the Master switcher on top of the Font Info dialog box to fill in the appropriate information.
The masters in your source font don’t have to be interpolable. You may work using multiple masters in one source font when you design multiple styles for a family, but you do not intend to interpolate them. Then, exporting the Masters content allows you to generate fonts for your entire font family in one step.
Exporting the Masters content is also useful if you’re creating files in a development format such as UFO Package (.ufo) or FontLab Classic (.vfb), or if you’re exporting masters in .ttf format, but intend to perform interpolation or build a variable font using some other tool.
Destination»
In the lower-right part of the Export Font dialog, you can choose the destination where the target fonts will be saved. The destination consists of a base folder and optional subfolders.
Pick Source if you wish to export your fonts into the same base folder as your current source font is saved in, or pick Folder and Choose to select a custom base folder where your fonts will be exported.
You can also enable the Family and/or Profile checkboxes to help you organize your exported fonts.
If you select Family, FontLab will create a subfolder structure inside the base destination folder, based on the Family name of the source font as defined in Font Info dialog box File > Font Info > Names. Choosing Profile will create a subfolder structure based on the name of the chosen export profile.
FontLab VI will automatically construct the filenames of exported fonts based on “best guesses”. You can use the Existing font files dropdown to decide what should happen if files with the same filename already exist in the destination folders.
Once you’ve chosen your export settings (profile, content and destination), click on Export and FontLab VI will generate the target font files.