Font Window»
The Font window displays all glyphs of a Font. With default preferences, it opens automatically when you open an existing font for editing, or create a new font. You can open more Font windows with the Window > New Font Window menu command.
You can do a lot of things using the Font window — from browsing a font to find a desired character, to rearranging and remapping the font.
The Title bar of the Font window or tab shows the opened font Family name. If the font is not single-master, the Title bar includes the Family name and the current master name.
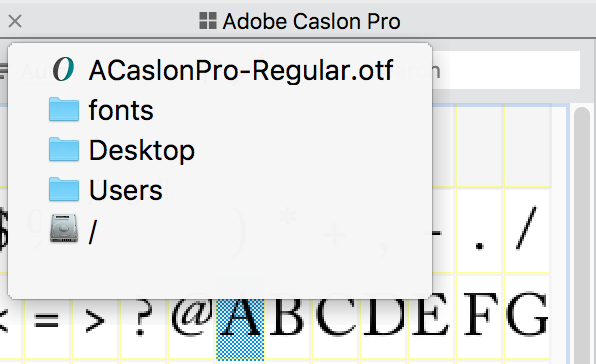
To see the file name of the opened font and the full path to it, Cmd-click on the tab title or on the icon preceding the Family name in the Font window Title bar:
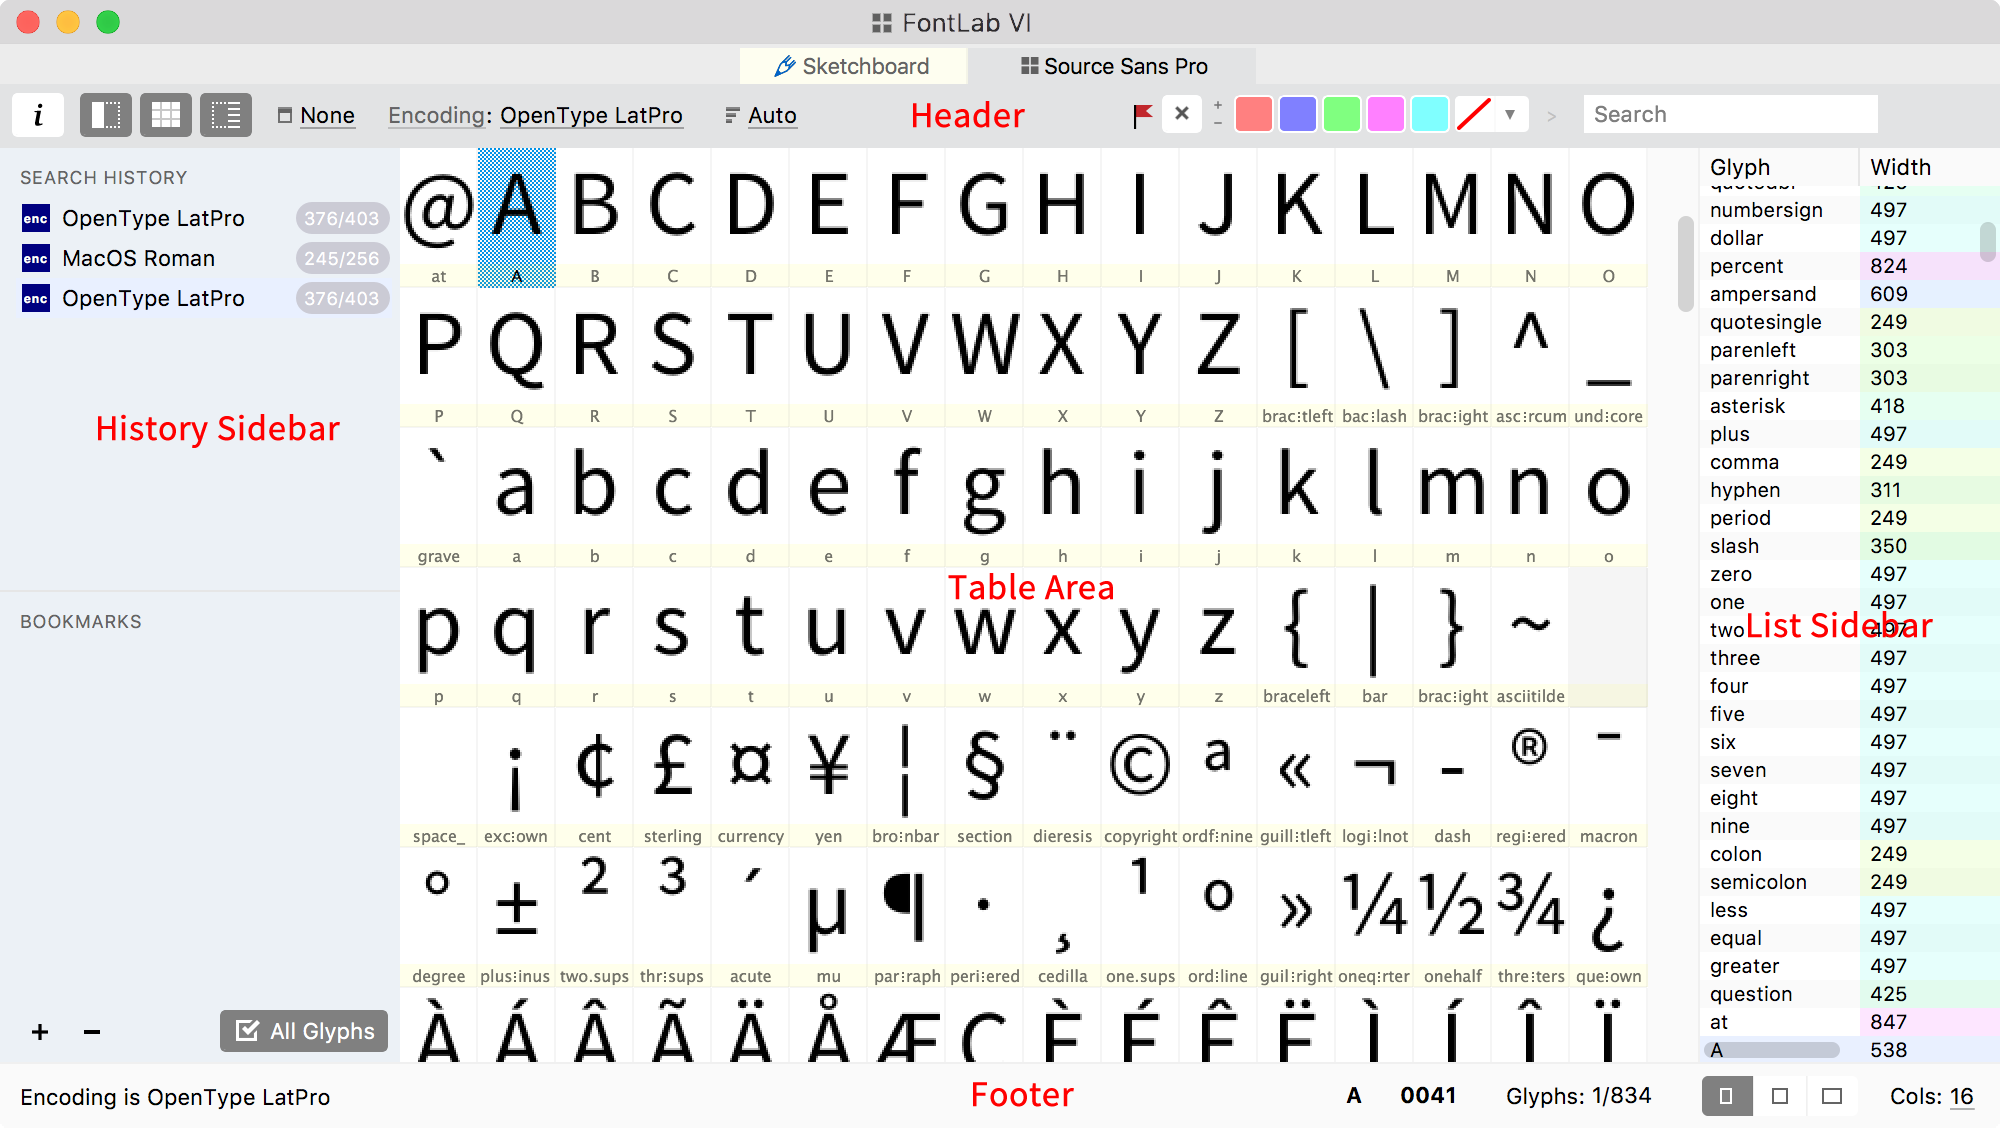
The Font window consists of the property bar, the footer, and the main frame. The main frame consists of three parts: the History sidebar, the Table area where a single cell represents each glyph and the List sidebar:
Three buttons in the property bar control the visibility of these parts:

Table Area»
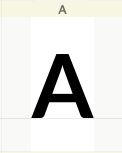
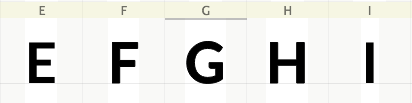
Each glyph cell in the Table area has a caption which can be located above or below the cell and shows identification information – either the name of the glyph, its Unicode, index or other character information:
Tip: You can change the font used to display the caption, the caption size and position in Preferences > Font Window.
The left popup menu on the Font window Property bar allows you to select the info to show in the cell caption:
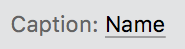
Depending on the selection, a different text string will appear in the caption:
| None | The caption is not shown |
| Name | The glyphname (the so-called PostScript name of the glyph) |
| Unicode | The Unicode codepoint assigned to the glyph, in hexadecimal form |
| Character | The character |
| Width | The glyph’s advance width |
| Left SB | The glyph’s left sidebearing |
| Right SB | The glyph’s right sidebearing |
| Top | The top border of the glyph bounding box |
| Bottom | The bottom border of the glyph bounding box |
| 1st class | The first (left) kerning class name |
| 2nd class | The second (right) kerning class name |
| Index | The glyph index, i.e. the physical location of the glyph in the font |
| Cell index | The number of the cell in the chart |
| Elements # | The number of elements in the glyph |
| OT class | The OpenType class of the glyph: simple, ligature, mark or component |
| Script | The script to which the current Unicode index belongs |
| Age | The date, time when the glyph was edited the last time |
The glyph cells may have different colors. By default, the background of the glyph cell may be grey or white, and the caption may be grey or yellow. You can change the default white background color in Preferences. This might be useful when working on a color font with “white” glyphs. Additional colors may appear if you used color flags to color-mark the glyph cells.
A grey cell background means an empty glyph cell. This means that the glyph does not exist in the font, and the glyph cell is displaying a glyph placeholder, usually a white glyph template image with a drop shadow. Note that the default glyph template images should not be used as direct source of information about the typographically correct shape of glyphs – just as a reminder about what the expected character is for that glyph. You can change the font used for the placeholder in Preferences > Font Window.
A white cell background means that a glyph exists in the font. A glyph can be blank and non-spacing.
If the glyph cell background is white and there is no image in it, it may be called a blank glyph. A blank glyph exists in the font, but does not contain any outlines or components.
Any glyph can be a non-spacing glyph (or zero-width glyph, where the advance width is 0), or a spacing glyph (a non-zero-width glyph, where the advance width is other than 0). The space character is usually an example of a spacing blank glyph.
A yellow caption for a glyph cell means that the glyph is part of the currently selected set of glyphs, or, as we say, is “in the yellow zone” (see next section). Glyphs that are not part of the current set (filtered) have a grey caption instead.
A strong red line in the cell caption means that the character has some naming conflict: either the same glyph name is used in multiple glyphs, or the glyph’s Unicode codepoint disagrees with its name. In such cases, you usually need to change either the glyph name or the Unicode codepoint.
Some glyphs may be flagged with a different color for the caption and background:

Flagging is very useful when you need to show visible differences among glyphs for easy identification. Read more about that later in the Flagging Glyphs section.
When you modify a glyph in any way, a dark line at the top of the cell appears. The dark line indicates glyphs modified since the last save. When you save a font, all dark lines disappear.
Please see the Glyph Cell Marks section where all marks appearing in the cell are described.
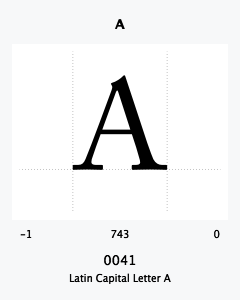
If you press the Space key in the Font window, you will see the current glyph info pop-ups:
Font Window Property bar»
On the Property bar you see several controls:

| Font Info | Opens the Font Info dialog |
| History Sidebar | Opens and closes the History Sidebar |
| Table Area | Opens and closes the main chart of glyph cells |
| List Sidebar | Opens and closes the List Sidebar |
| Cell Caption menu | Changes the contents of the cell caption and the set of columns in the List sidebar |
| View mode menu | Allows you to select one of the glyphset view modes: Encoding, Unicode, Codepage, Category, Script or Index |
| Filter selector | Allows to filter glyph cells by codepage, encoding, Unicode range, category or script depending on the View mode |
| No color | The button to clear color flag for selected glyph cells |
| + and - buttons | Allow to change the current color by 1 unit in the 360-units palette |
| Main colors | 5 buttons allowing to mark glyph cells with main 5 colors |
| Other colors | Menu with more colors for marking glyph cells |
| > button | Copies the currently selected color to the Search field |
| Search field | Allows you to search for glyphs by names, indices, color flag etc. see Searching Glyphs |
Font Window Footer»
The Font window footer shows some valuable info and also has a pair of controls:

The currently selected encoding, codepage, Unicode range, Unicode category or script is at the left. Then you see the active glyph’s name and Unicode codepoint, the number of selected glyphs and the total number of glyphs in the font.
Three buttons with rectangles switch the with of glyph cells between narrow, normal and wide: wider cells will better accommodate long glyph names.
The Cols menu changes the size of glyph cells so that 8, 16, 24, 32, 64 cells could fit in the current window width. When you will change the window width you will see that cells get larger or smaller to keep the number of cells in the line.
Choose Cols > Flex to make the window width variable. Change the cells size using this custom control:

Possible sizes vary from 10x14 up to 320x250 pixels. Smaller cells occupy less space but hide details. If you select the smallest size you will not be able to see captions and the additional marks which are visible in cells at larger sizes.
History sidebar»
The History sidebar is the part of the Font window which can be shown or hidden using the  button. It contains two lists: the Search history list and Bookmarks.
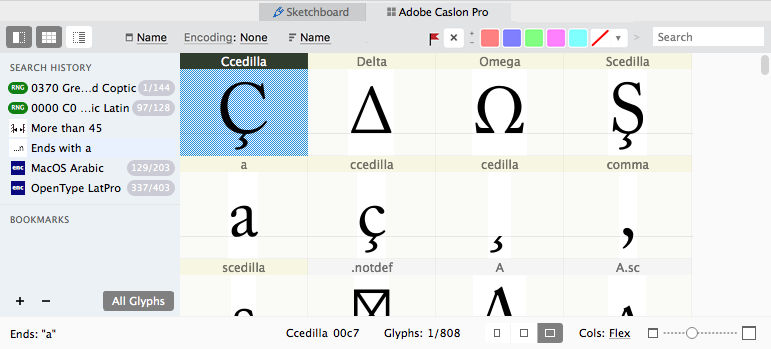
The Search history list is automatically filled with your search requests when you use the Search field and with encoding/codepage filters when you switch the Font window view to a different Unicode range, encoding, codepage, category or script. This allows you to switch between several groups of glyphs quickly without browsing long menus or repeating your search requests.
For example, you are working on a font with small caps and stylistic alternates and are searching for glyphs with names ending with .sc and ending with .alt. Both search requests are now in your Search history list and you can repeat the search just by clicking on the corresponding list item:
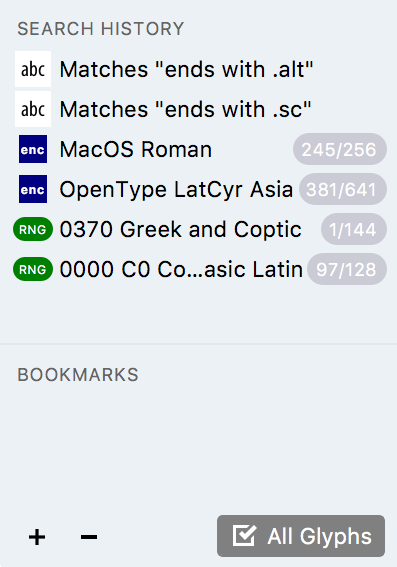
While the Search history list is filled automatically, the Bookmarks list can only be filled manually. To add an element to Bookmarks, select the search request in the Search History section and then click on the + button under the Bookmarks list. Bookmarks are remembered in FontLab preferences so that they will be retained after FontLab restarts.
To remove an item from the Bookmarks list, use the – button.
The All Glyphs button allows you to display only the relevant glyphs while hiding the rest or it can be used to show all glyphs in the font.
List Sidebar»
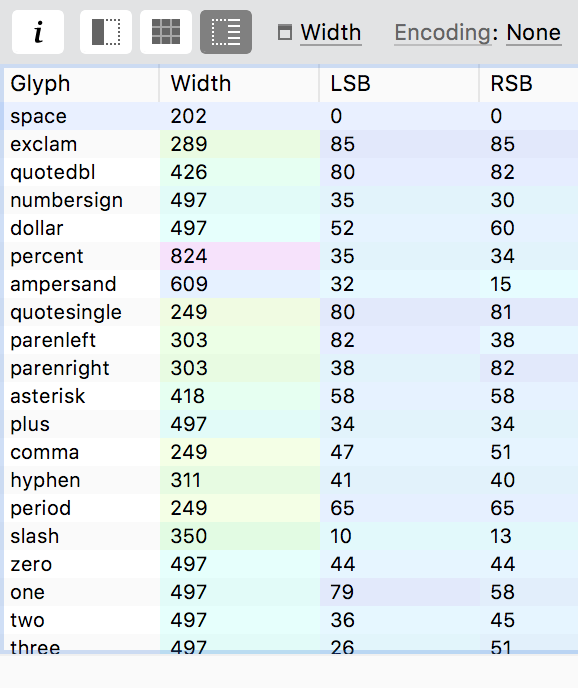
The List Sidebar is actually the same list of font glyphs presented as a table. The first column of the table is always the glyphname. Other columns are different glyph properties. The set of columns in the List sidebar depends on the info selected for the cell caption.
For example, when Name is selected in the Caption pop-up menu the List includes glyphname, glyph width, left sidebearing and right sidebearing.
You can sort glyphs in the table by clicking in the column header. Thus clicking on the Width column header will give you the most “narrow” glyphs at the top:
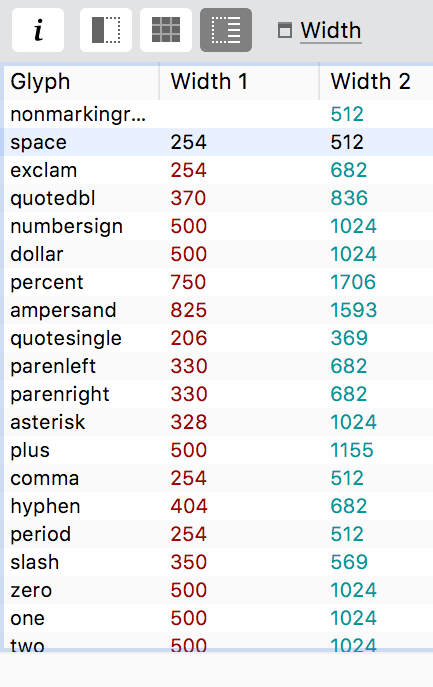
If you are in the Font Map panel the List sidebar allows you to compare glyph properties in two or even more selected fonts:
Most of the values in table (including glyph names) can be edited directly. Double-click on the value you want to change and type in the new value.
You can completely close the main Table area with glyph cells and browse glyphs using the List sidebar only. To open glyphs for editing, select them in the list and press Return.