Importing Settings and Shortcuts into FL 8
Bring All Your Settings into FontLab 8
FontLab is the program that allows you the most mods (modifications) out of any pro program I’ve seen (over 17+ apps). You can save and customize shortcuts, preferences, workspaces, diacritic recipes, kerning pairs—you can make FontLab look and feel the way you want.
But with great power comes great responsibility.
Sometimes we forget to import one settings or another. The goal of this tutorial is to bring ALL your settings from FontLab 6/7 to FontLab 8.
No mod left behind!
Here’s a clickable checklist to make sure you get everything:
You might also need to bring over:
Preferences
Here’s how you do it.
TIP
Open both FontLab 7 & 8, to speed up the process.
In FontLab 7, go to File > Preferences (++Cmd+,++).
click the hamburger and save to where you want.
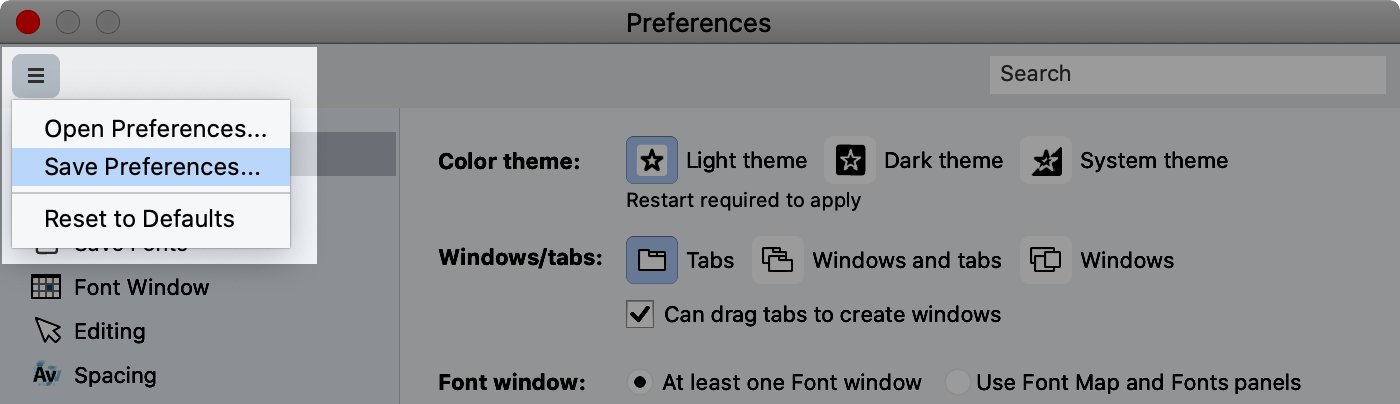
Go to the similar place in FontLab 8, and “Open Preferences…”
Done.
For More Info…
For more information on new preference settings and the new darkmode, click here.
Custom Shortcuts
In FontLab 7, go to menu Tools > Commands&Shortcuts. click the bottom hamburger and Export Custom Shortcuts…
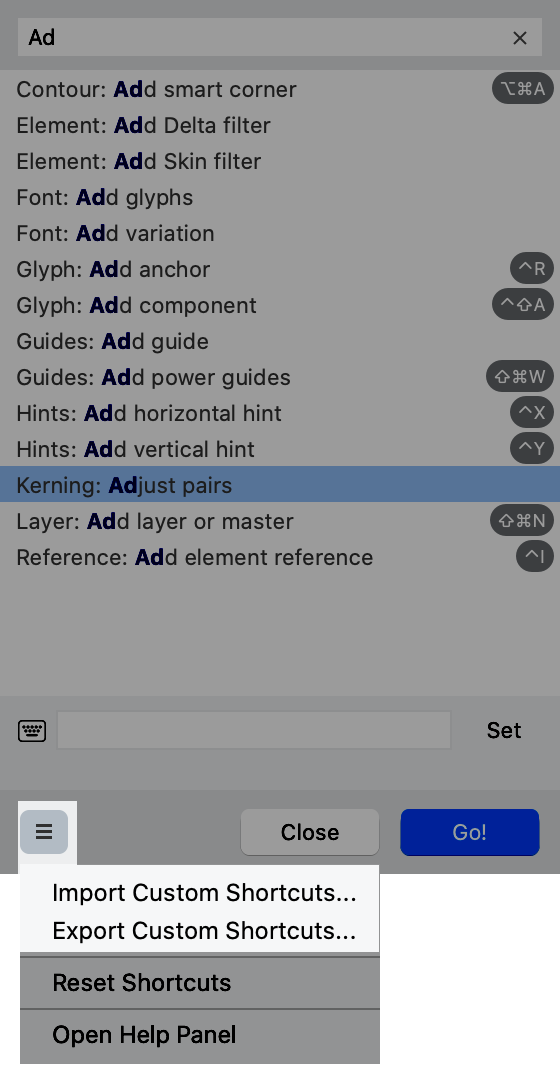
Save where you want and import into FL 8.
Done!
Custom Workspaces
click menu Window > Workspaces > Manage Workspaces…
click the workspace that you want to export. Push the button with the up arrow (export).
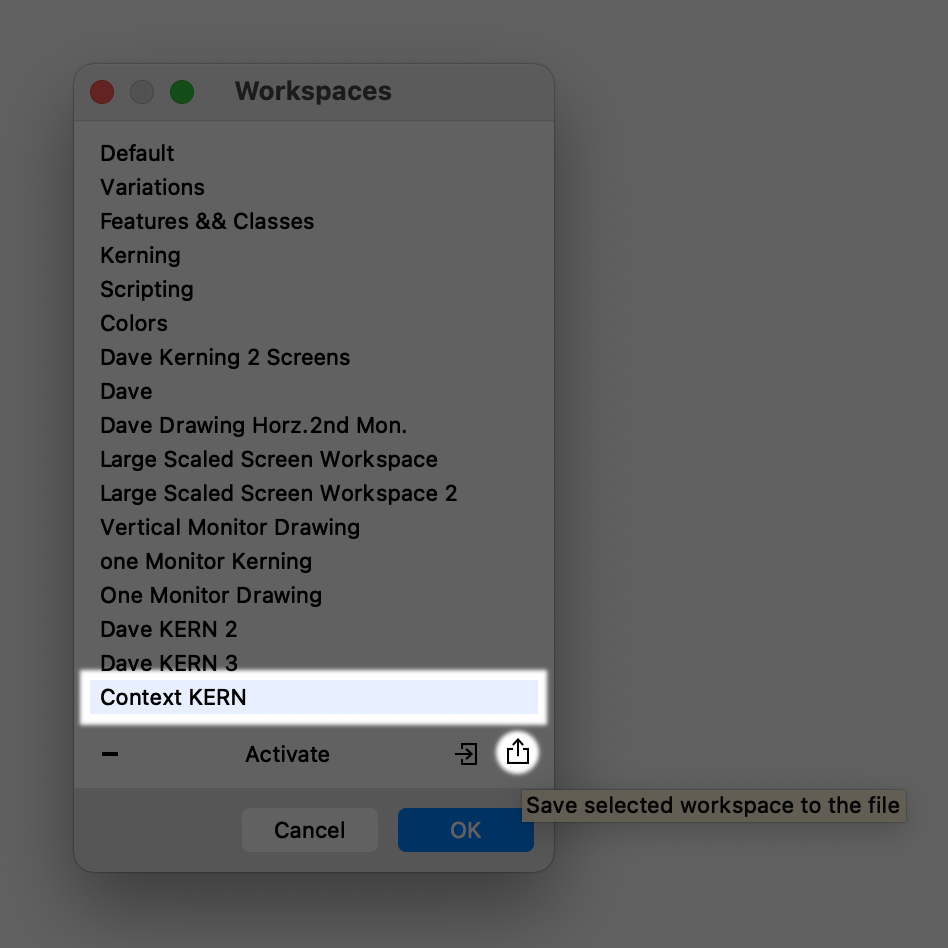
WARNING
This will export only the selected workspace. Each workspace needs to be exported individually.
In FontLab 8, use the right pointing arrow (import).
That’s it! If those are the only things that you customized, you are done.
Good work!
Export Profiles
You might have needed to customize your export profiles, the profiles available when exporting fonts in the OTF, TTF, or other formats.
If you haven’t customized your export profiles, you can skip this step.
click menu File > Export Profiles…
You should see something like this. You know the drill! click the name of your export profile, then push the up arrow box.
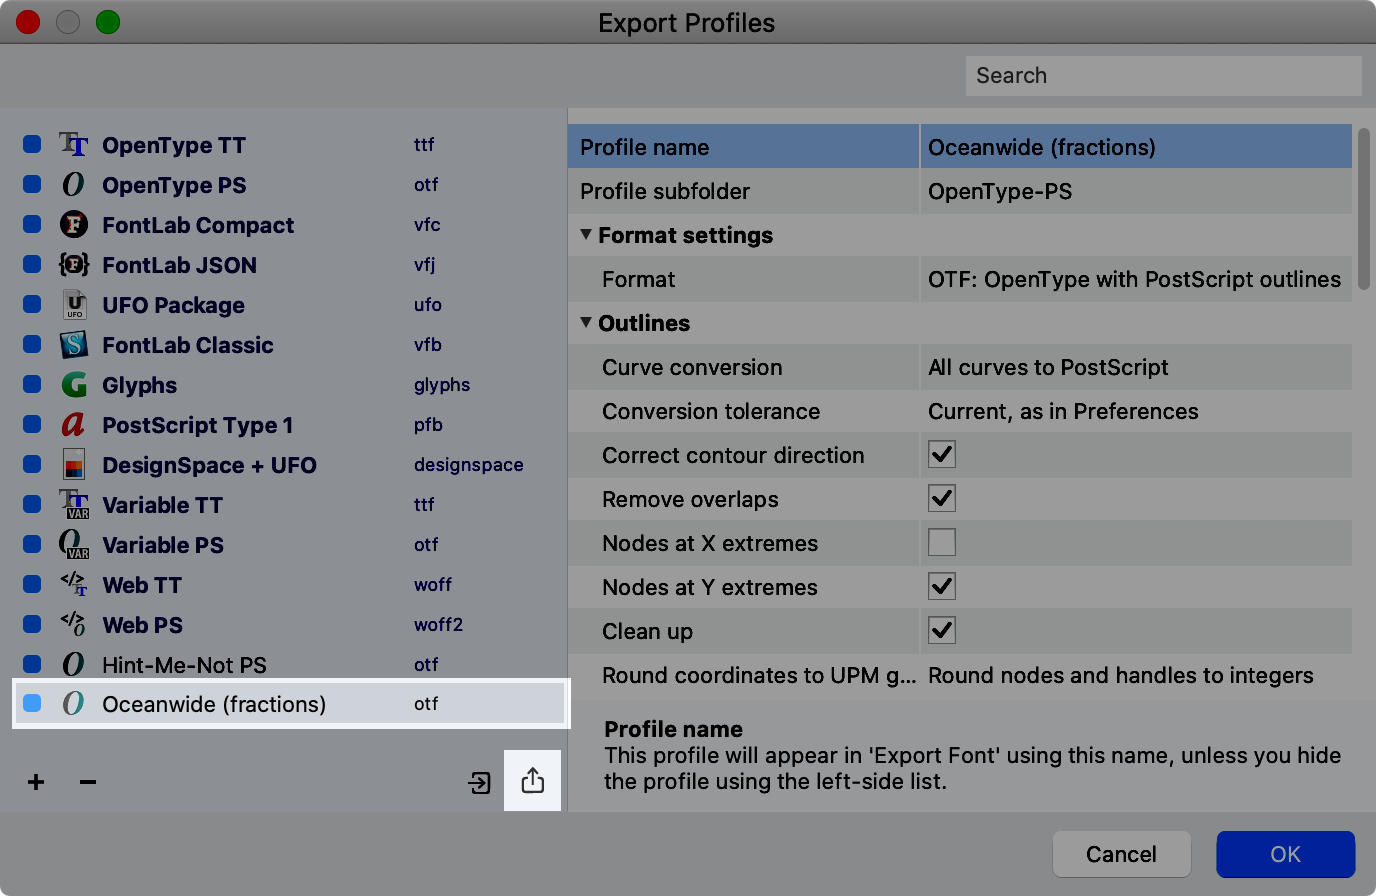
In FontLab 8, go to this page, and click the right arrow box to import.
WARNING
Like workspaces, each profile needs to be exported individually.
Metrics and Kerning Lists
If you made your own kerning lists (there’s some neat tricks for making good lists in this tutorial), then you probably stored these in a plain text document, .txt.
Hopefully, these files are already stored somewhere on your hard drive, so we don’t need to open FontLab 7.
In FontLab 8, go to the Pairs & Phrases Panel (menu Window > Panels > Pairs & Phrases).
click that three dotted icon.
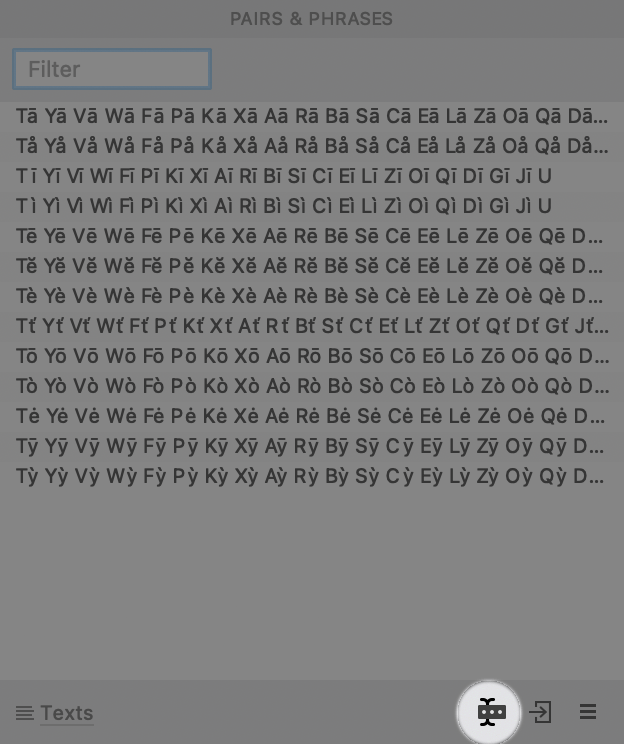
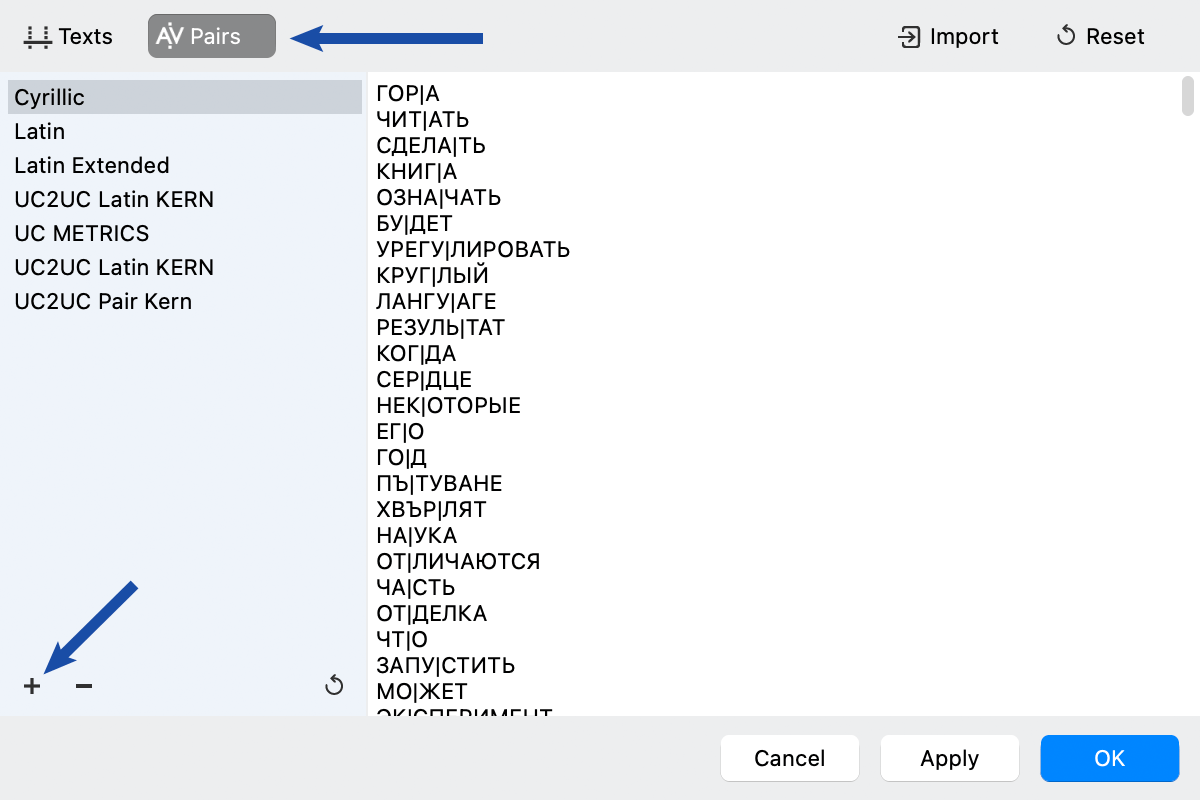
In this next screen, there are two important spots.
At the top there are tabs for Texts (such as the infamous Kern King) or pairs (such as the pairing list shown). click the correct tab. Now push the “+” to import.
Repeat for all your files, and that’s it!
Wait… what if you don’t have the original .txt?
Don’t worry! If your texts or pairs are still in FontLab 7, you can still grab them.
From the same menu, click into the right text box and push Select All or CmdA. You will get something similar to this:
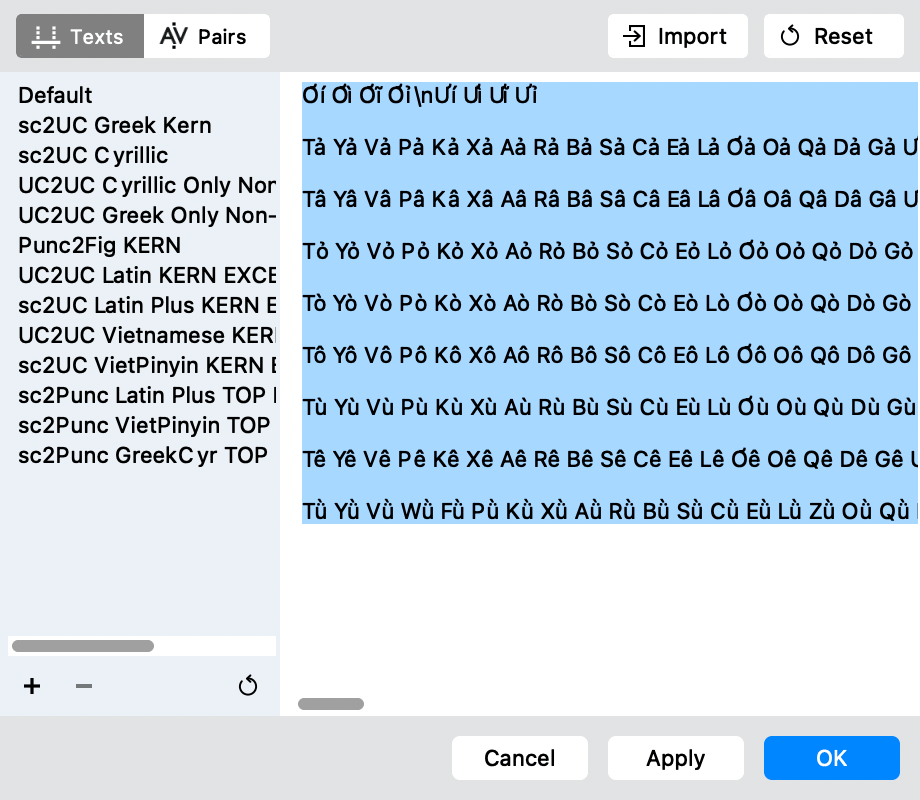
Then copy those and paste into the TextEdit App (Mac) or Notepad (PC), and save as .txt (plain text).
In Mac TextEdit , if you don’t see an option to save as plain text, go to Format > Make Plain Text.
Once you have it saved, load it up into FontLab 8 as shown above.
Import/Export Recipes, Encoding, and Codepages
These are the files we are talking about:
- alias.dat (diacritic recipes for diacritic/accented letters),
- .enc files (encoding pages to organize different types of symbols), and
- **.cpg **(code pages, or character standards for each language. You don’t usually change these unless you have a good reason).
Ok, phew. Good thing these can all be copied at the same time.
The steps are a bit different for PC and Mac.
Mac
We need to get to your FontLab 7 library folder to copy out the information.
Less likely: If you installed the program for all users, this is located in Macintosh HD/Library/Application Support/FontLab/FontLab 7
More likely: If you installed this program for your user, it is located, in the hidden Library for your user.
So go to Mac Finder. Menu Go > Go to Folder…
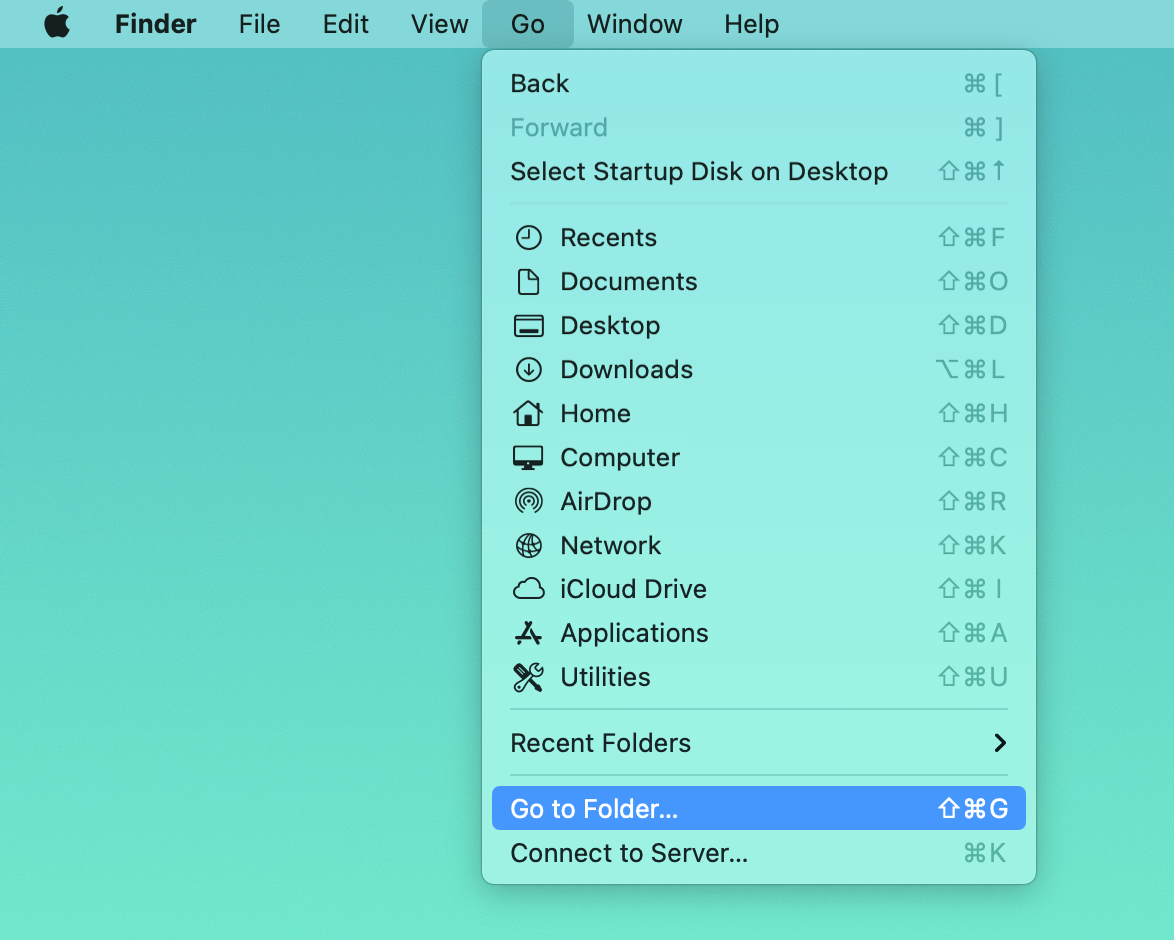
Now paste this entire line into the box:
~/Library/Application Support/FontLab/FontLab 7
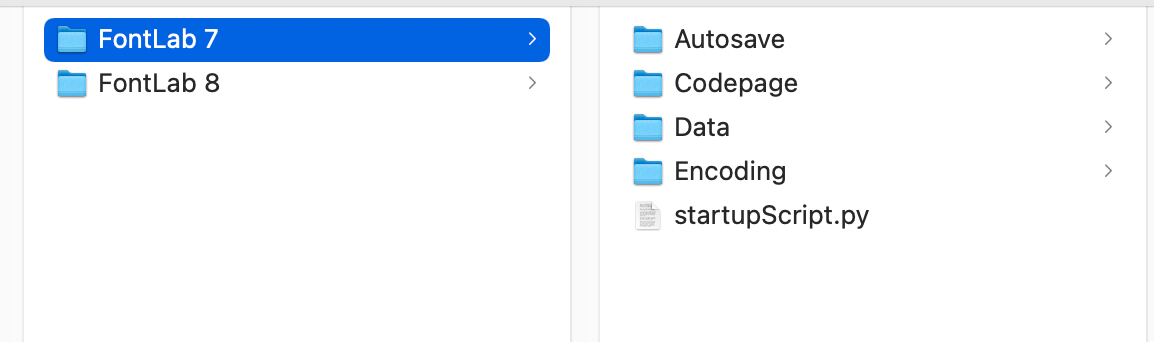
It should take you to a folder that looks like this (in column view):
WARNING
These folders are sensitive, so only make changes in the Fontlab 8 folder. FontLab and/or I do not warranty and damages that might come if you modify files in your Library folder.
Navigate to the similar place called “FontLab 8”.
~/Library/Application Support/FontLab/FontLab 8
Here you can either a) copy over the folders, b) more carefully copy individual items from the FontLab 7 folder to FontLab 8 folder.
Once these are copied, restart FontLab 8 and you will have your custom alias.dat, .enc files, and .cpg files for use in the program!
PRO TIP
For easy access, carefully drag this “FontLab 8” folder onto your Finder’s sidebar.
For more information on these file types, see this section of the manual.
PC
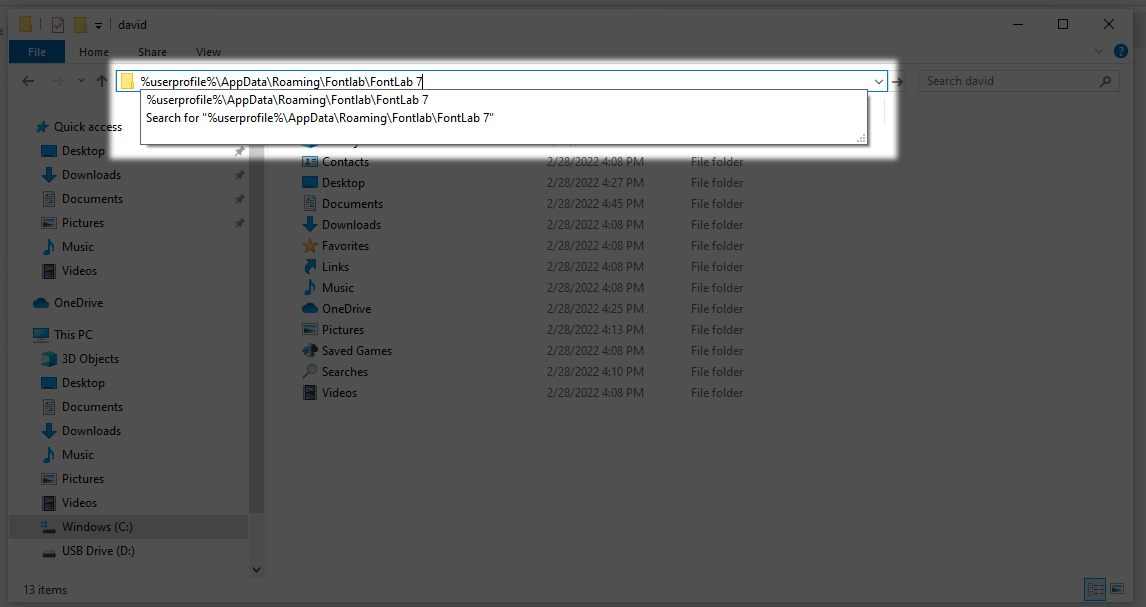
Go to Windows File Explorer and copy this into the top bar:
%userprofile%\AppData\Roaming\Fontlab\FontLab 7
If that doesn’t work, copy one of the following:
%userprofile%\Application Data\Fontlab\FontLab 7%userprofile%\AppData\Local\Fontlab\FontLab 7%userprofile%\Local Settings\Application Data\Fontlab\FontLab 7
You should be at a window that looks like this:
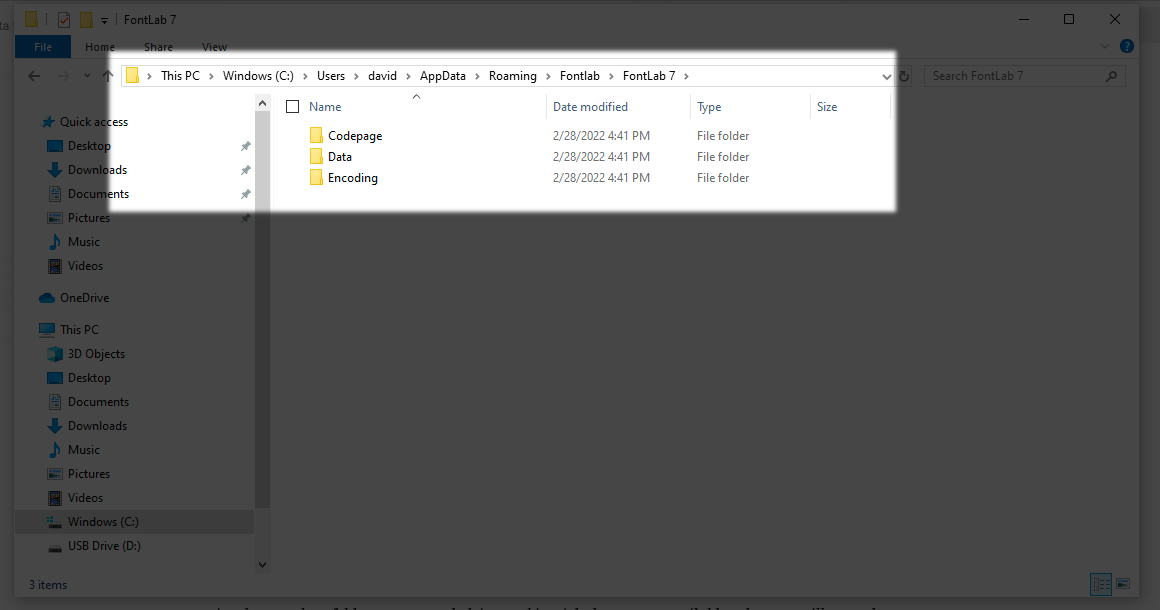
Here you can either a) copy over the folders, b) more carefully copy individual items from the FontLab 7 to the similar FontLab 8. (Located in the same place, just switch the 7 with the 8.)
Once these are copied, restart FontLab 8, and you will have your custom alias.dat, .enc files, and .cpg files for use in the program!
For more information on how these files types can help you, see this section of the manual.
PRO TIP
For easy access, carefully drag this “FontLab 8” folder and pin onto the Quick access sidebar of Windows File Explorer.
Good work!
To check out new ways to customize your FontLab experience, go to the tutorial about dark mode and the tutorial on customzing FontLab 8 UI.
Happy modding!