Open Contour Surgery: Surgery Part 2
Modify Letters for Assembly
Benefit Avoid confusion, by knowing how to add and remove points and segments.
You are doing great!
In this section, you will learn how to delete, chop up, and transplant parts of letters.
By the end, you will be able to build a G from other letters. Dr. Frankenstein would be very proud.
Setting Up Your Selection Type
One setting changes your entire experience with selecting and deleting.
Go to menu: FontLab 8 > Preferences > Editing side tab.
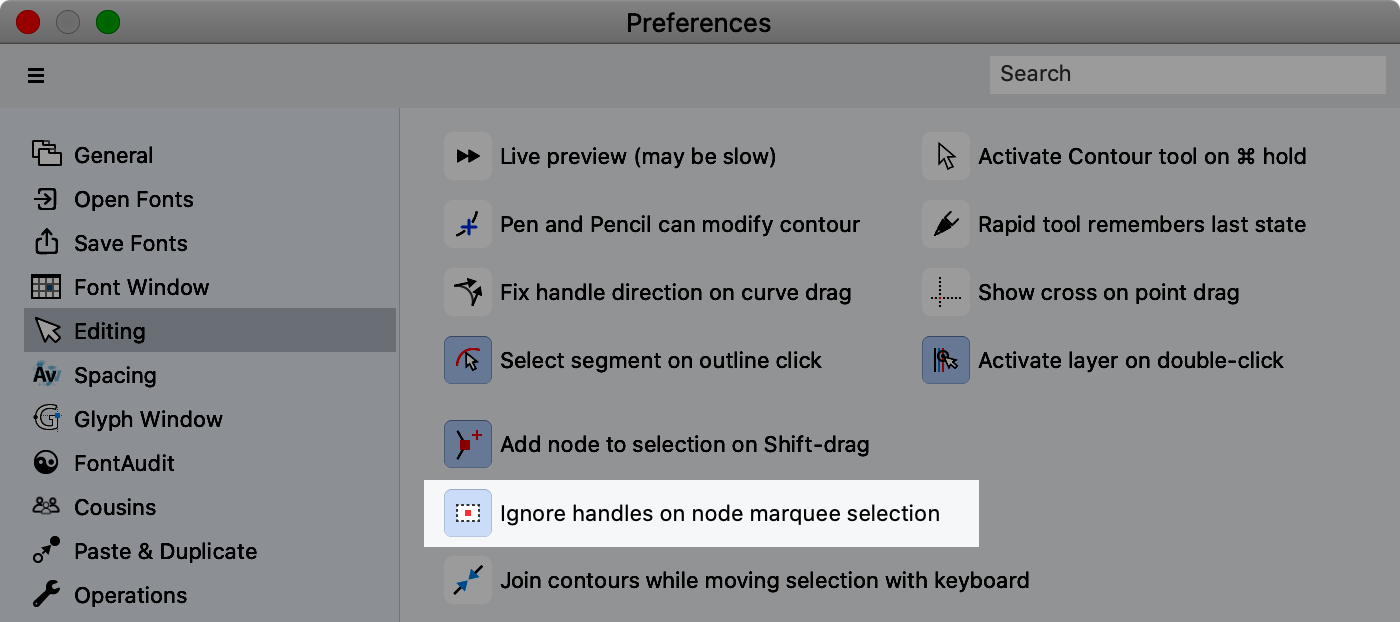
Terminology
Nodes is equivalent to Adobe Illustrator anchors—points telling the computer how to draw the path.
Default: Ignore Handles on Selection
By default, “Ignore handles on node marquee selection” is turned on.
Handles are the smaller, yellower, diamond nodes. So, this is how select works by default:
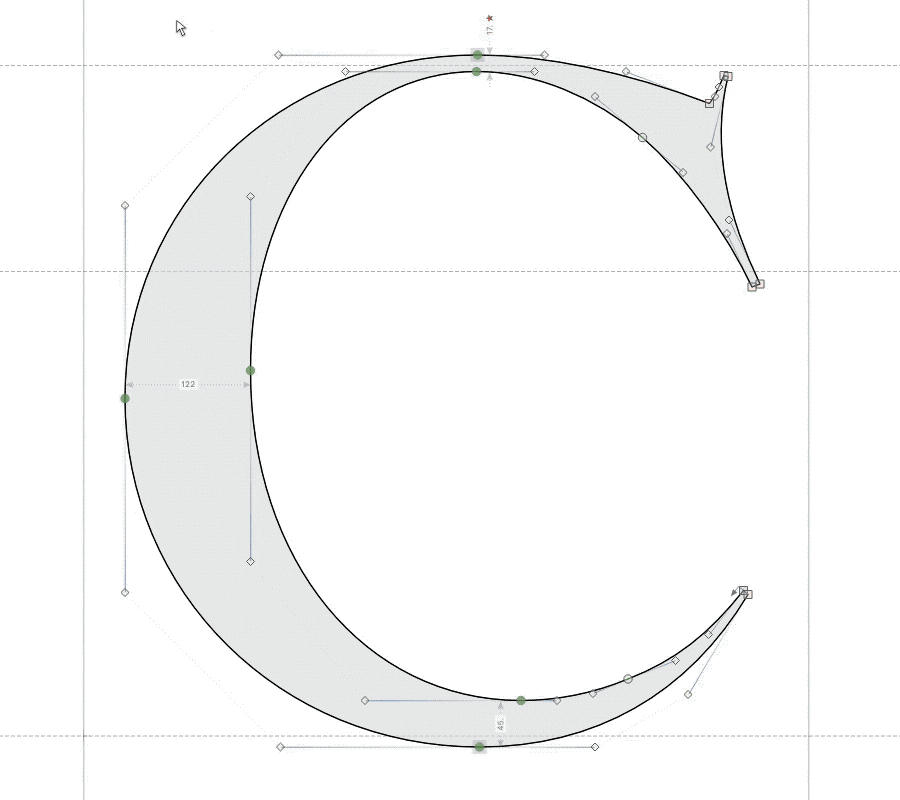
Here’s what happening in the above picture: I make a selection. The handles are not selected. Then, at the end I push BkSp.
Because the handles are not selected, once I push Del, the path bubbles out.
Benefit: Prevents you from accidentally selecting extra handles.
Option: Handles Get Selected with Nodes
Here’s the option off:
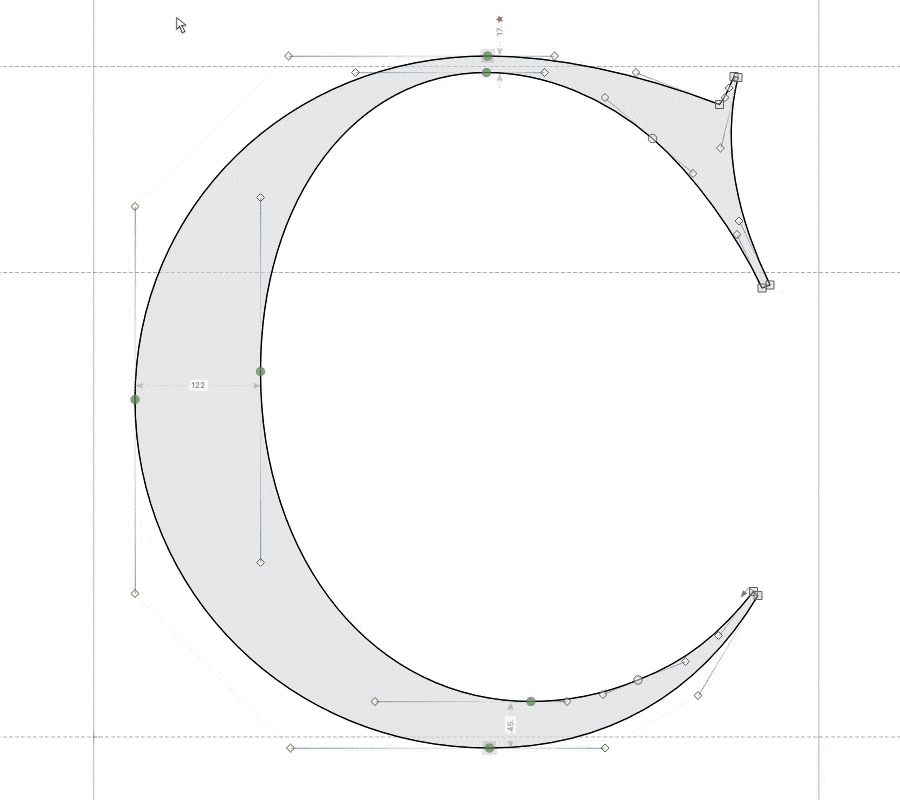
Handles get selected along with nodes. Delete is crisp.
This important, little button changes your entire curved-letter experience!
Personally, I like the option off, because I like the clean delete. However sometimes, I’m accidentally selecting too much!!
So, in these tutorials, “Ignore handles on node marquee selection” will be off.
Try out and see what you like. And then stick to it.
OK.
Now that we have our selection type set, let’s look at the two types of delete.
Surgeon, get your scalpels out!
The First Type of Delete ⌫
The primary delete (Mac) or backspace (PC) is most commonly used.
Depending upon what you select, different things will happen.
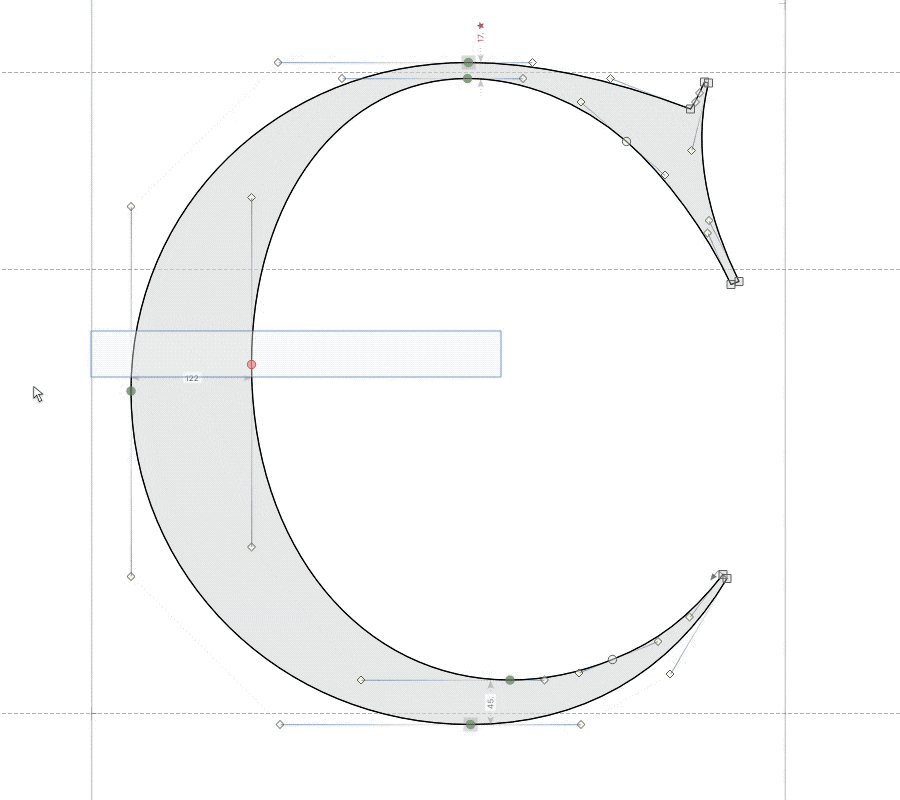
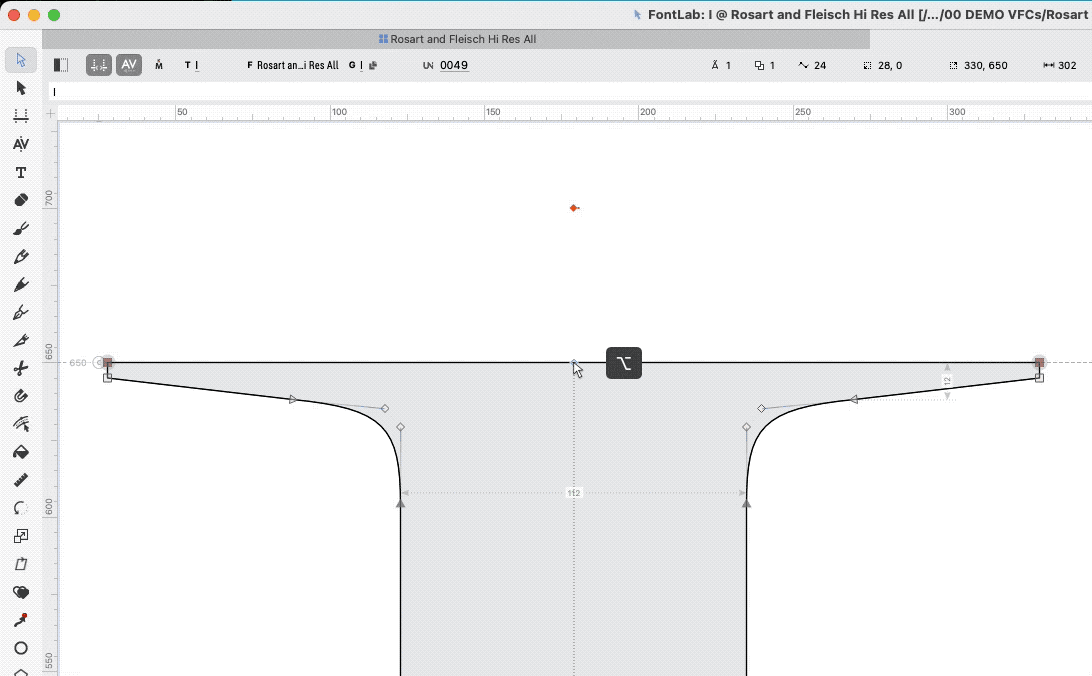
Examples
Now, click your Contour tool.
❶ If you select and delete one or more handles, the segment will change from curved to straight. ▼

❷ If you select round nodes but no handles, FontLab tries to use the handles to keep the shape the same. (More and more difficult the more and more you delete!) ▼
❸ Deleting sharp nodes works as you’d expect. (If you’ve used Adobe Illustrator, this is similar to the “delete anchor point” tool.) ▼
❹ Back deleting (⌫) a segment wipes out nearby nodes. Most of the time, deleting a segment is not useful. ▼
❺ Select with Option Hold down Alt to make complex selections ▼
❻ Select with Shift While not fancy as Alt, it’s faster, easier, and less risky to hold down Shift. ▼
❼ Sometimes Option IS needed. Example: I want to add rounded corners to all these points. ▼
❽ Sometimes things don’t deleted as you’d expect. ▼
❾ Let’s make one side straight. Sometimes solutions are non-intuitive, but fun to find. ▼
BTW, I SHOULD have done this on the RIGHT side, to build letters like B, E, D, F, D, P, R.
Let’s look at the other delete.
The Second Type of Delete ⌦
The second type is forward delete (Mac). On PC, this is “del” or “delete”.
On Mac, if you don’t have a forward delete, hold Fn while pushing BkSp.
Back delete removes nodes. Forward delete opens paths.
Examples
❶ On handles, forward delete works the same as the BkSp.
❷ On single points, forward delete breaks the path. To put it back together, just drag away, then back on.
For nodes, instead of ⌦, use CmdB. It’s easier to reach on your keyboard.
❸ For deleting segments, ⌫ and ⌦ work differently.
For example, with the backspace delete, don’t highlight the final nodes of a segment. For forward delete, you do want to highlight the final nodes. ▼
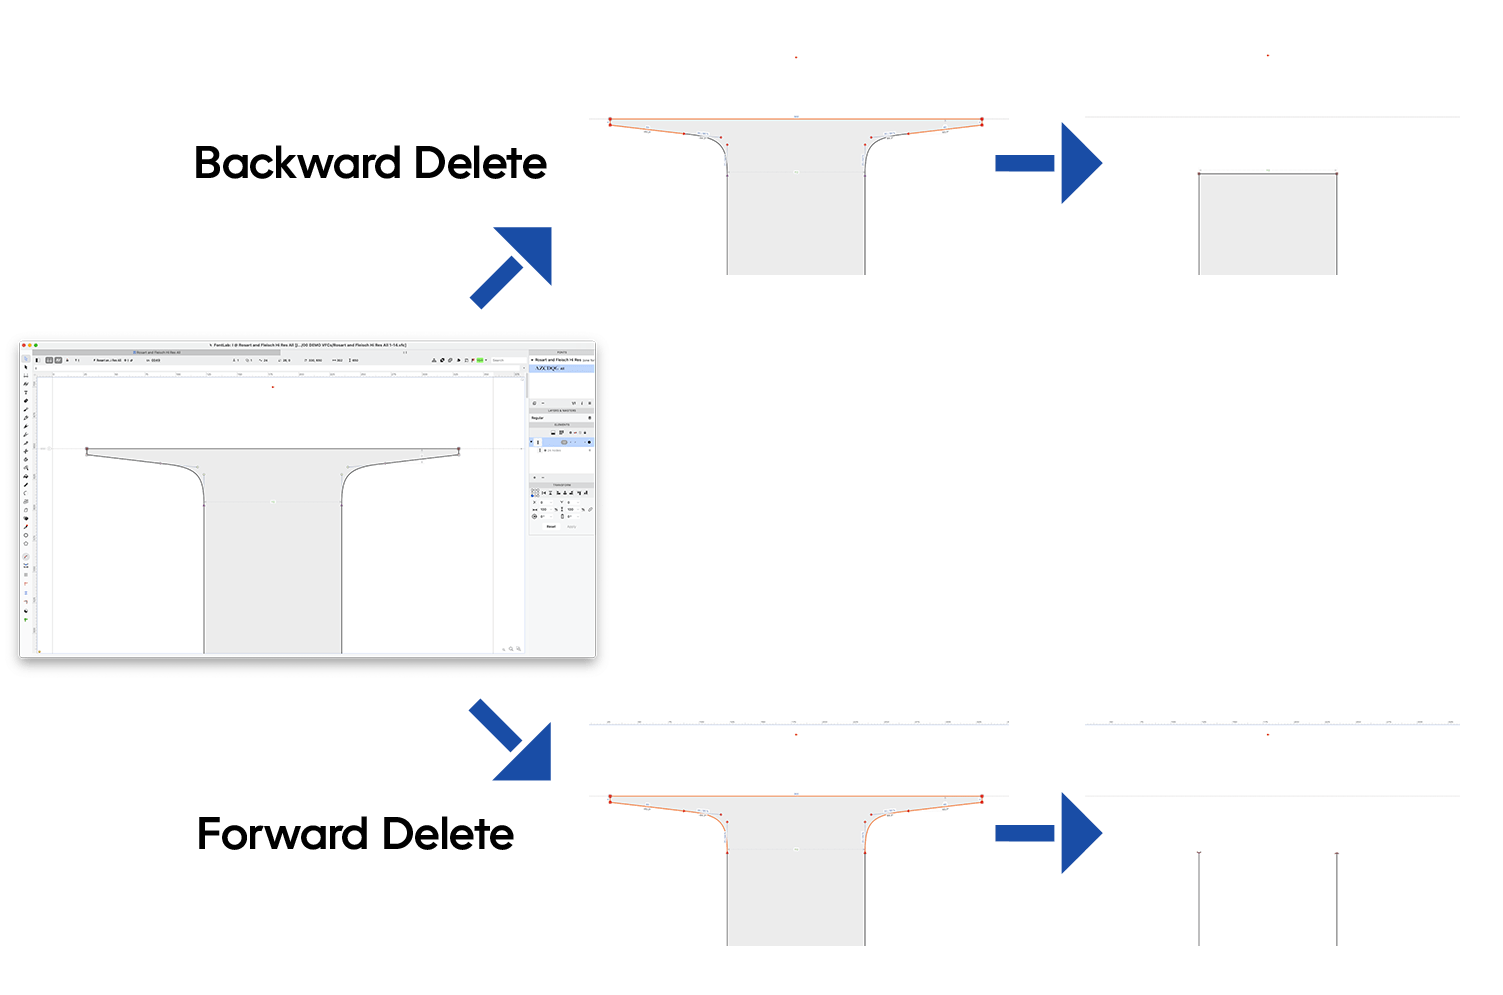
Delete a segment like this, when you want to attach another path.
ADDING
Ok, up until now, we’ve been talking about the removal part of surgery.
But sometimes, we surgeons need to skin graft or add stitches.
Adding Handles
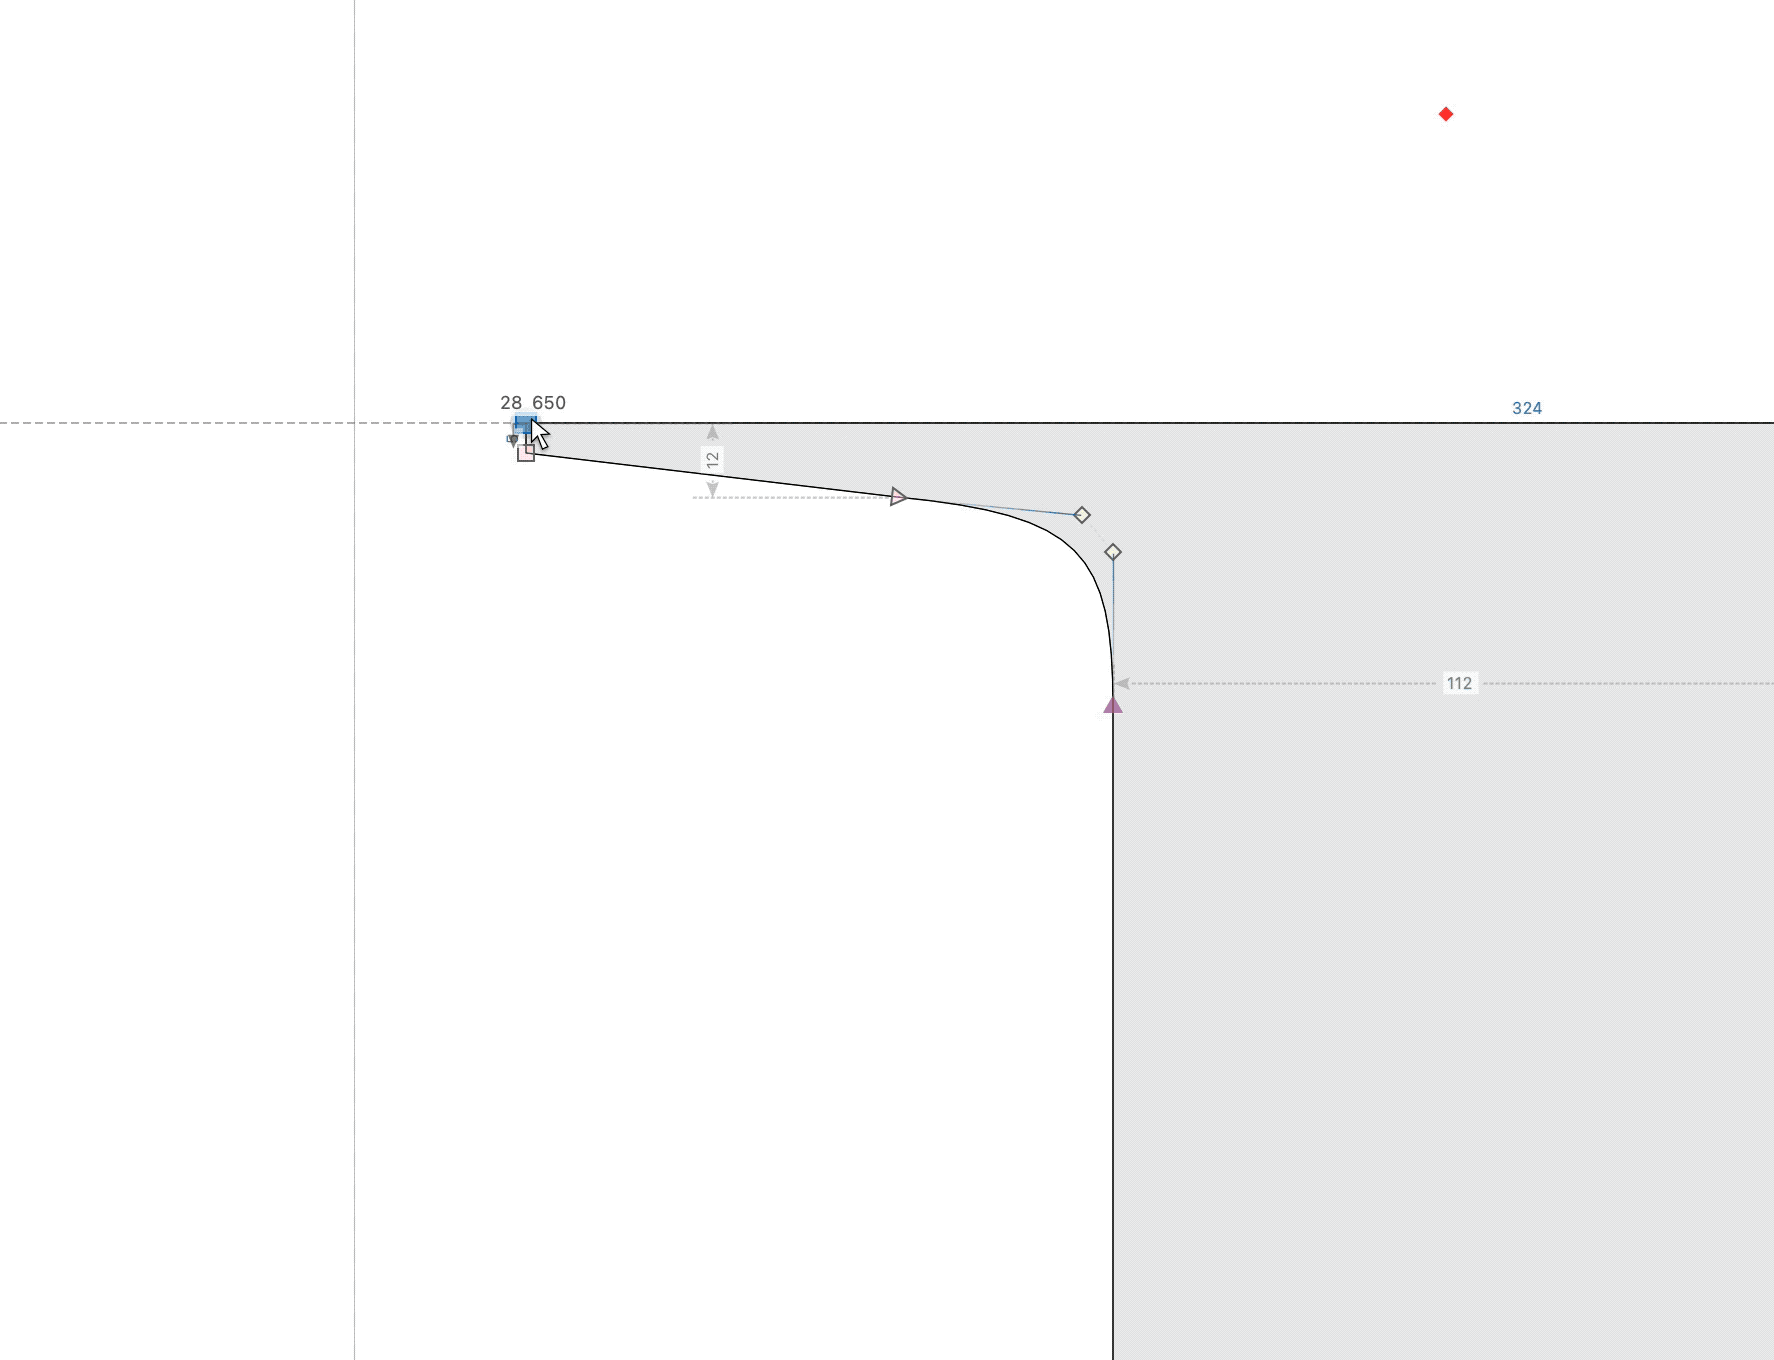
Adding handles changes a straight line into a curve.
Using the Contour (white arrow) tool, hold down Alt and drag the segment.
This is useful for cupping serifs, like this. ▼
Notice that I also add the correct node using the Knife Tool and Shift. This gives use the extreme node. Then, I move the serifs into the correct position.
Another Way to Add Handles
Dragging like above can sometimes make the handles uneven.
You might want to: 1) +Alt++-click the line to add handles and 2) move the handles using your keyboard arrows.
Adding Nodes
Why add nodes?
For one, adding nodes then using forward delete ⌦ can help you remove the correct path.
Also, for variable fonts, adding nodes is used to manually correct non-matching masters.
To add: CtrlAlt-click a segment. Or activate the Knife tool and click.
Duplicating Nodes
Duplicating nodes is helpful for extending a contour. Or making variable masters match.
In FontLab, CmdD means duplicate. Or go to menu: Edit > Duplicate
When applied to nodes it creates a node directly on top. Since they are usually bad, stacked nodes glow red.
If these nodes are on top of each other, how do you get the right one?
One way is to hold Alt. Then move it out of the way like this. ▼
You can also move using the arrow keys on your keyboard. Or use the mouse with Shift.
When the curve goes nuts, don’t freak out!
Just move it back the other way.
Duplicating Segments
Duplicating segments isn’t used often.
When you duplicate a segment, you get an offset open contour.
Tip
If you want to duplicate many nodes, only select one at a time. If you select multiple nodes, then push CmdD, you will duplicate a segment.
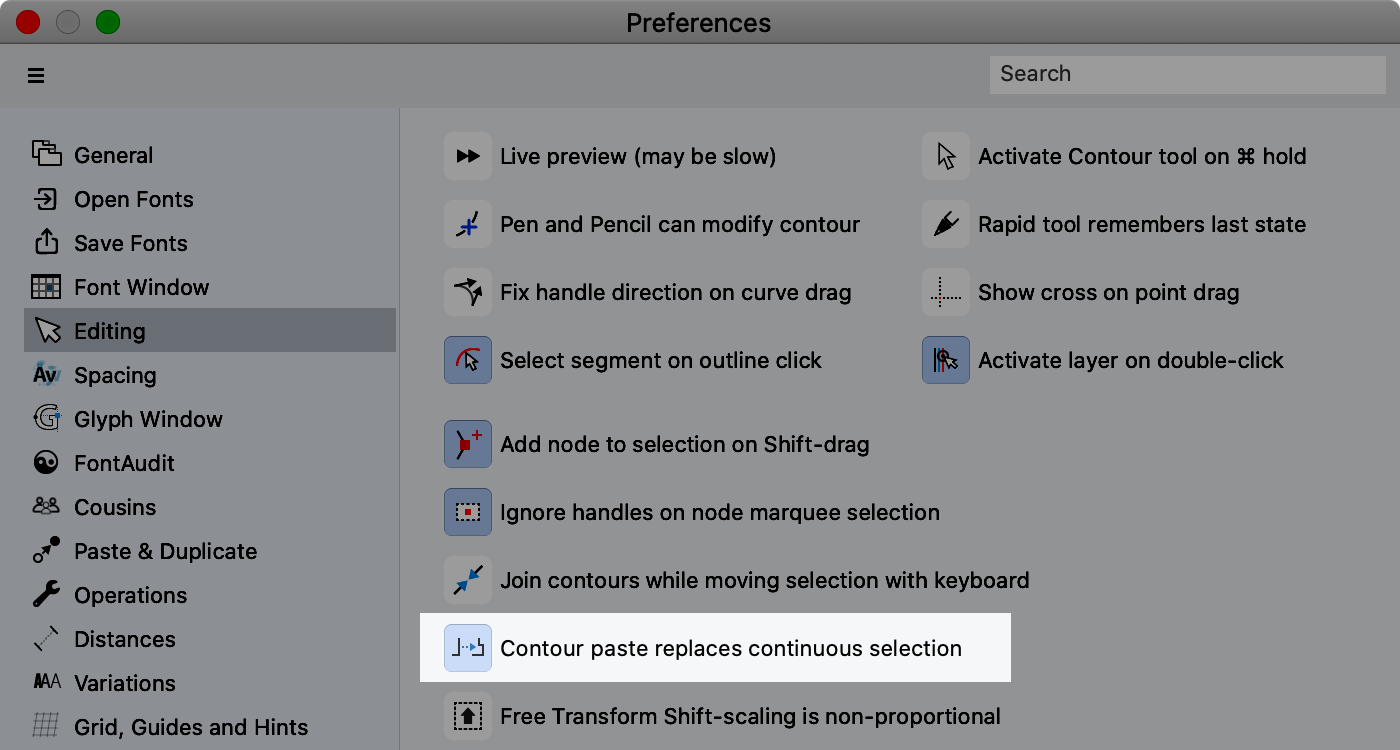
Replacing Segments
By default replacing segments is off. So let’s turn it on.
Go to menu: FontLab 8 > Preferences. Go to the Editing sidebar tab. Click this on. ▼
Download and Practice
Download VFJ
I’m going to show you how to replace the bowl of a P, with the bowl of an R. Download the VFJ example and follow along!
Step-by-Step
❶ First create overlaps. Then get the structure of your R bowl, looking like the P.
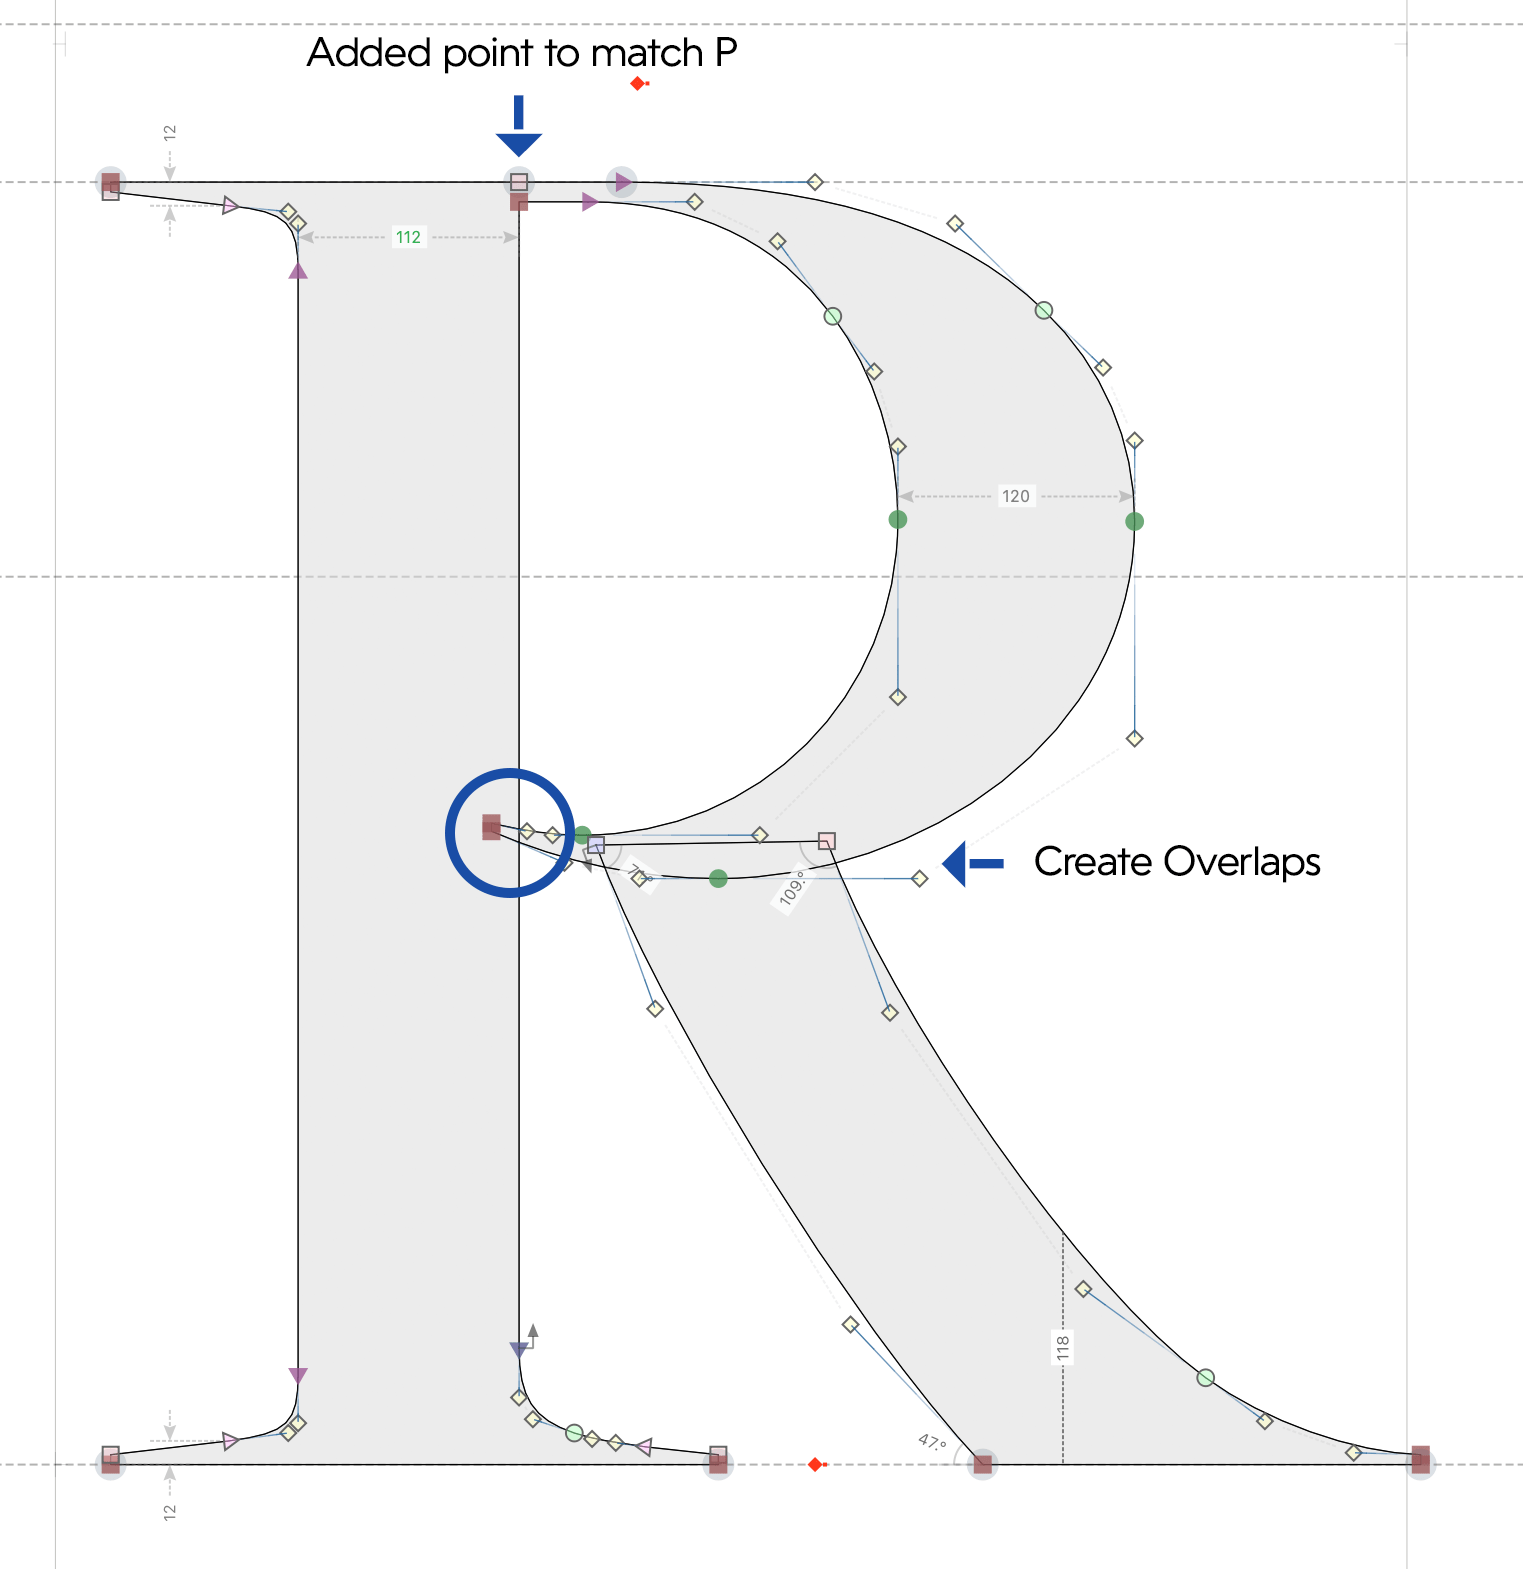
❷ Make sure that the P has overlaps also. It should look like only one path. ▼
❸ Highlight the entire R bowl using Shift.
❹ Copy.
❺ Highlight the P bowl and paste.
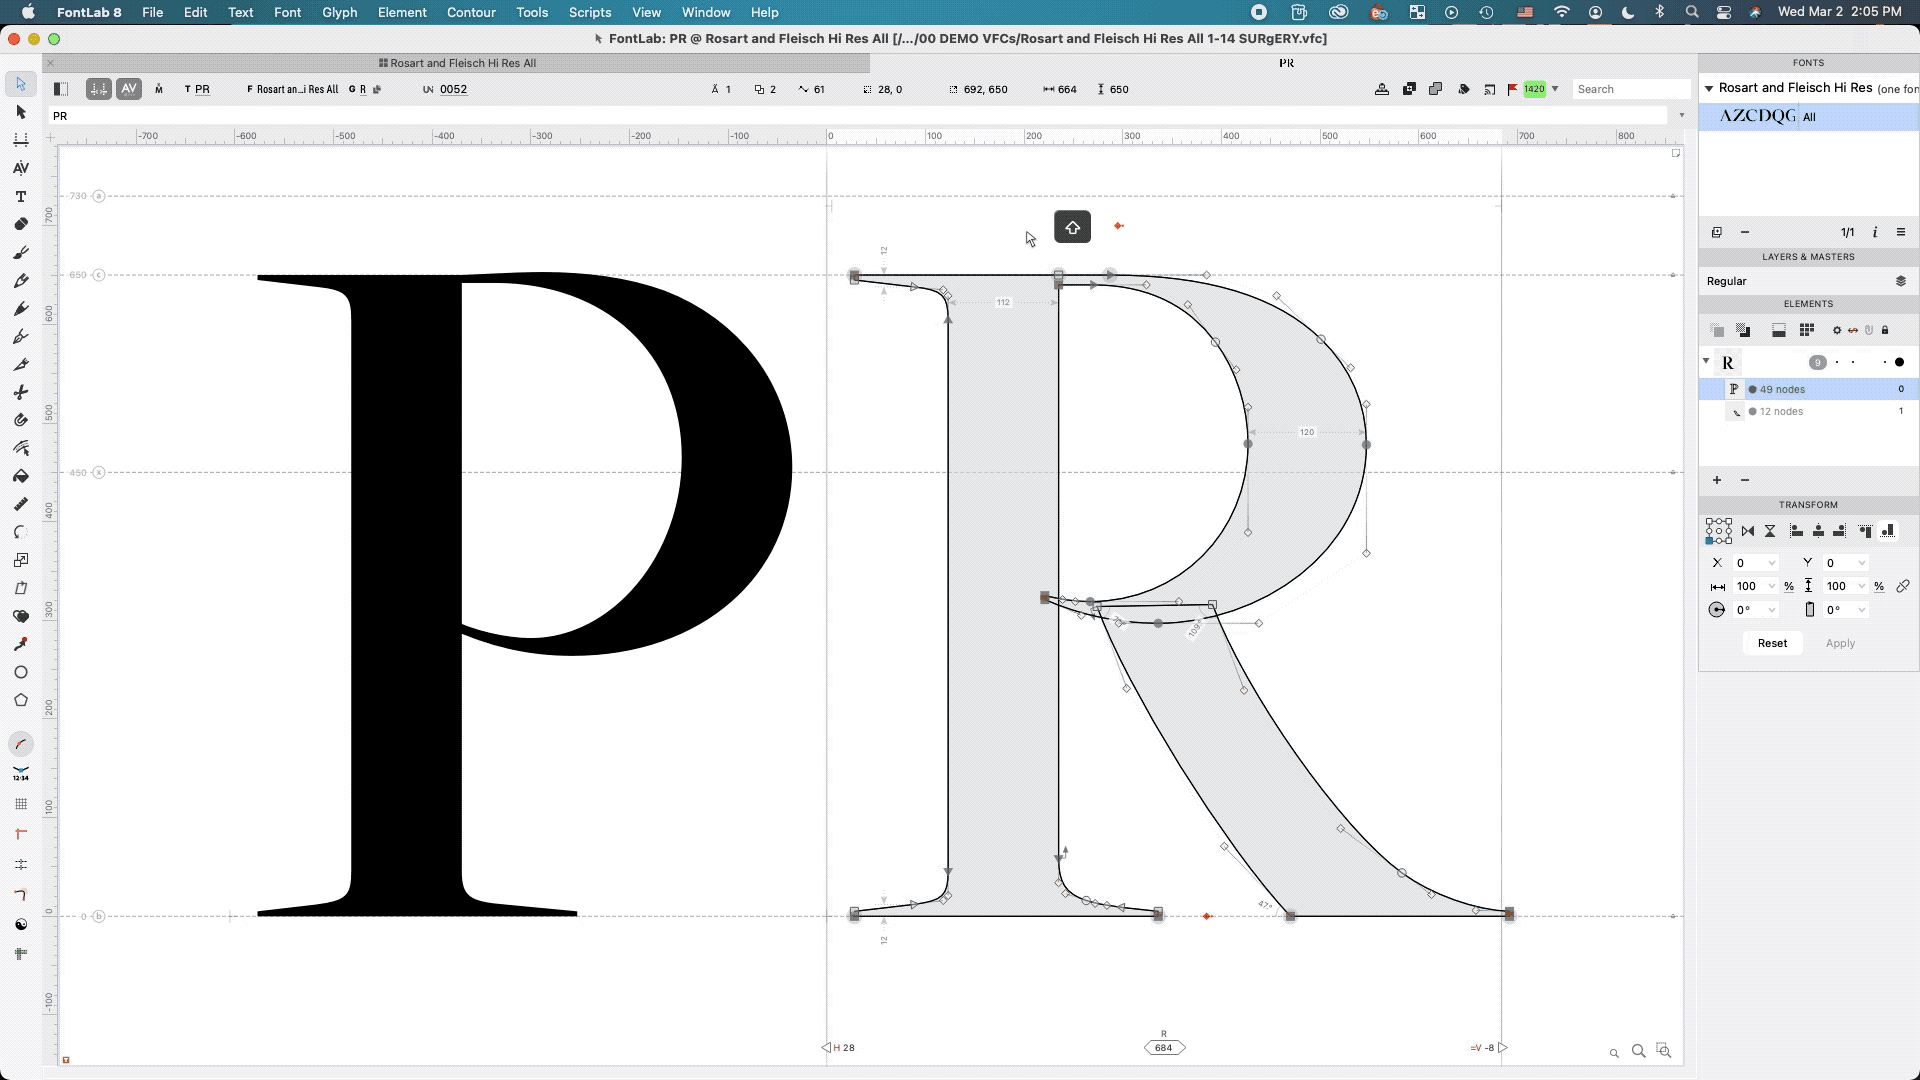
It should now be replaced!
Pro Tip
If you want to view both letters, push T. Type in the letters. Then push escape.
Pro Tip
Replace similar segments. Otherwise you will get unexpected results! You can’t replace a brain with a kidney!!
Extended Practice
Using the same steps, replace serifs and letter terminals.
In the next section we are going to put together all you know so far.
Get your scrubs on; this is going to be messy!