Special Non-Destructive Transformations
Delta Filter
For those of you who have done manual TrueType Hinting (with deltas), you’ll probably feel at home with this new filter/tool.
If you haven’t, that’s OK!
In the tutorial, you’ll find step-by-step instructions for making nuanced, optical, non-destructive transformations. Impossible with normal transforms.
You can optically adjust nearly similar symbols, such as n→u, d→bpq, V→A, and S→$.
You can also use it to make optically adjusted superiors, small caps, but I haven’t yet thoroughly tested that.
At this point, I’d still recommend variable components for those. (See this tutorial.)
So let’s get started!
Note
Delta Filter can be applied to Elements but not Components.
Open panels: Elements
Narrowing Non-Destructively
Download VFJ
Let’s make an optically adjusted u out of an n.
Open this starting file.
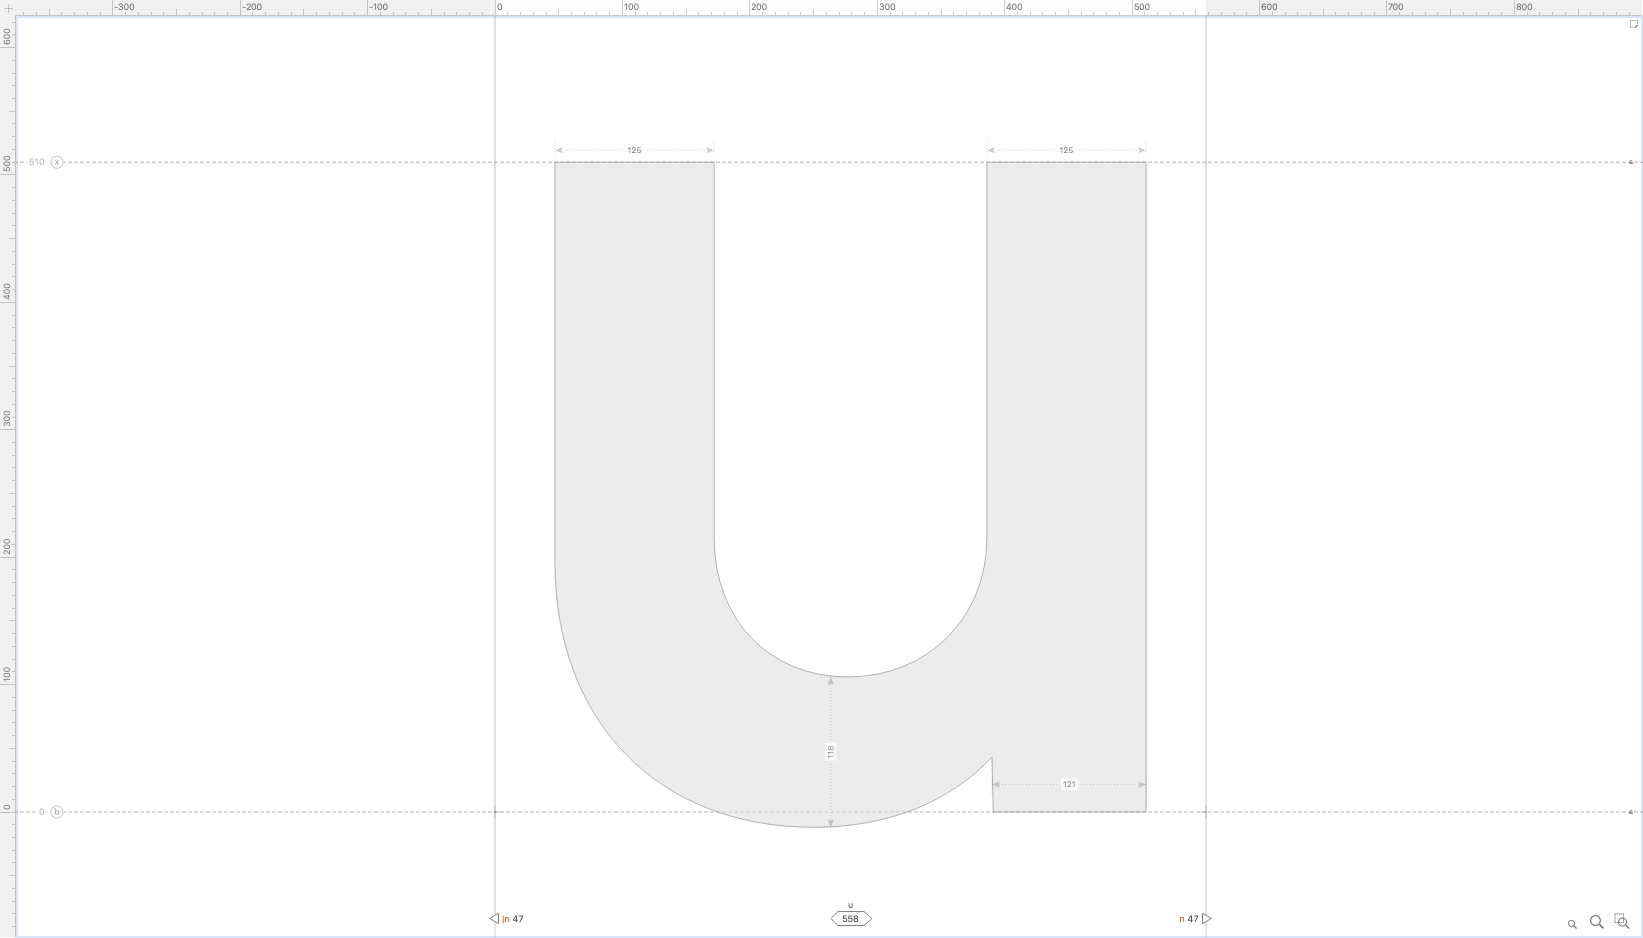
❶ Prep. Let’s get the n element in the u. In the font window, click the u and go to menu: Element > Element Reference > Add Element Reference… (Ctrl+I) Add the n.
❷ Still with Element tool, select the u, then flip the letter (press W, then E). Get the u stem onto the baseline by nudging it down with your computer arrows.
Info
So at this point we might call it a day. However, we are going to use the Delta filter to adjust this to be narrower, because as Frutiger says, letters that open upward “let more light in.” If your design is used primarily for digital text, this level of detail is probably unnecessary.
❸ Make sure that the u is selected with the Element (V) tool, then go to menu: Element > Add Delta Filter.
Note
If this option is greyed out, unlock the element.
Your u will look like this, with brighter blue dots:
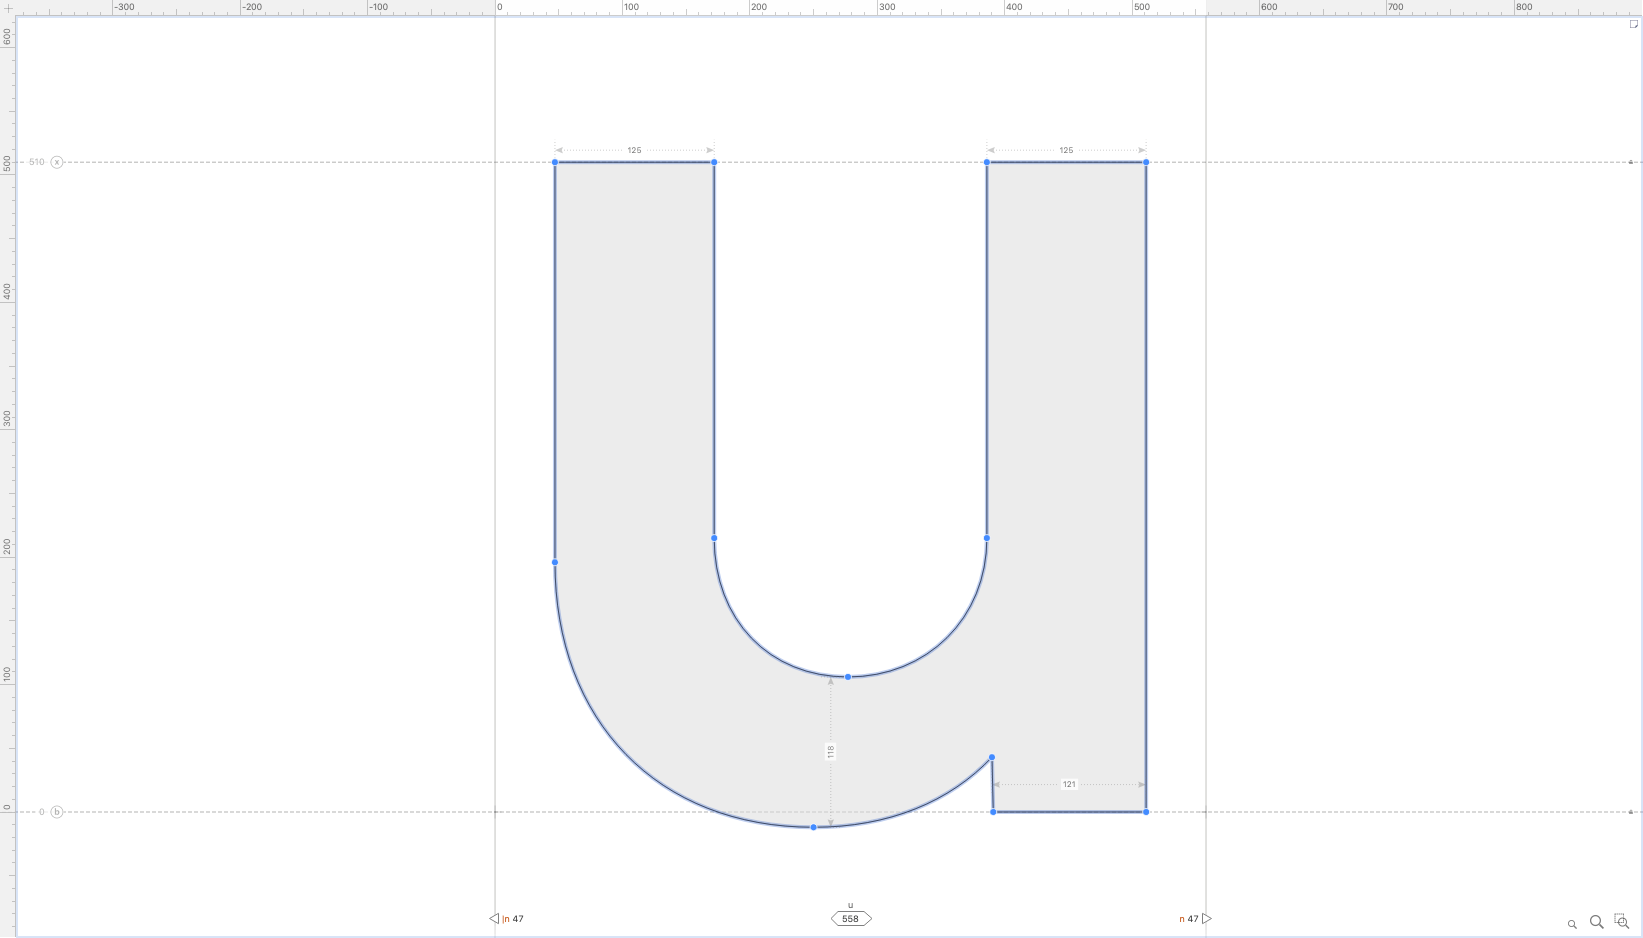
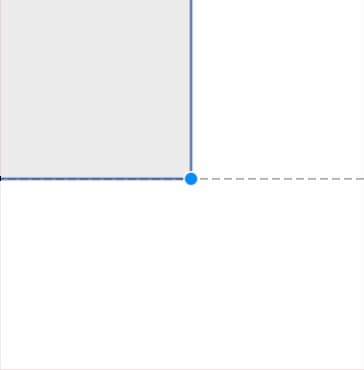
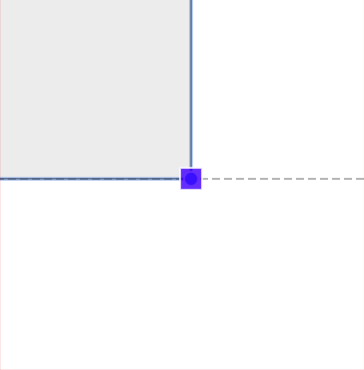
❹ There are five types of delta nodes.
Untouched
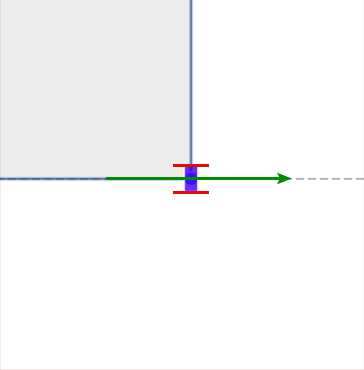
Y Locked - Vertical Rectangles
These don’t move up or down.

X Locked - Horizontal Rectangles
Doesn’t move sideways.

XY Locked - Squares
Stays put.
Types of Moved Nodes
Moved in two directions Circles have been moved in two directions.
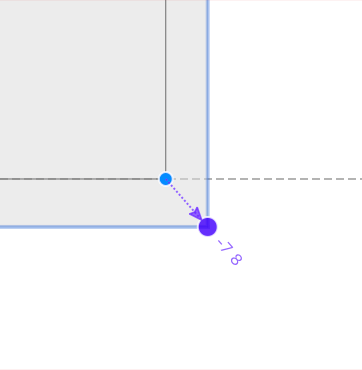
Bright Idea
Think about these nodes like this. The thinner part of the block is easier to move through. The thicker part is blocked.
With mouse, click slowly on a node to change its type.
Try these out!
Deleting Moved Nodes
To delete, use a mouse marquee to select everything then hit Del.
Don’t worry, it won’t delete the actual nodes, just the transformations.
Warning
When changing node type, you must click slowly. If it is too fast you will go inside the element, and then you will have to navigate into the delta filter again.
Info
Getting back into the filter With the Contour, click the empty canvas to get back into the delta filter.
❺ Let’s change the u to the correct nodes.
We’re going narrow the u, by moving the left arm.
So, first we’ll lock the right side. Highlight the nodes like this. Then click one of them to lock all.
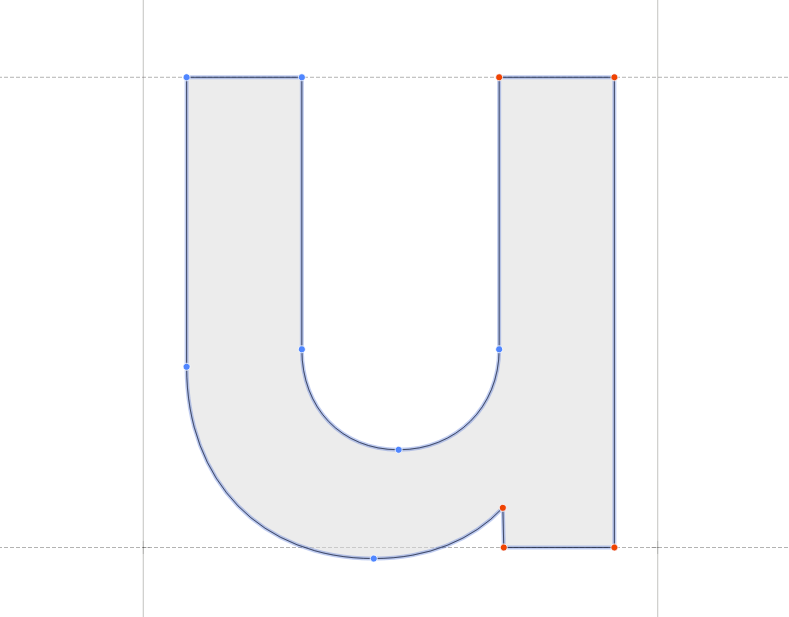
Second, adjust the top of the left arm to have the y locked. This allows the left stem to move inward.
❻ Holding Shift, drag the left node inward.
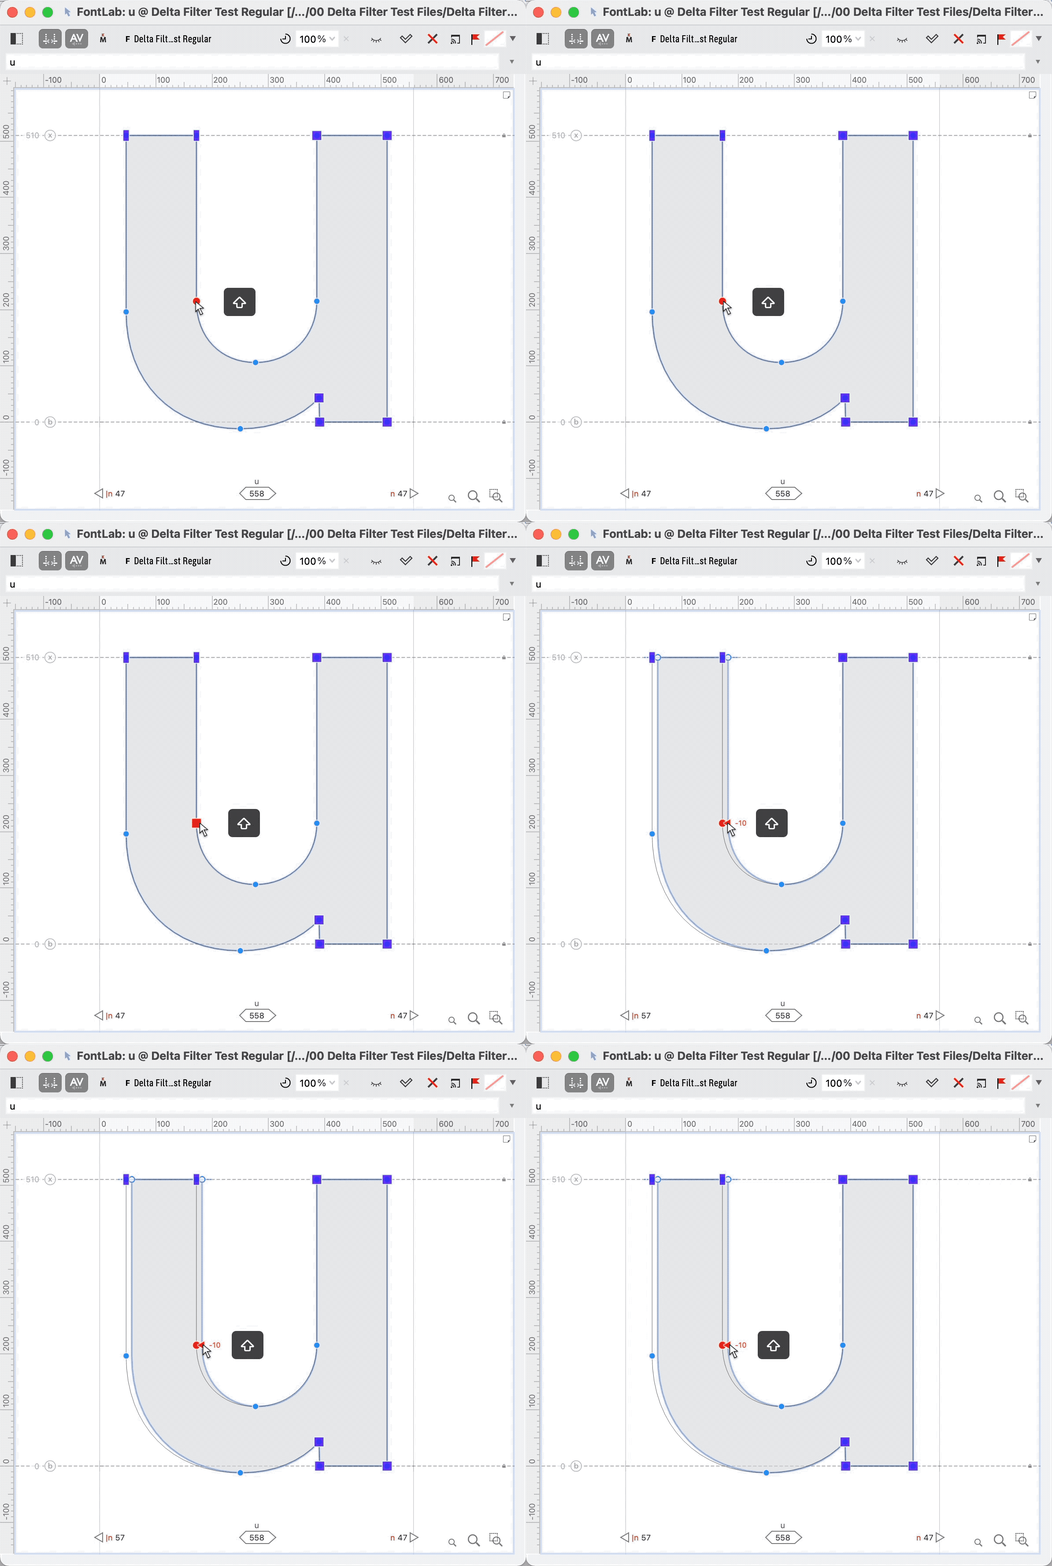
Warning
Because the n is flipped both ways, when you use keyboard arrows, everything is backwards! Up means down and right means left. The mouse works like normal.
Careful about moving too many nodes at a time!
❼ This particular u needs some more adjustment. The bottom stroke looks too thick once it was narrowed.
So move the inside node down.
That’s it!
Here is a possible final result. Check the u and n together.

This looks a bit over-adjusted if you ask me. Tweak until you like your letter.
Changing Stem Lengths, Non-Destructively
In certain fonts, when the d is changed into p, the p descender must be made shorter.
Here’s how you can now do it non-destrucrtively, step-by-step:
⓿ Inside the p, push Ctrl+I, or go to menu: Element > Element Reference > Add Element Reference… Add the d.
❶ Flip (pushing W and E) the d. Move to the correct position.
❷ Unlock the element if necessary. Then add the Delta filter (Element > Add Delta Filter).
❸ Lock the nodes that might be influenced by the transformation, and move up the stem.
Done!
Your final result should be like so. ▼
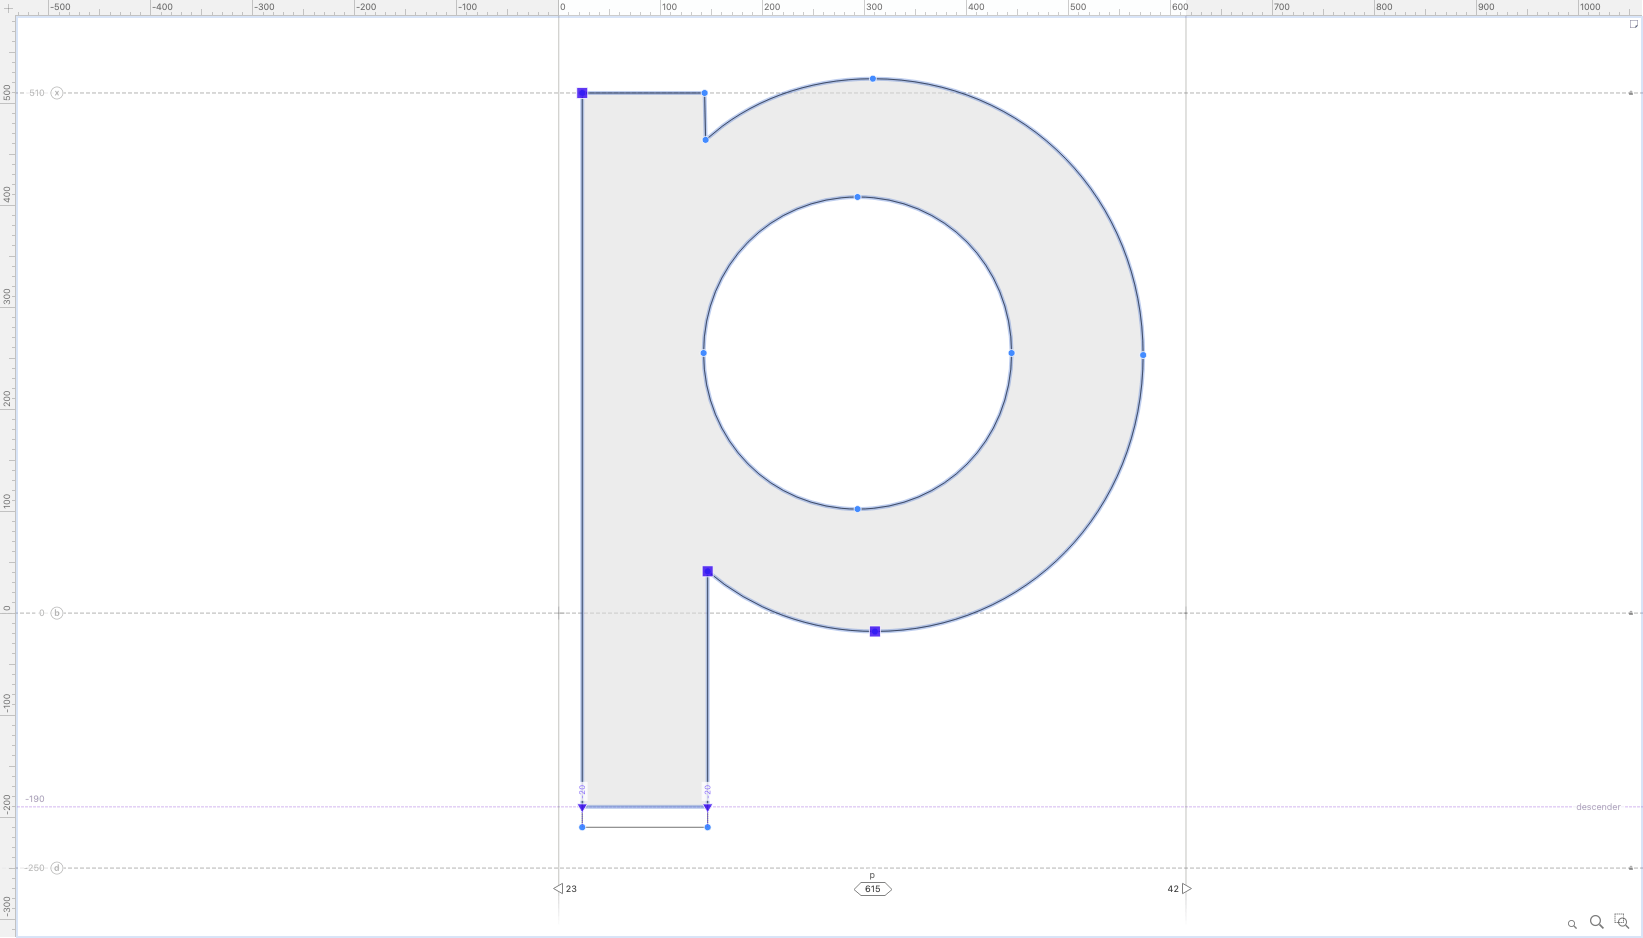
Any changes you make in the d will now be reflected in the p!
Adjusting Diagonal Letters, Non-Destructively
To change a sans V into an A, the Λ needs to be made wider, the top needs to possibly widened as well while the inner counter needs to move up, to make space for the crossbar.
⓿ Add the V Element Reference into the A.
❶ Flip by pushing W then E.
❷ Unlock and add Delta Filter.
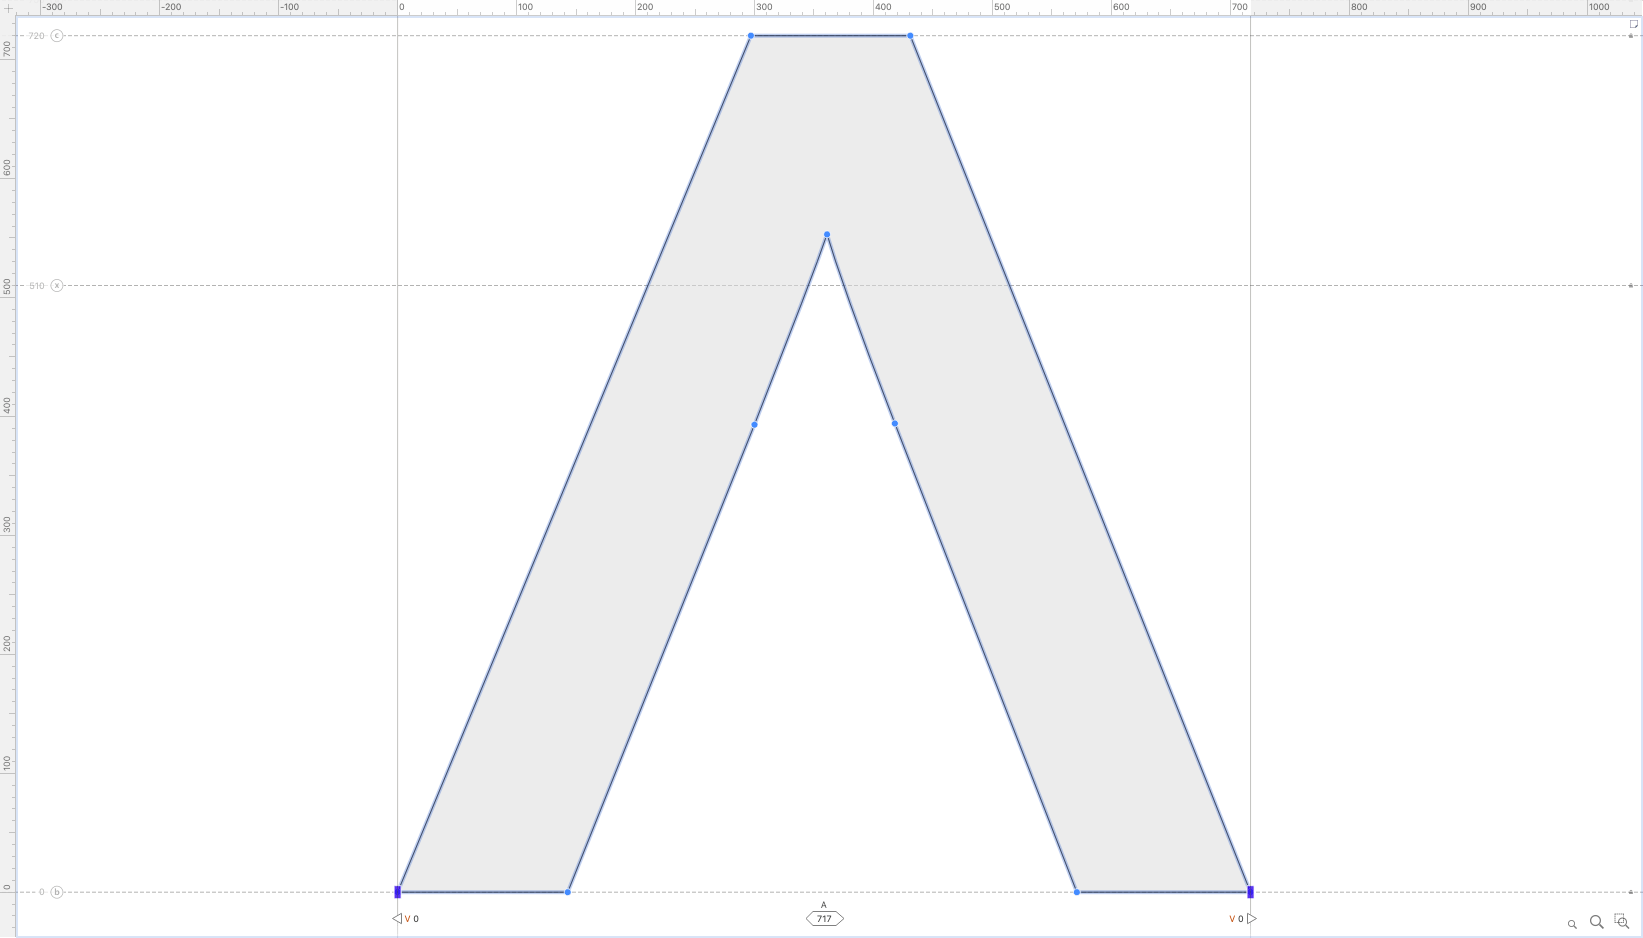
❸ Set up your nodes.
Here’s a good set up:
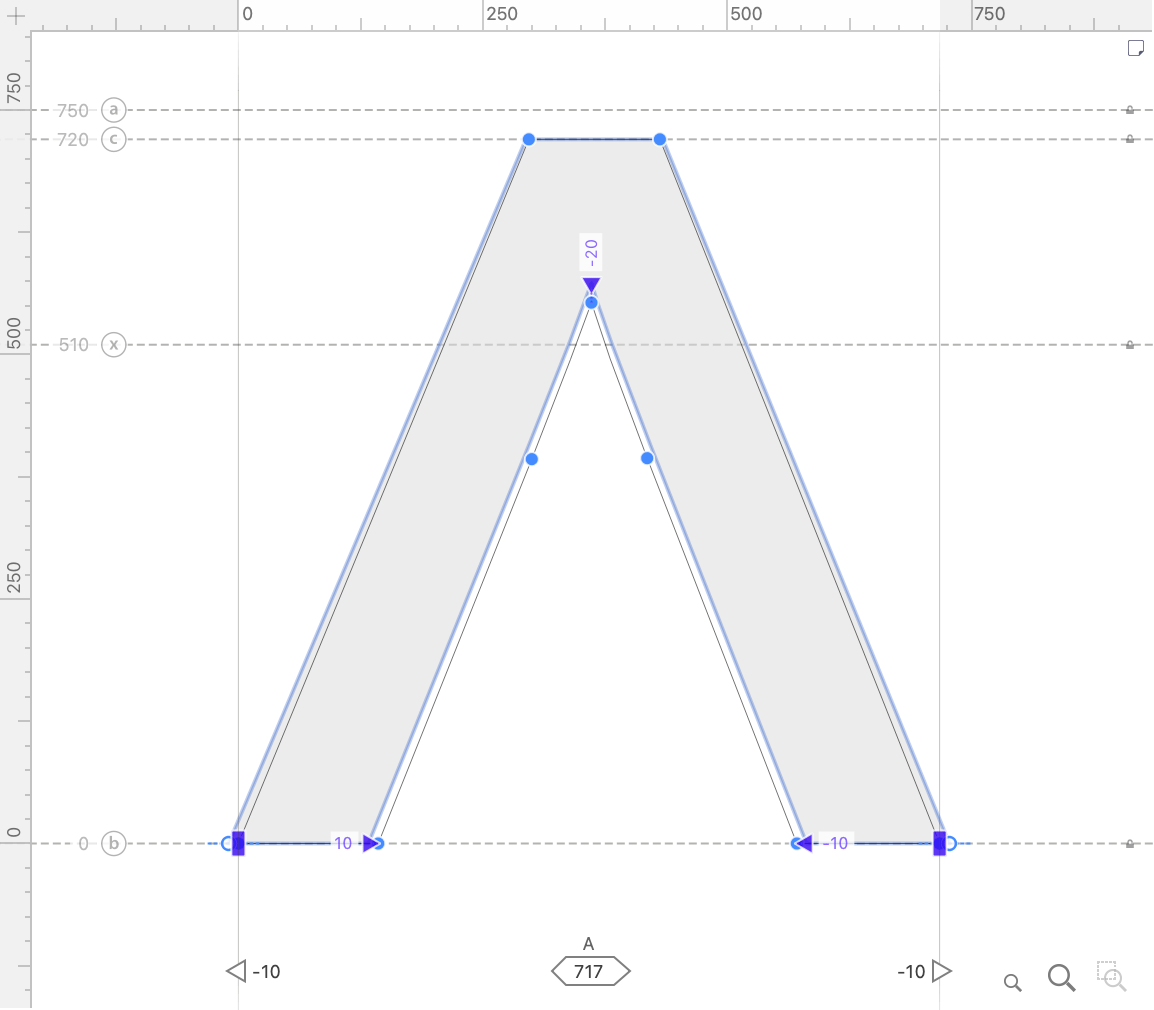
❹ Moved the inside points outward. The A will be adjusted like this:
❺ If you want to make the bottom stems more narrow, this is not easily achieved. You can’t just move the outside nodes, because they are anchoring the entire shape to the baseline.
See what happens if you try to move them.
See if you move them, stuff starts flying out of place.
Delta filter requires some nodes to act as anchors.
❻ Here’s one way to get the stems thinner.
Change the outside nodes to squares.
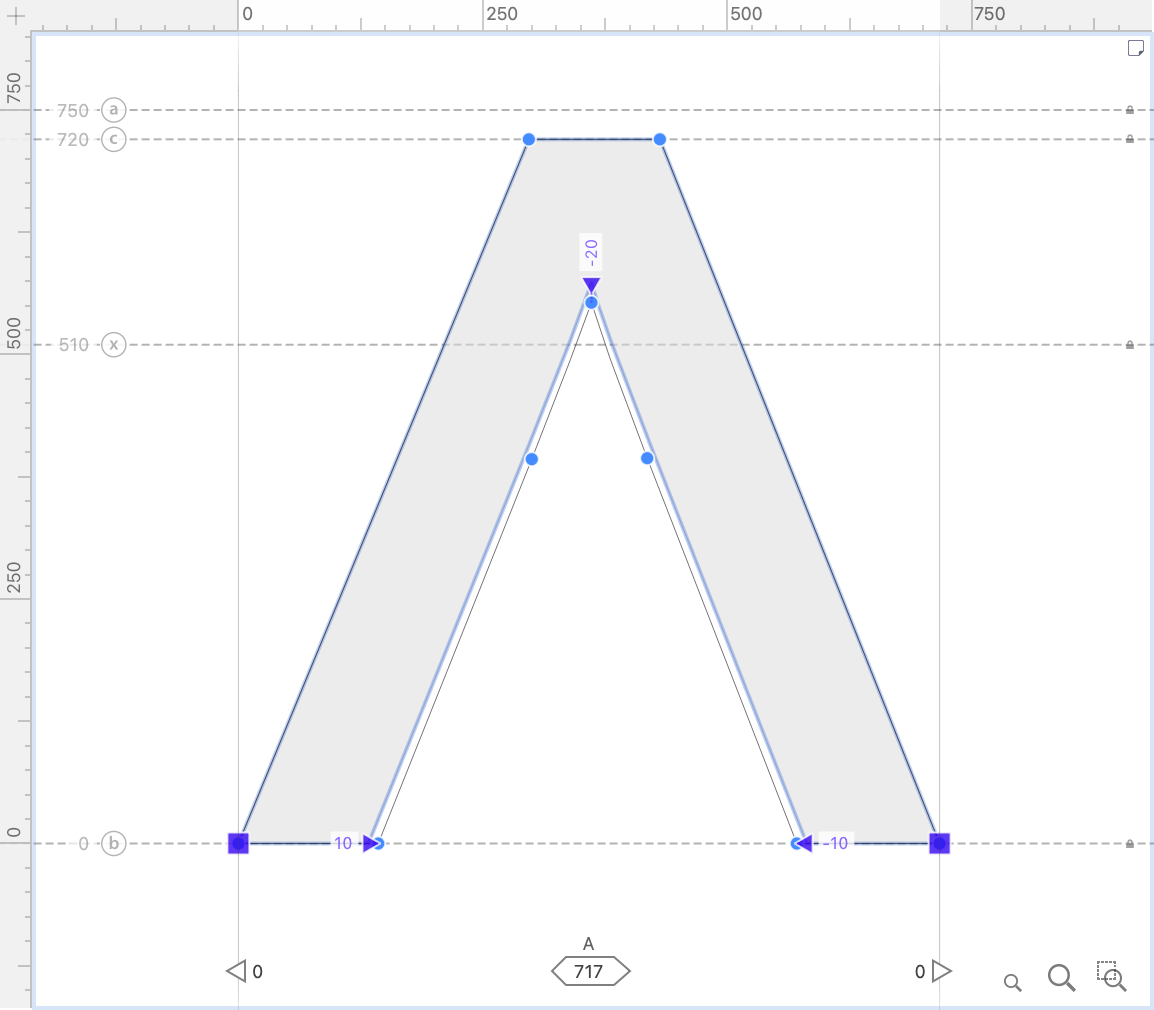
This means that the outside will not widen, only the inside.
❼ Here’s a solution.
It’s not the most elegant, but it gets the job done. It allows the most control. ▼
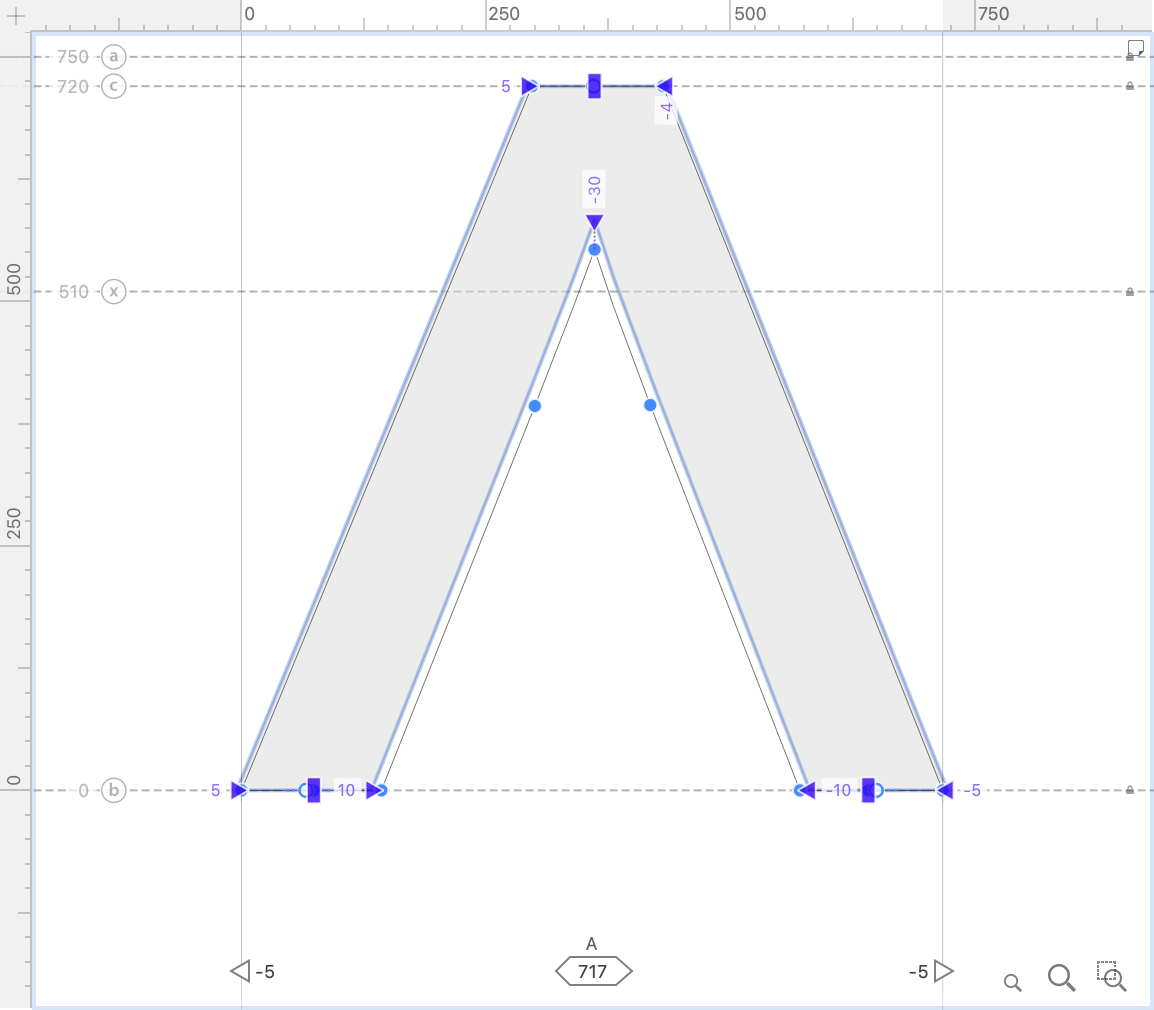
This gives you 100% control.
Whatever changes you make in the V get transferred here!
❽ Lastly, let’s make the A’s crossbar.
We need to make a new element to hold the crossbar. Otherwise, it will show up in the V!
Make a new element by pushing Ctrl+S. With the Rectangle tool, draw the horizontal bar.
Compare the A and the V and adjust to make them match.
The Final Boss: Perfect W from two V’s
Download VFJ
You will be amazed by this one!
⓿ Start from this file, and put two V references into the W similar as we have done before.
❶ Unlock if needed, and add Delta Filter.
❷ Set up the middle nodes to be vertical rectangles.
Here’s how to make delta node types match. Select the nodes. Then Alt-click the node type you want.
Like this. ▼
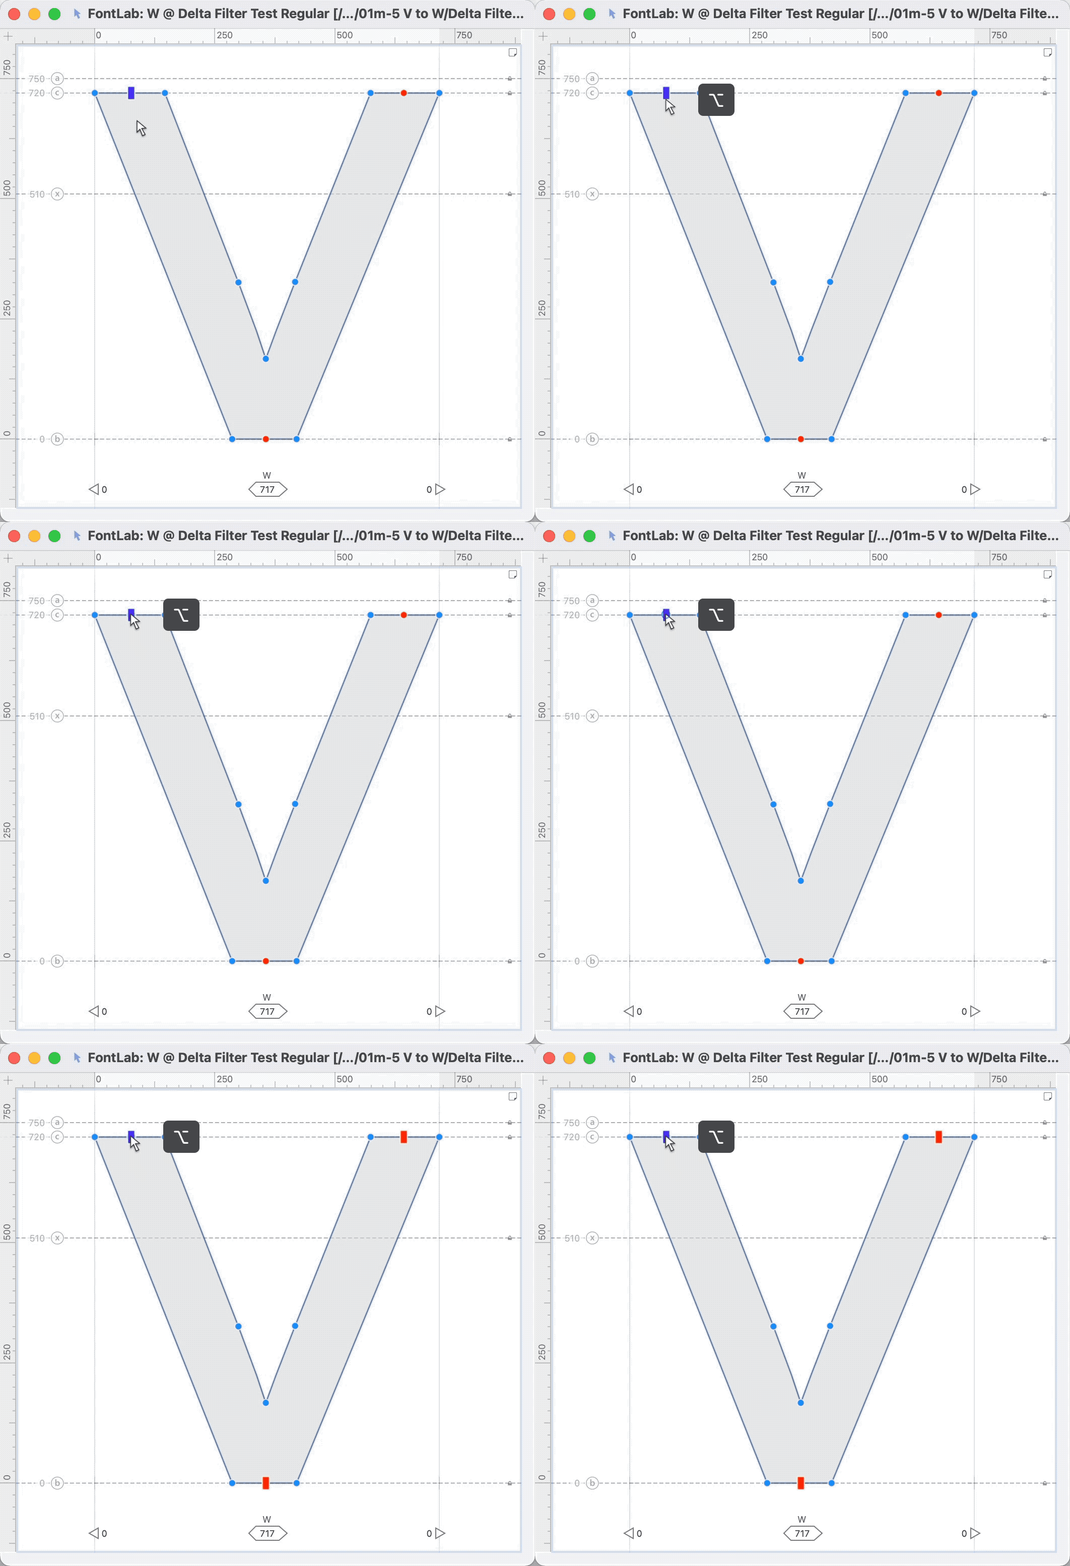
❸ To keep similar strokes to the V, highlight both nodes for the stem and move inwards.
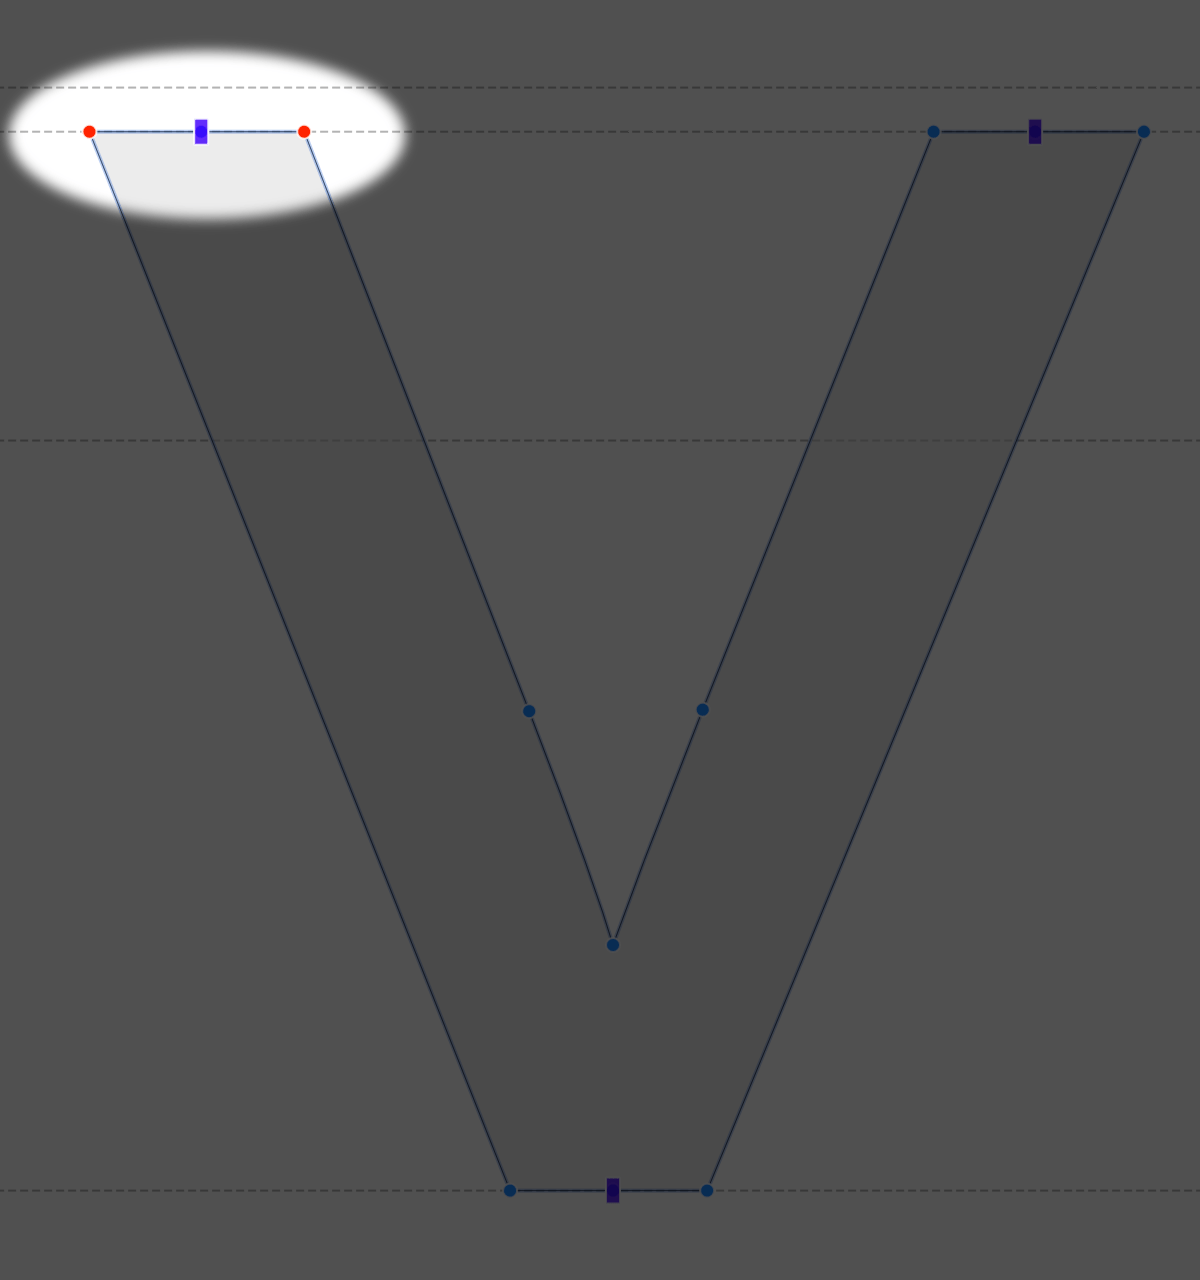
Repeat steps 1 – 3 for the other side of the W.
Info
You cannot copy and paste deltas.
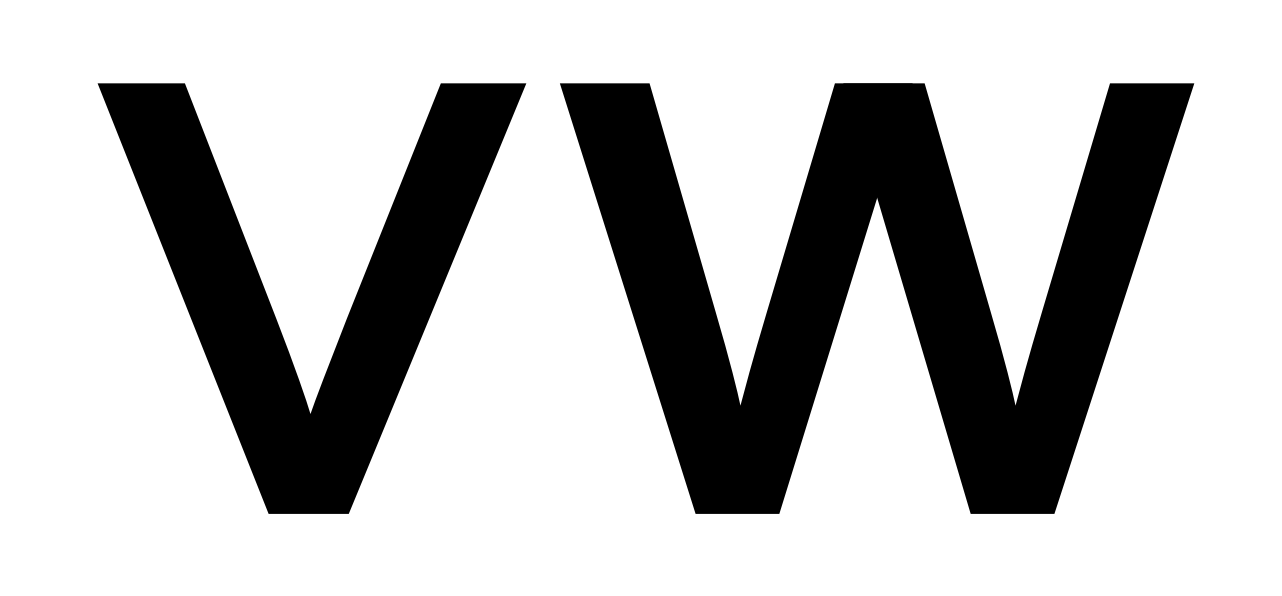
Once you get the hang of it, it should only take a minute or two to make a W from the V. Besides this, whatever changes you make in the V go into the W.
Here’s how my W turned out after tweaking:
Info
A couple more things to note:
- If you drastically change the node structure of a letter, then you might need to check the modified delta letters. If you are making a small change like adding nodes or handles, Delta should be able to handle that.
- Delta can be used for making variations in other masters. (See delta variations tutorial.)
- If you apply a Delta Filter to a transformed element, it will move: percent of scale × delta units. Example: Suppose you have an element transformed by 70%, then you apply Delta filter. You move by 10 units. The final result will be a movement by 7 actual units.
- Italics Delta filter doesn’t currently “follow Italic angle” when this option is on.
- If you want delta filter to follow the italic angle, make sure that you slant your element using a black arrow transform. Here’s an example. ▼
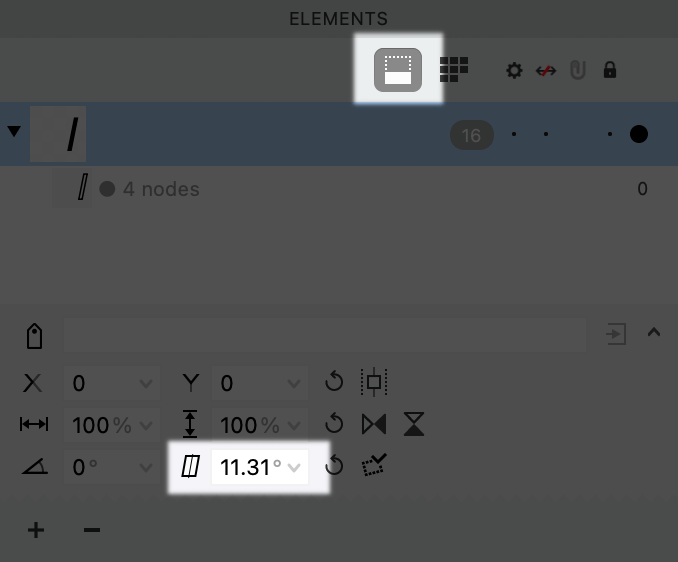
Now, when you move the delta nodes up and down with your keyboard, these nodes will follow the italic angle.
This filter will make your wildest dreams come true!

