Avoiding Serious Spacing Problems
Benefits Avoid serious spacing problems, and having to redraw your letters after spacing!
Suppose you draw your letters.
But you just leave the sidebearings however. Let the chips fall as they may!
You might get unfortunate accidents.▼
Your letters work together—or fight together—like a family.
If you spacing is good, you can spot problems right away—
Do the serifs on the ST feel uneven?

Do the terminals on your cesa match up?

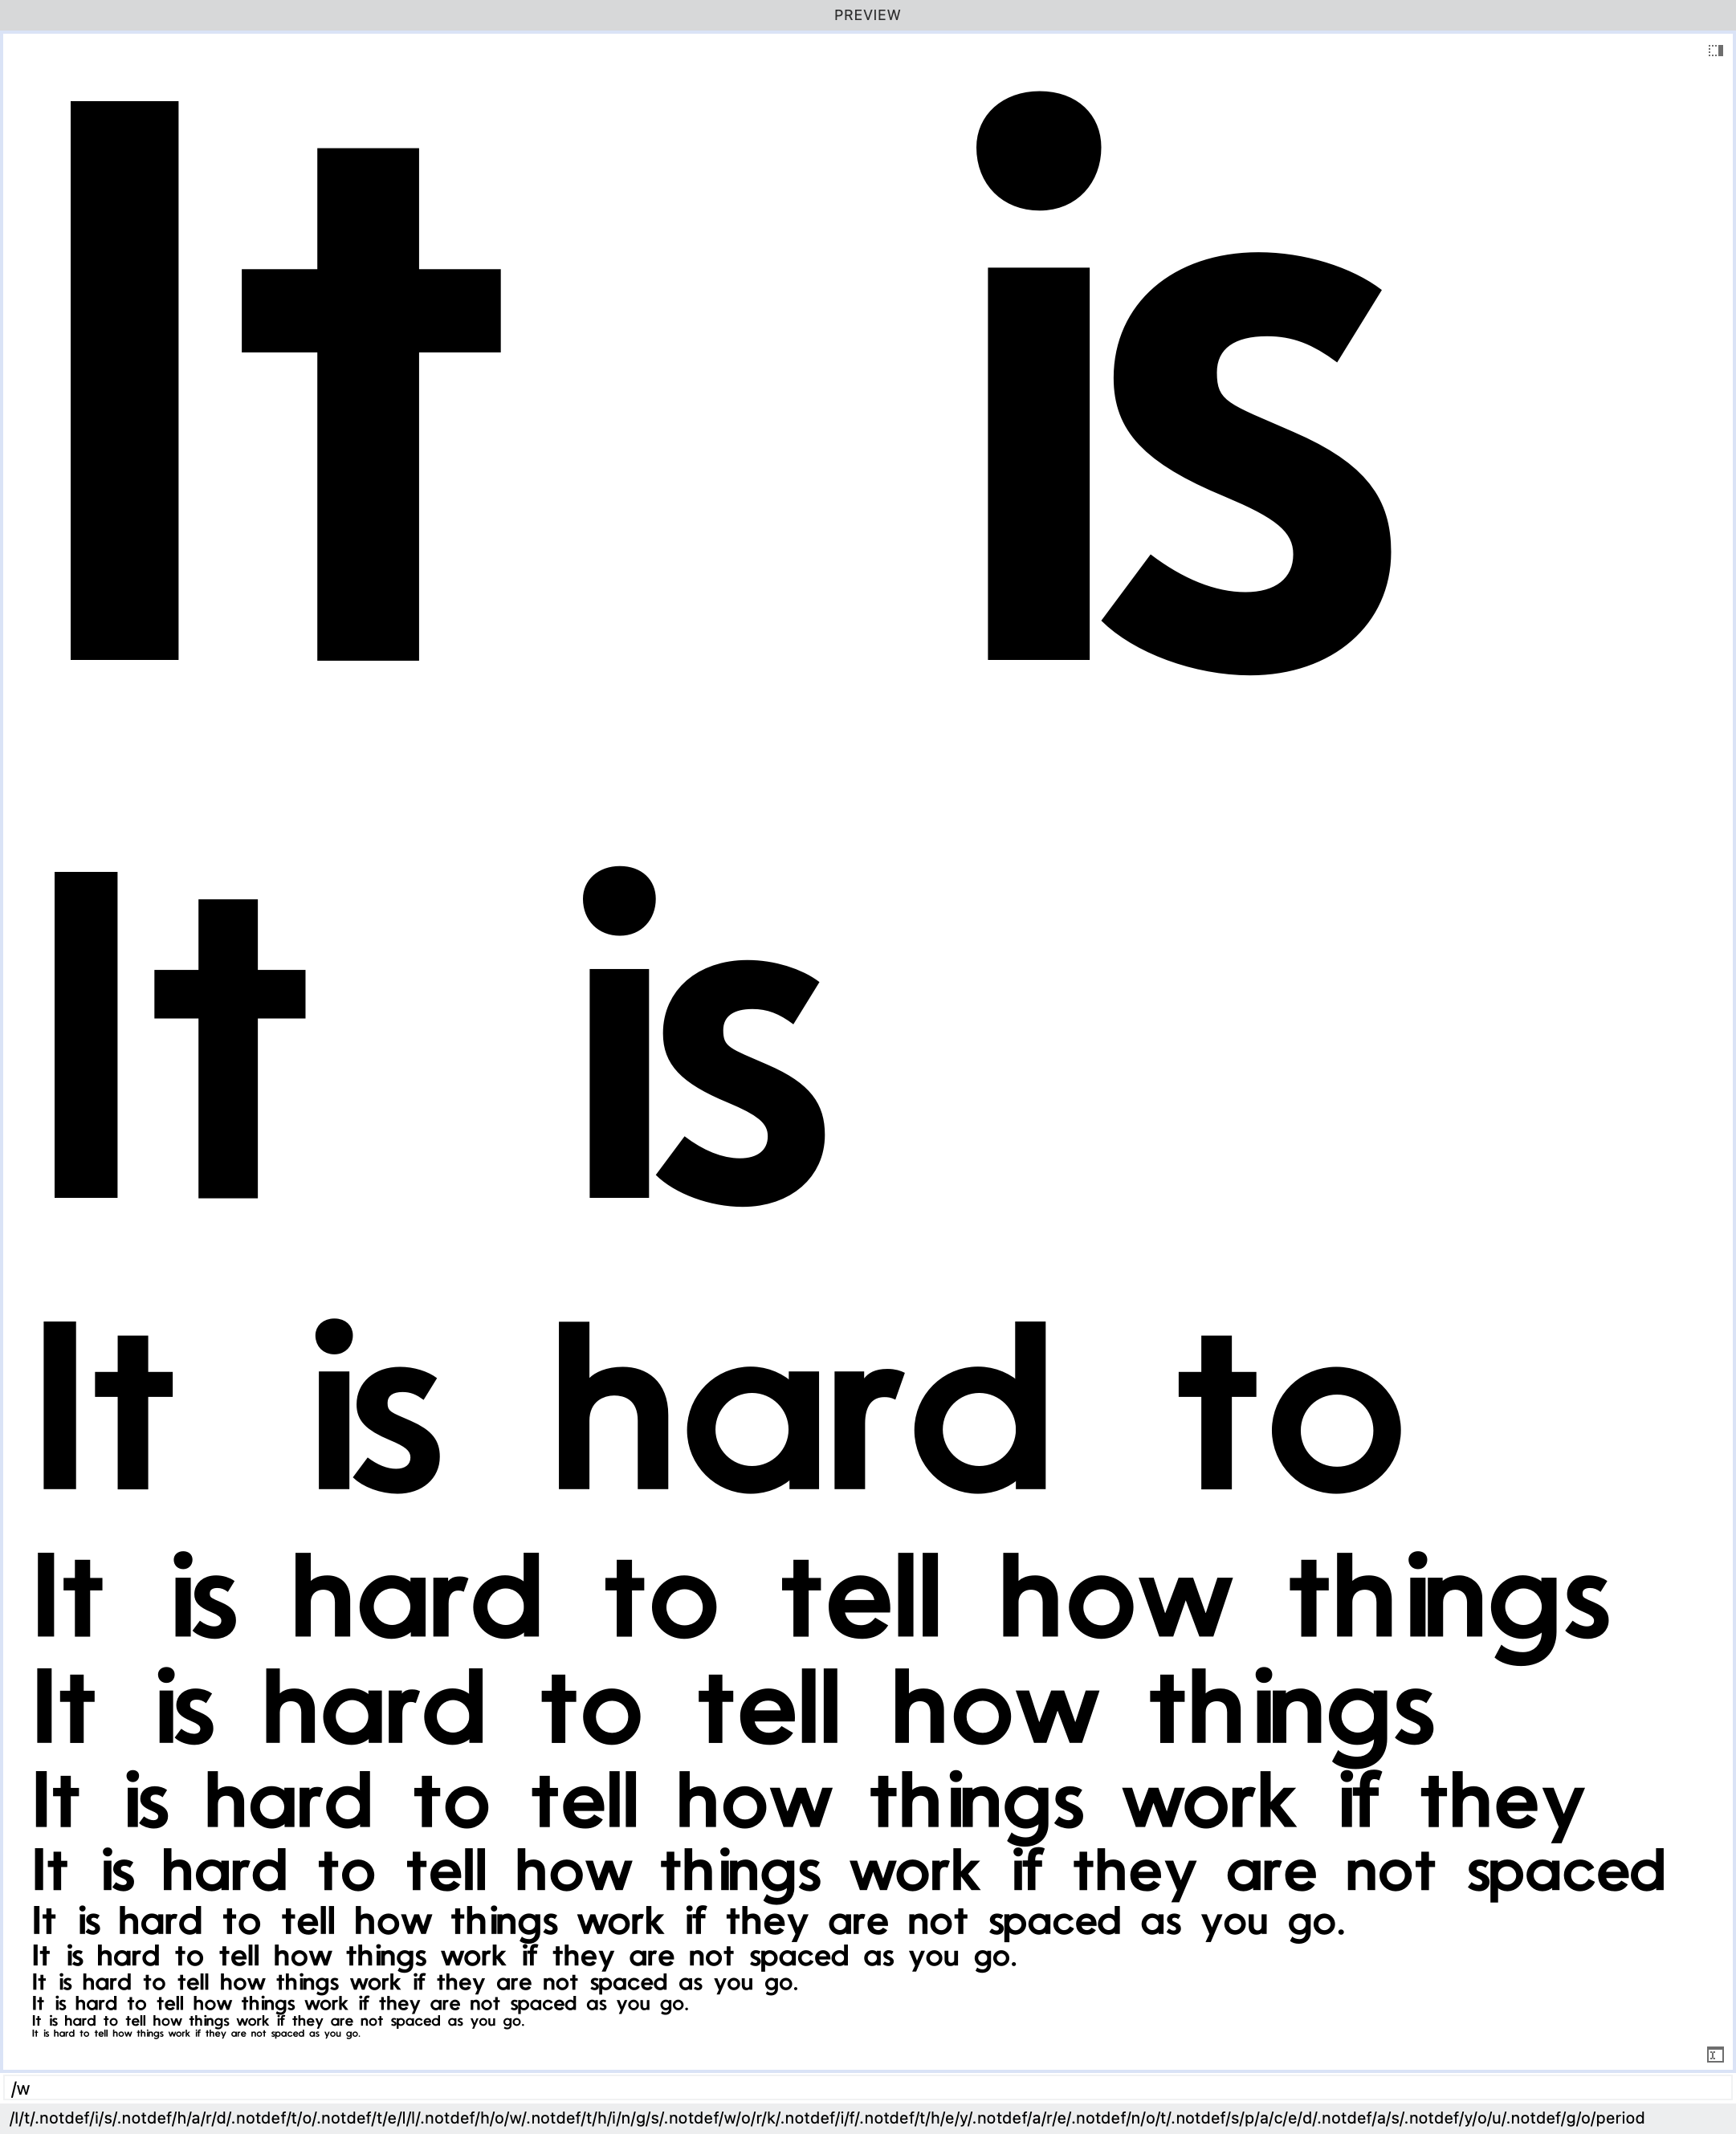
How can you tell if these little things match up, if the space between letters is uneven?
The basic solution is—
Space as you draw, not after.
Spacing during drawing has been recommended by Tobias Frere-Jones, Christian Schwartz, among others.
Here’s how you can avoid serious issues:
Turning Your Drawing Window into a Spacing Window
So what better way to space as you draw, then to add spacing controls right there!

Besides helping your letters, it helps your soul.
Spacing doesn’t have to be a soulless task you do at the end of designing!
If you space as you go, it breaks up a Himalayan chore into a bunch of baby tasks.
Getting Your Bearings
Download VFJ
In order to see your sidebearings in the drawing window, you need to change a couple things in view.
Here’s a file that you can use.
View Panel
Like the elements panel, this is a panel you can leave always open.
→ First open your H up into a drawing window.
Go to menu: Window > Panels > View.
If you’ve never seen it before….the View Panel has a lot of stuff!!! (BTW, Great and really helpful stuff!)
So we’ll just focus on this part.
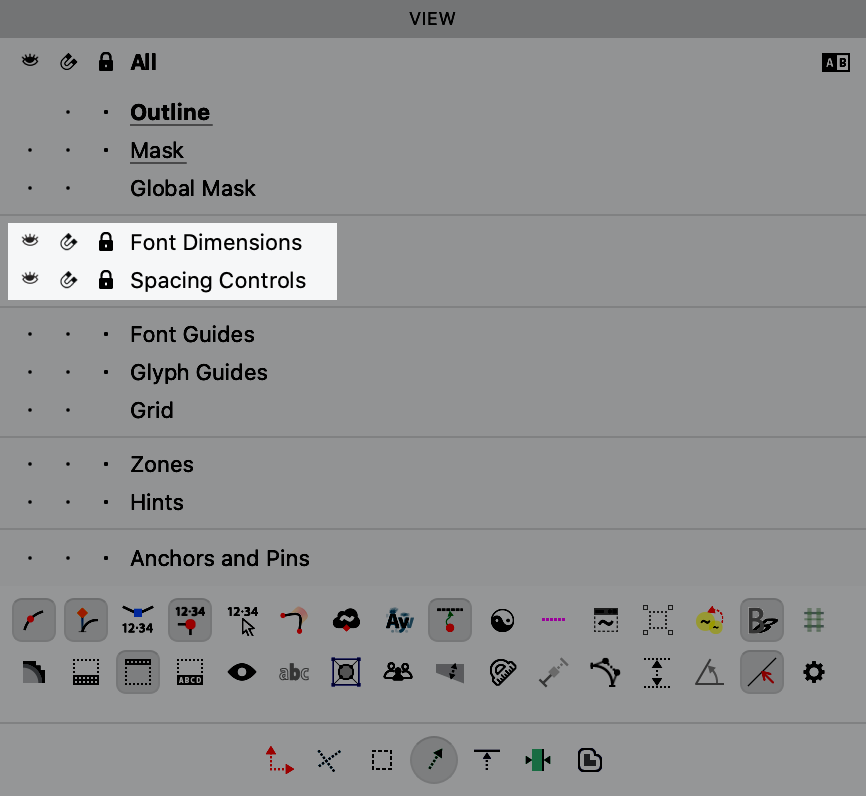
Put your settings as above.
The 👁 means it is visible, the 🧲 means that things will snap to it, the 🔒 means that you can’t change it.
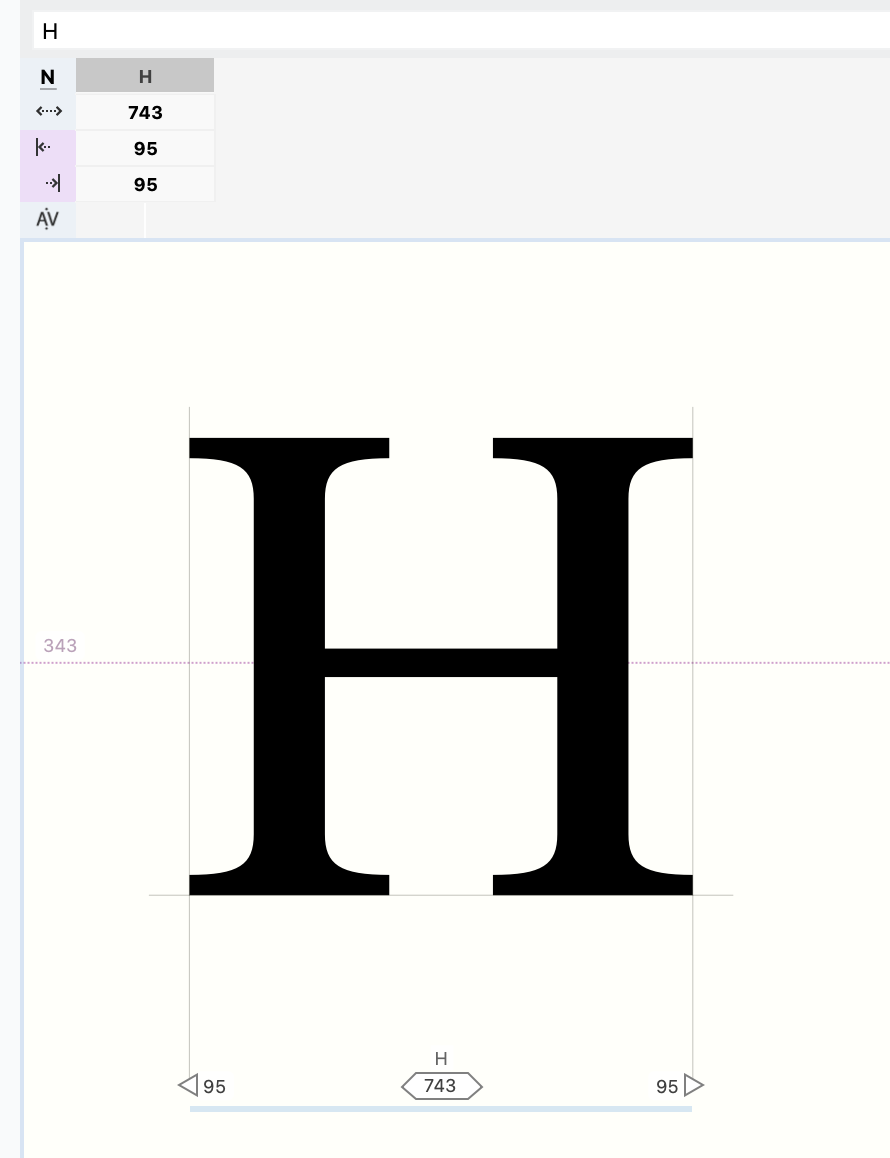
Your H should now show sidebearings and advanced width, as the picture of above.
In this example, there’s a 15 on either side, from the tip of the serif. The H (879 width) plus those sidebearings equals the entire width, or 909.
Officially, these three numbers—Left Sidebearing (LSB), Right Sidebearing (RSB), and Advanced Width—are the “glyph metrics.”
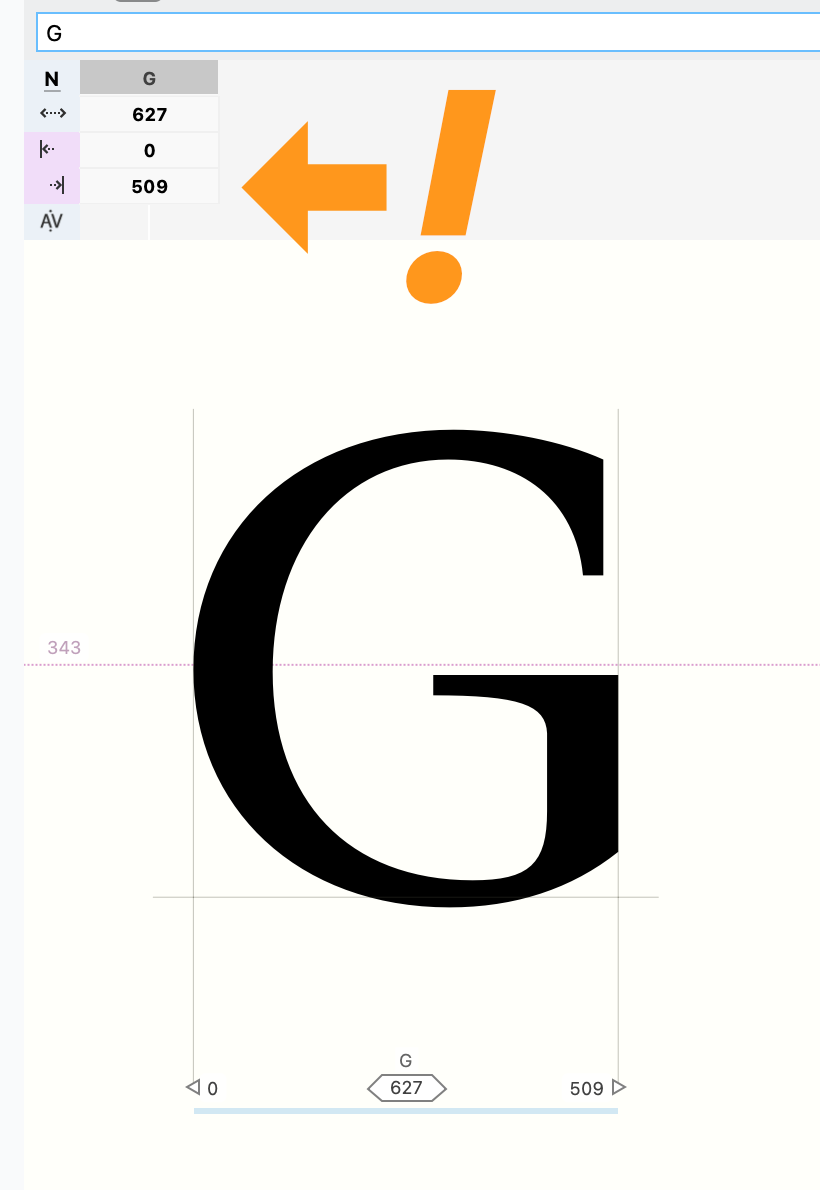
The problem is that a lot of times, you don’t want to just measure from the serif tips!
Serifs are closer to ornaments.
The distance between serifs doesn’t help you find the groove and rhythm of your alphabet’s stems.
So we can…
Measure the Side with the Mouse
This option is off by default.
So if you want to measure the empty space in a letter or around it, we have to fiddle with our Preferences.
When you are doing scripts or serifs, it can be helpful to measure using your mouse.
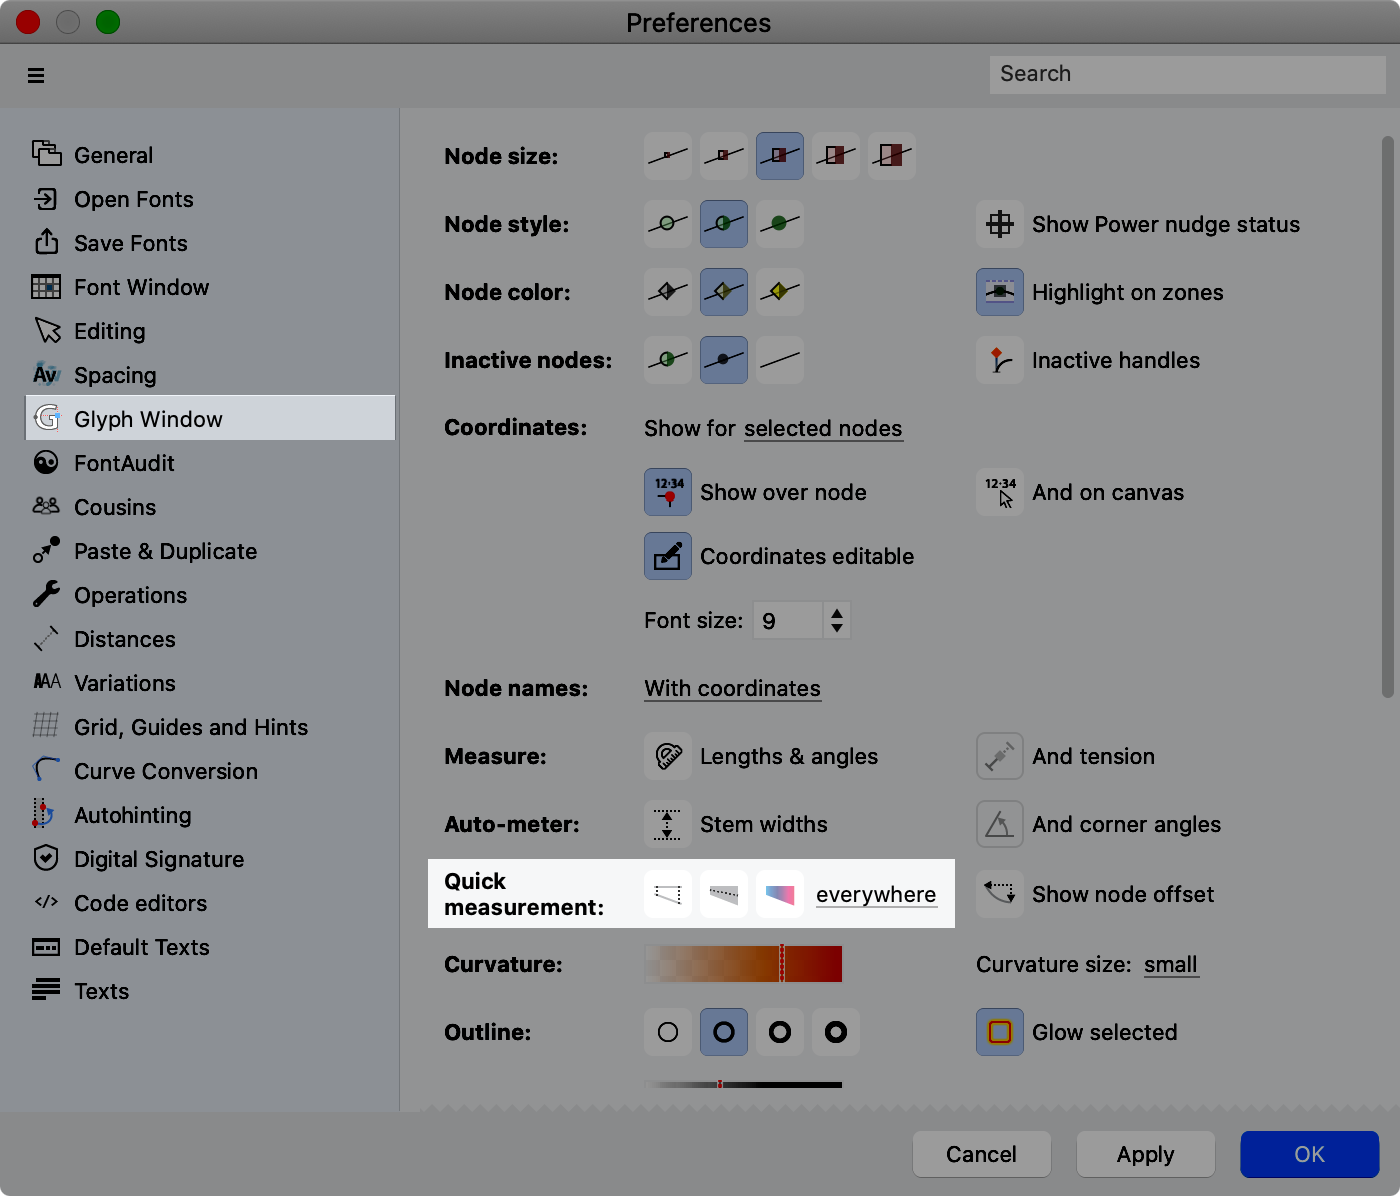
Turn this on by going to Preferences > Glyph Window > Quick Measurement > Everywhere.
Now turn on measurement:
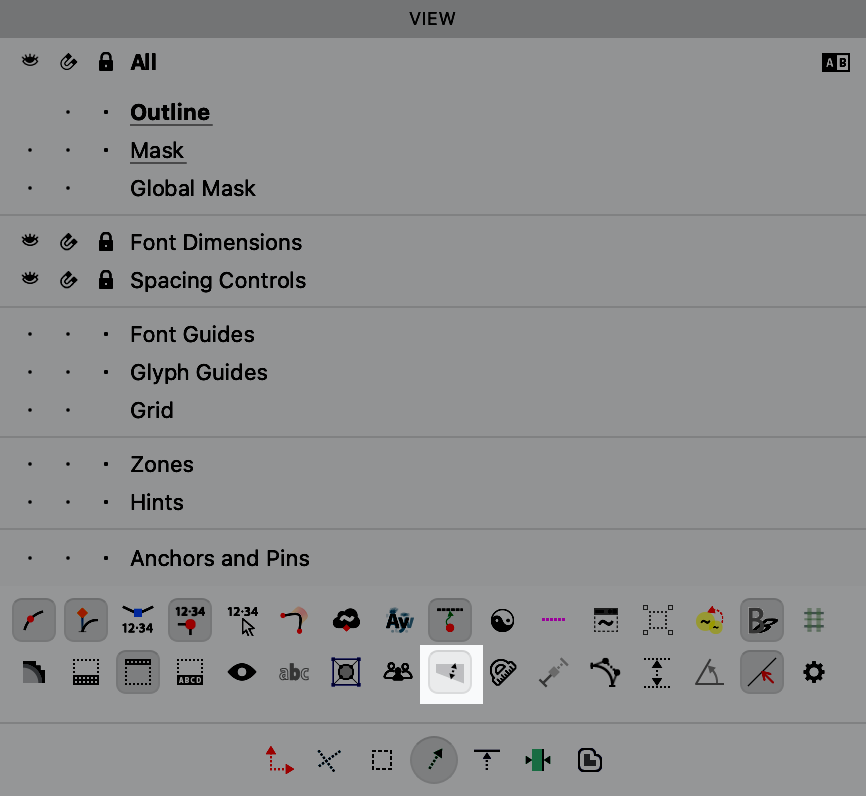
You will be able to do this:
YESS!!
Now just drag the lines to change your sidebearings.
Spacing with the Metrics Line
Caution
OK, a word of caution on this one. The metrics line does not play nice with bound sidebearings. Bound sidebearings happen when there is an equal sign in the formula.

Step-by-Step
❶ Turn on the line by going to menu: View > Metrics Line.
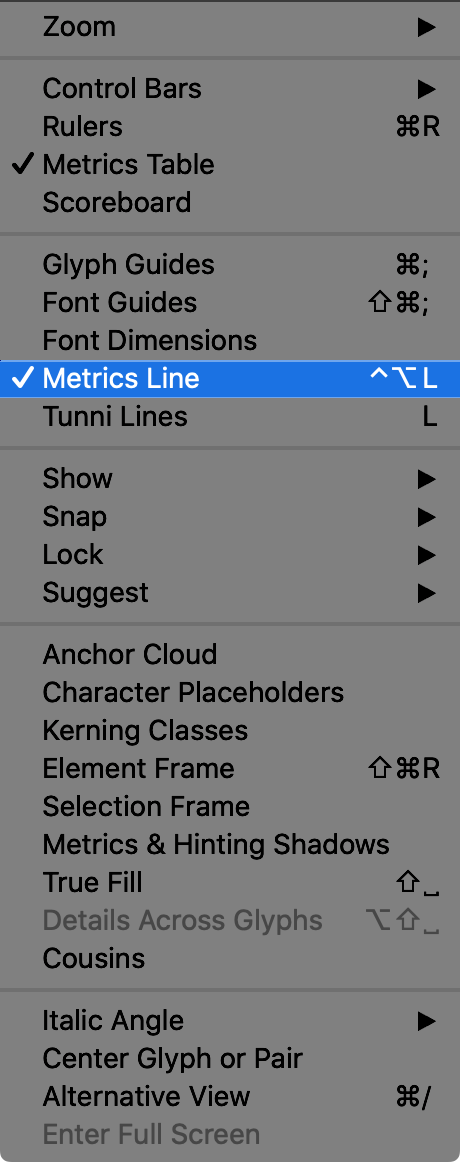
❷ Sidebearings are now measure from the stem, not serif.
❸ Make sure to turn the line off, or move it downwards if you need to adjust other letters. Otherwise, you can get numbers that make your toes curl.▼
Hope this helps you avoid spacing problems, as well as see how your letters work together.
This is also an example of a good way to structure your workflow, so you are not doing the same task too much in a row.