Free Transform: Complete Guide
Benefits: Be rid of free transform confusion.
Free transform has confused me over the years. This complete guide helps you understand all the geometrical free transforms.
Hopefully this tutorial on transforming will be life transforming as well! :)
Contour Free Transform
Transform with the Contour tool (white arrow) and the Element tool (black arrow) work a bit different. In this tutorial we’ll only use the free transforms inside the element container.
Activate the Contour tool to go inside the element.
With the Contour (A), double click a contour (also called a path), so that it’s selected. Push CmdT. Or go to the menu: Tools > Free Transform.
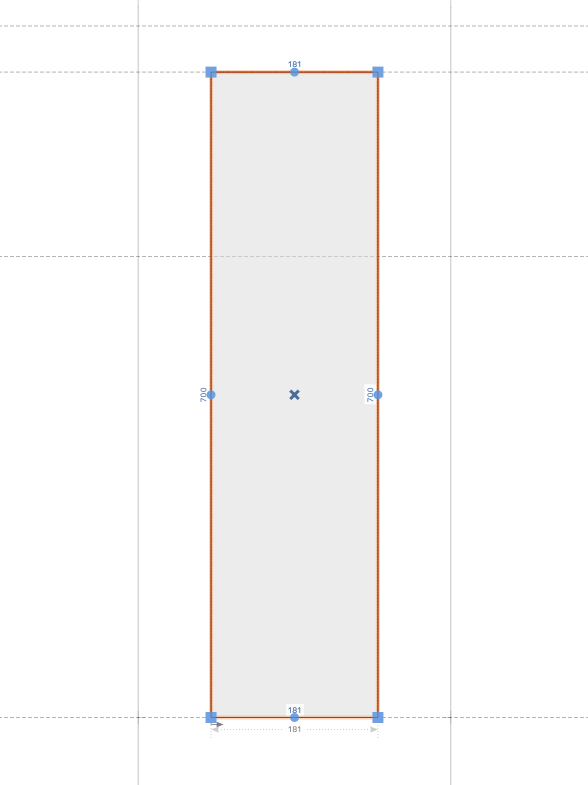
A blue dotted line should appear: (If you have a green box, you are outside the element!)
Here’s the list of transforms!
Warning
If you get motion sickness, please take care while scrolling through these examples!
Resize
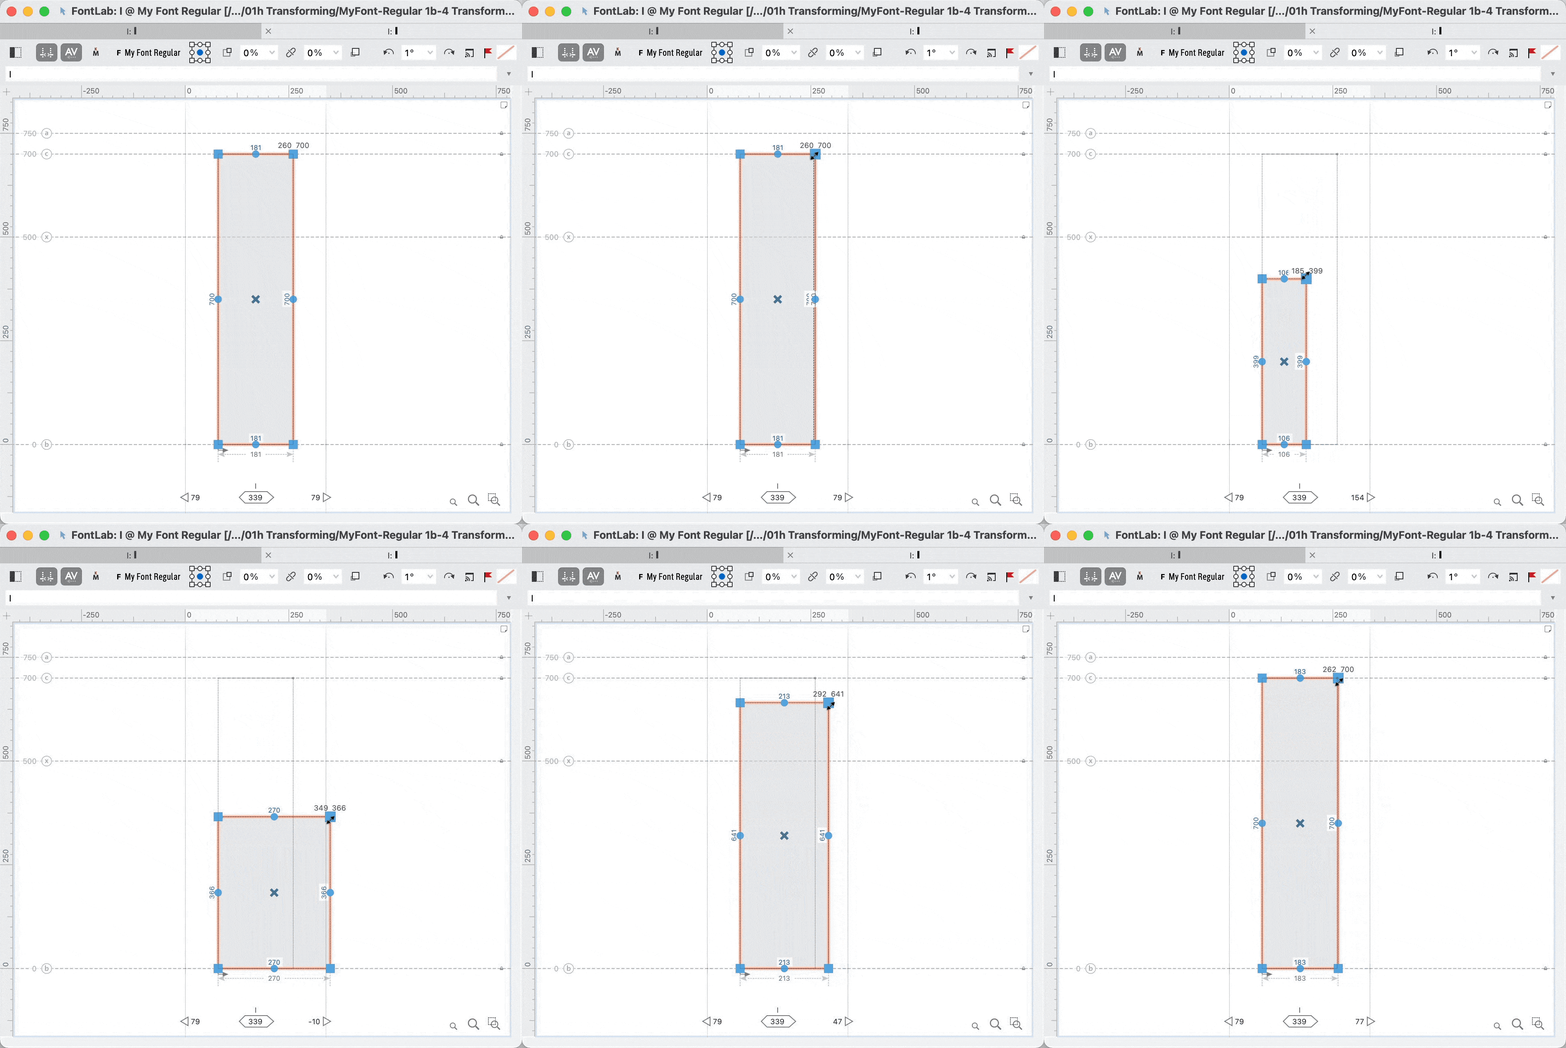
Normal Resize:
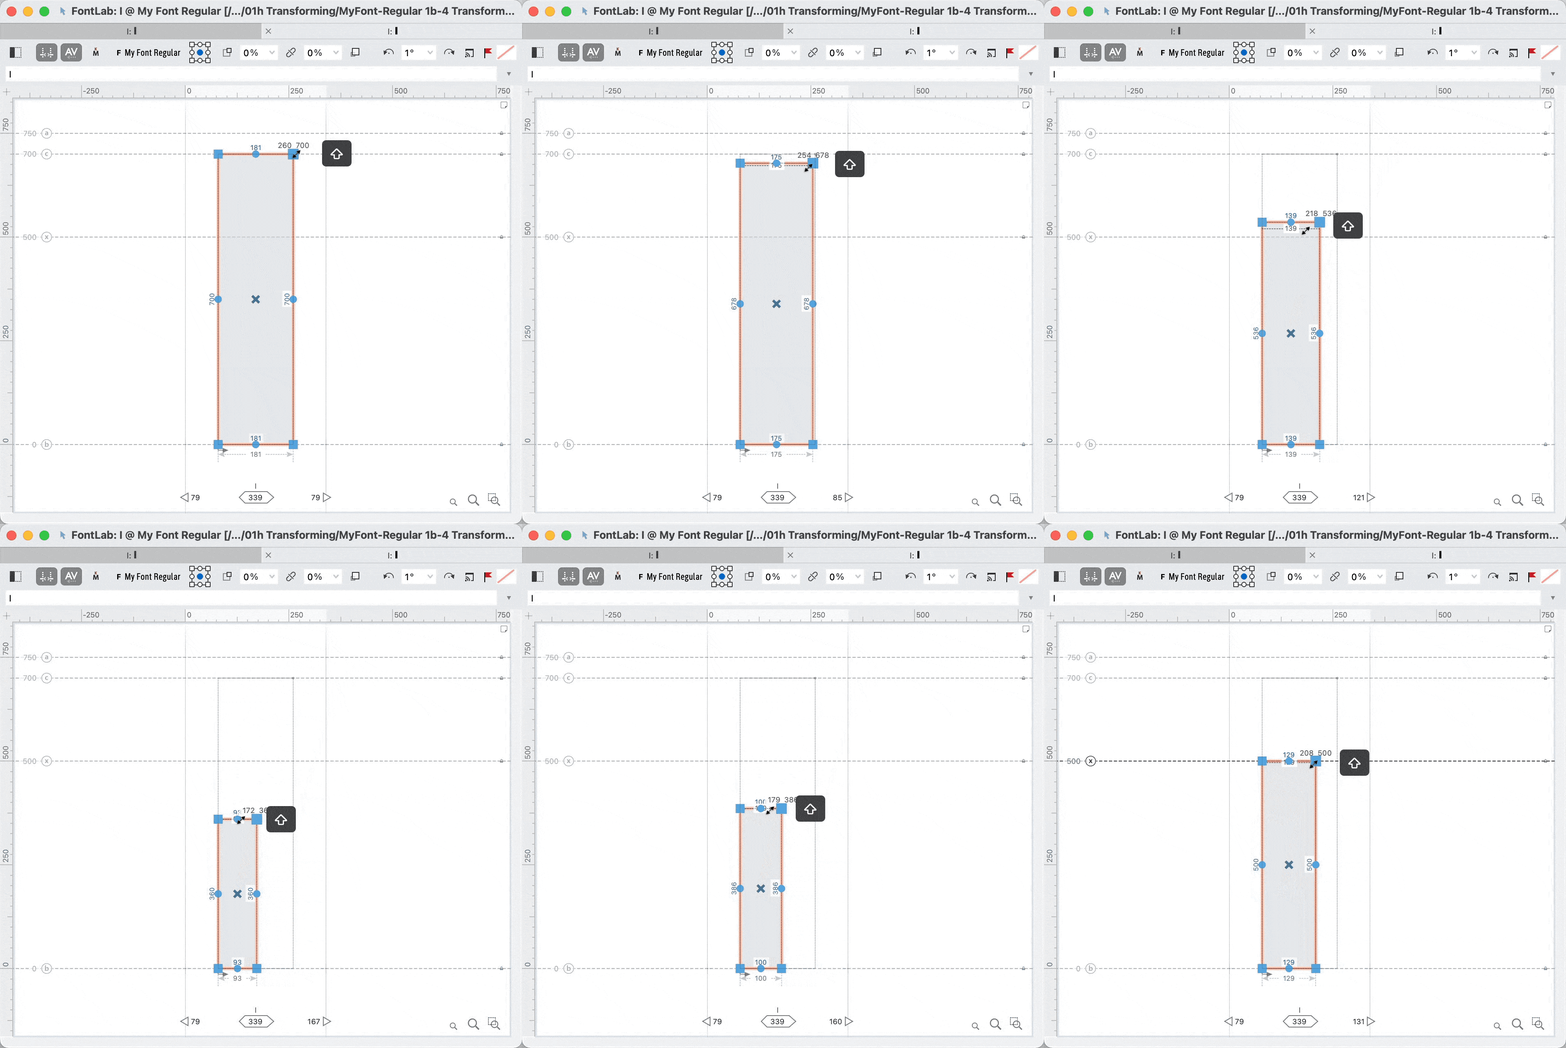
Shift Resize: Constrain
Option Resize: From Center
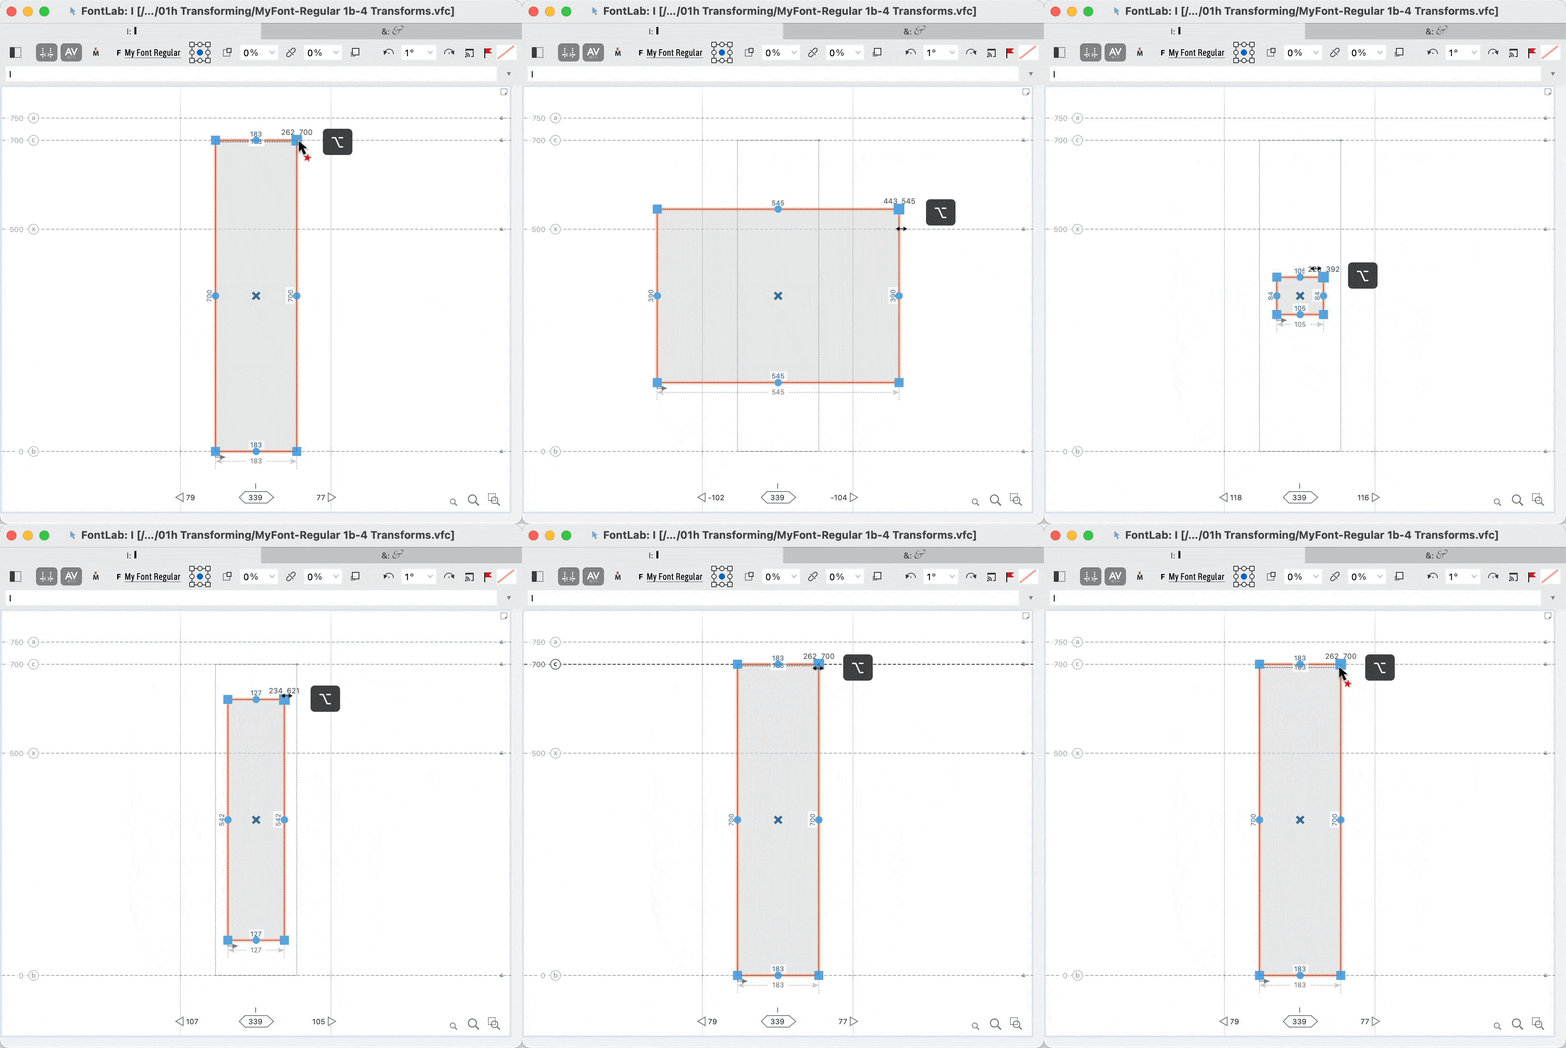
Shift/Option Resize: From Center, Constrained
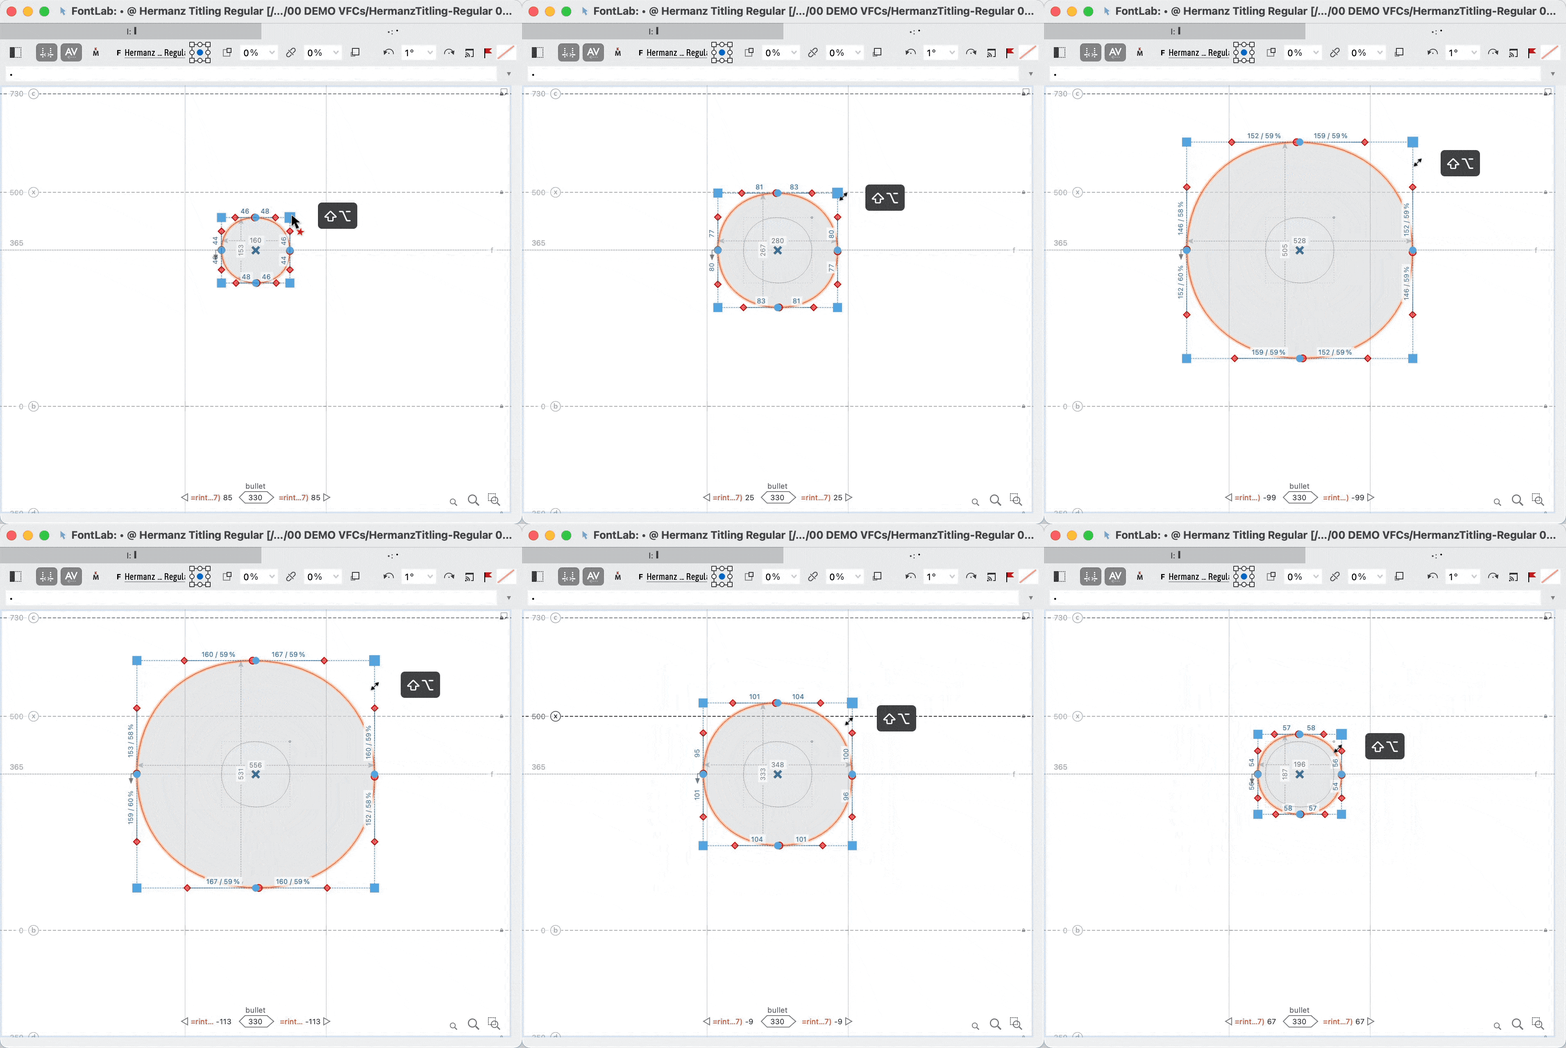
Rotate
Basic Rotation
Basic rotation is often useful for the inside and outside paths, separately.
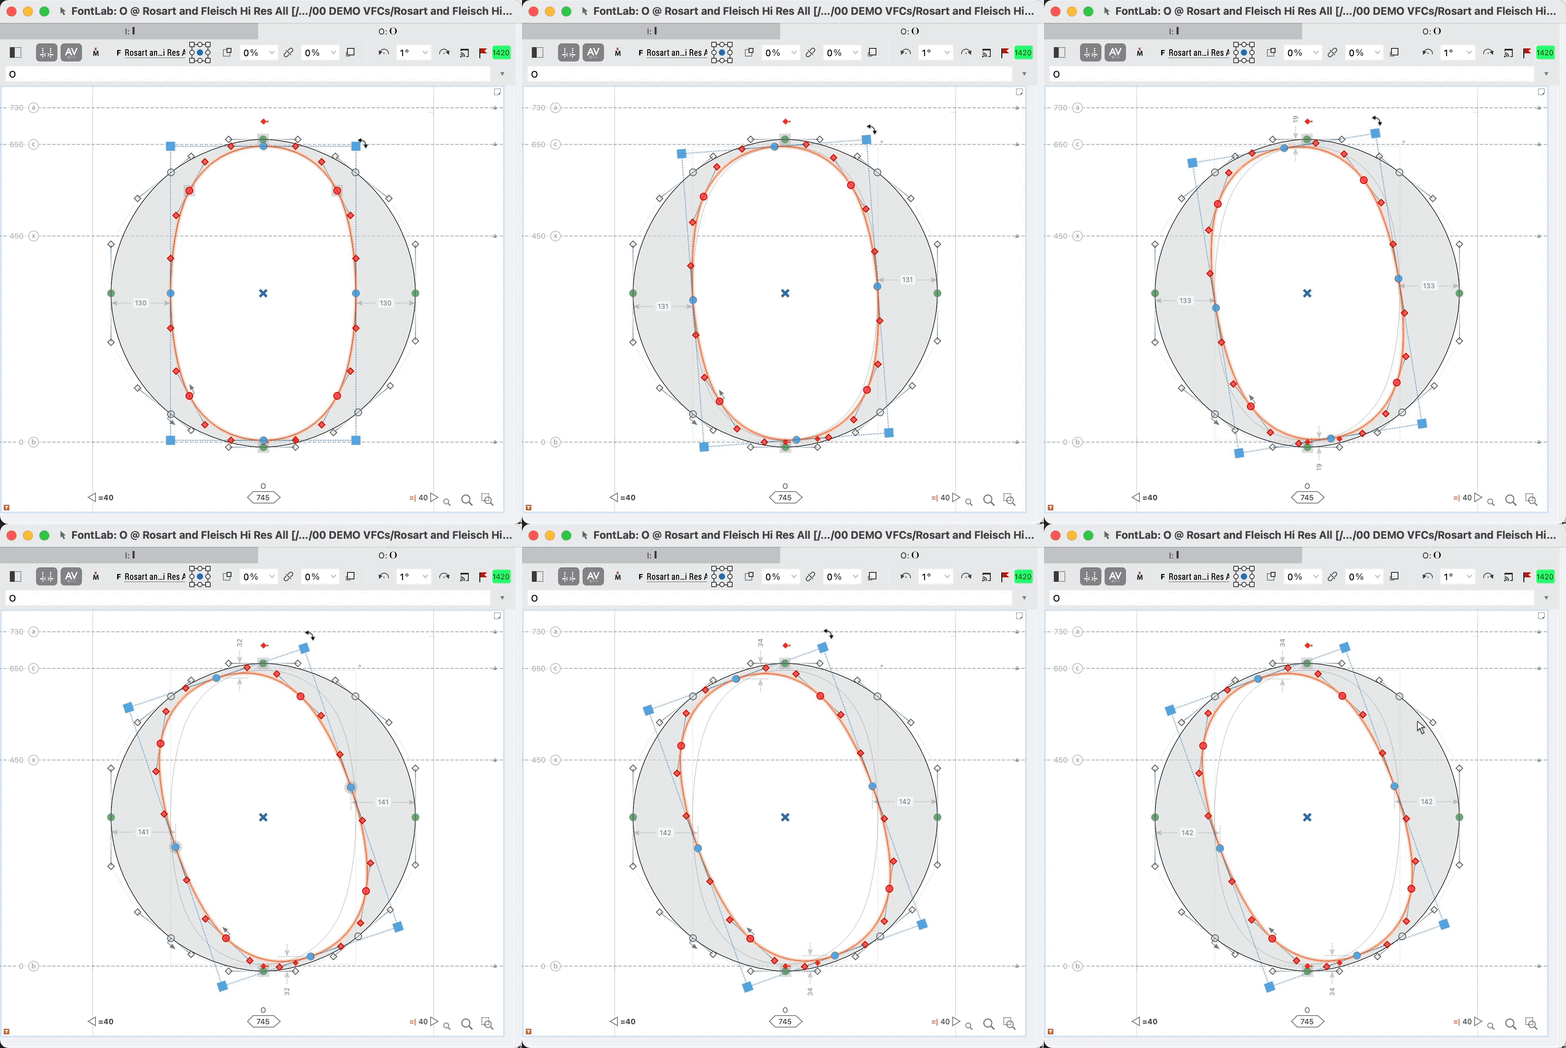
Shift Rotate: 45° Increments
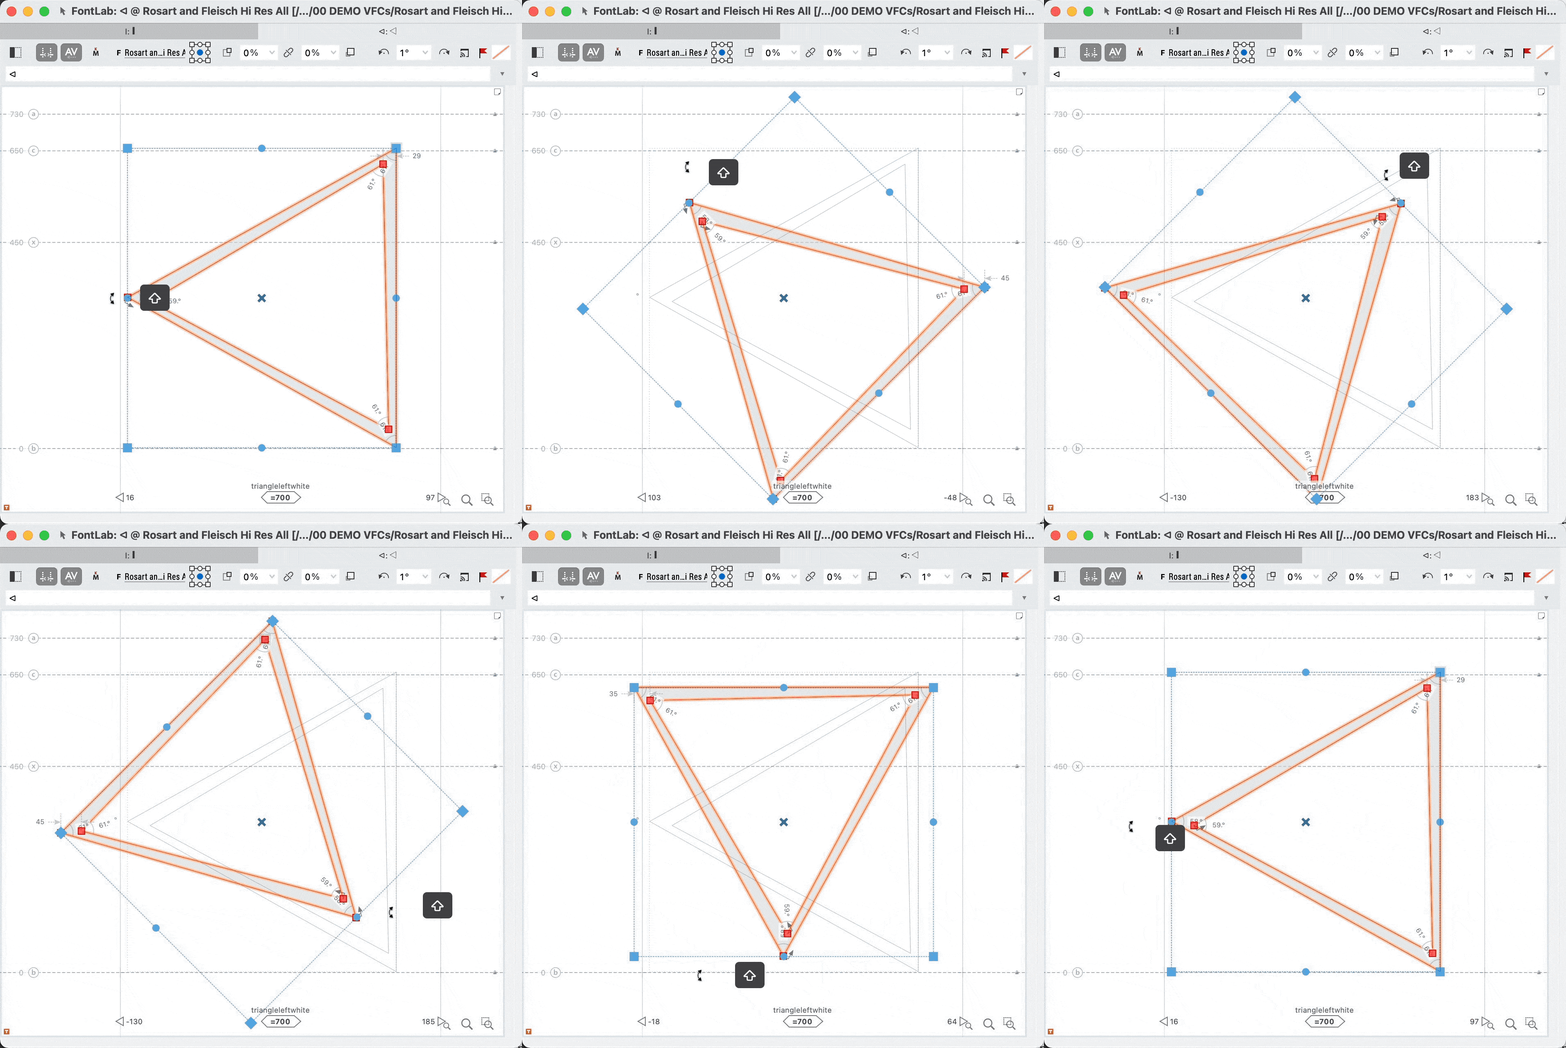
Rotating from Another Point
Move the reference point to change the location of rotation.
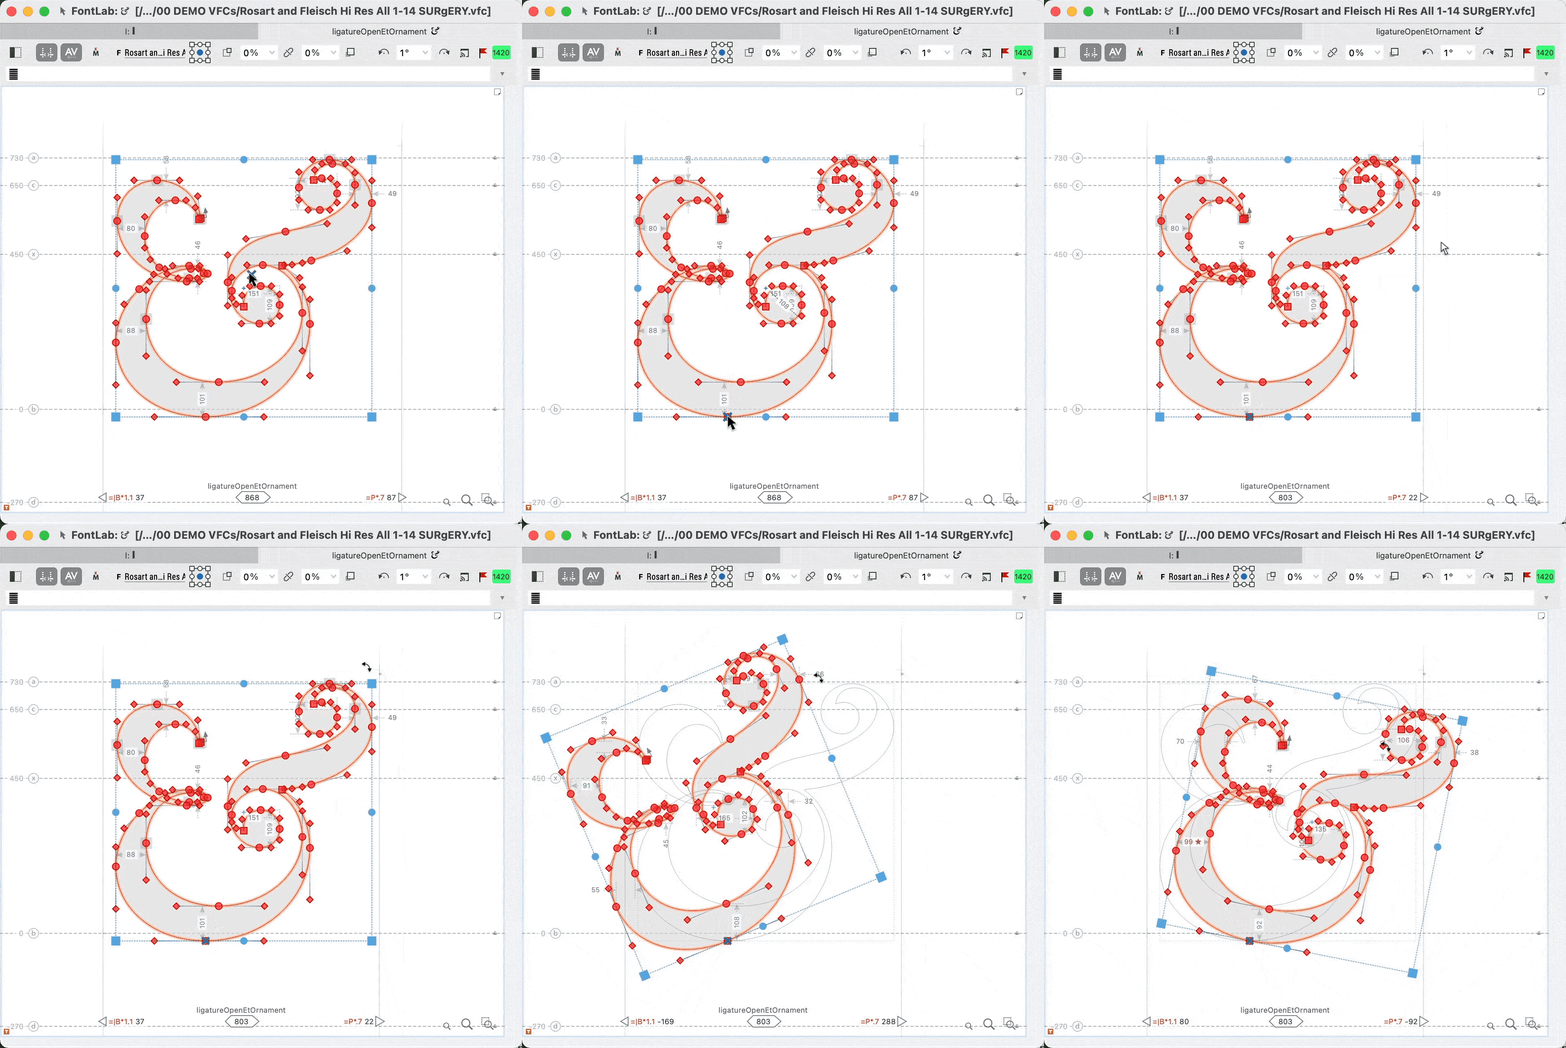
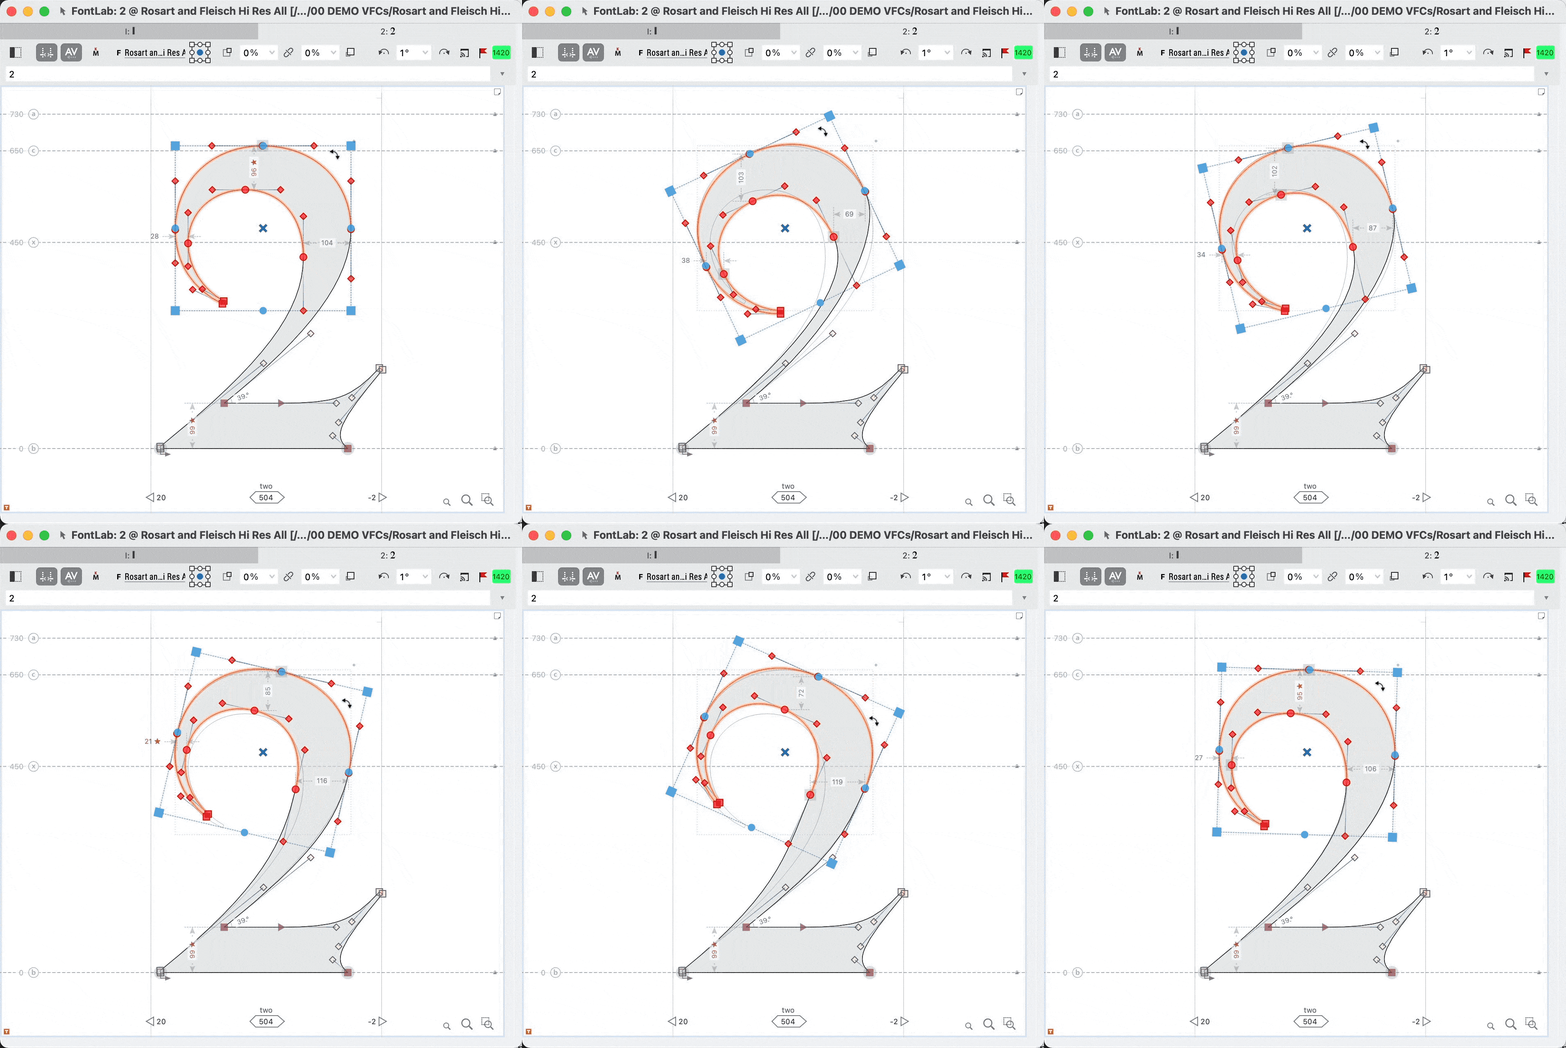
Rotating Part of a Shape
Extremely useful for getting terminals right. You might need to fix node placement later.
Slant
Slant by pushing Cmd and click one of the side nodes.
Slant is really a distort. Two points of the rectangle are held constant, and the sides are kept parallel.
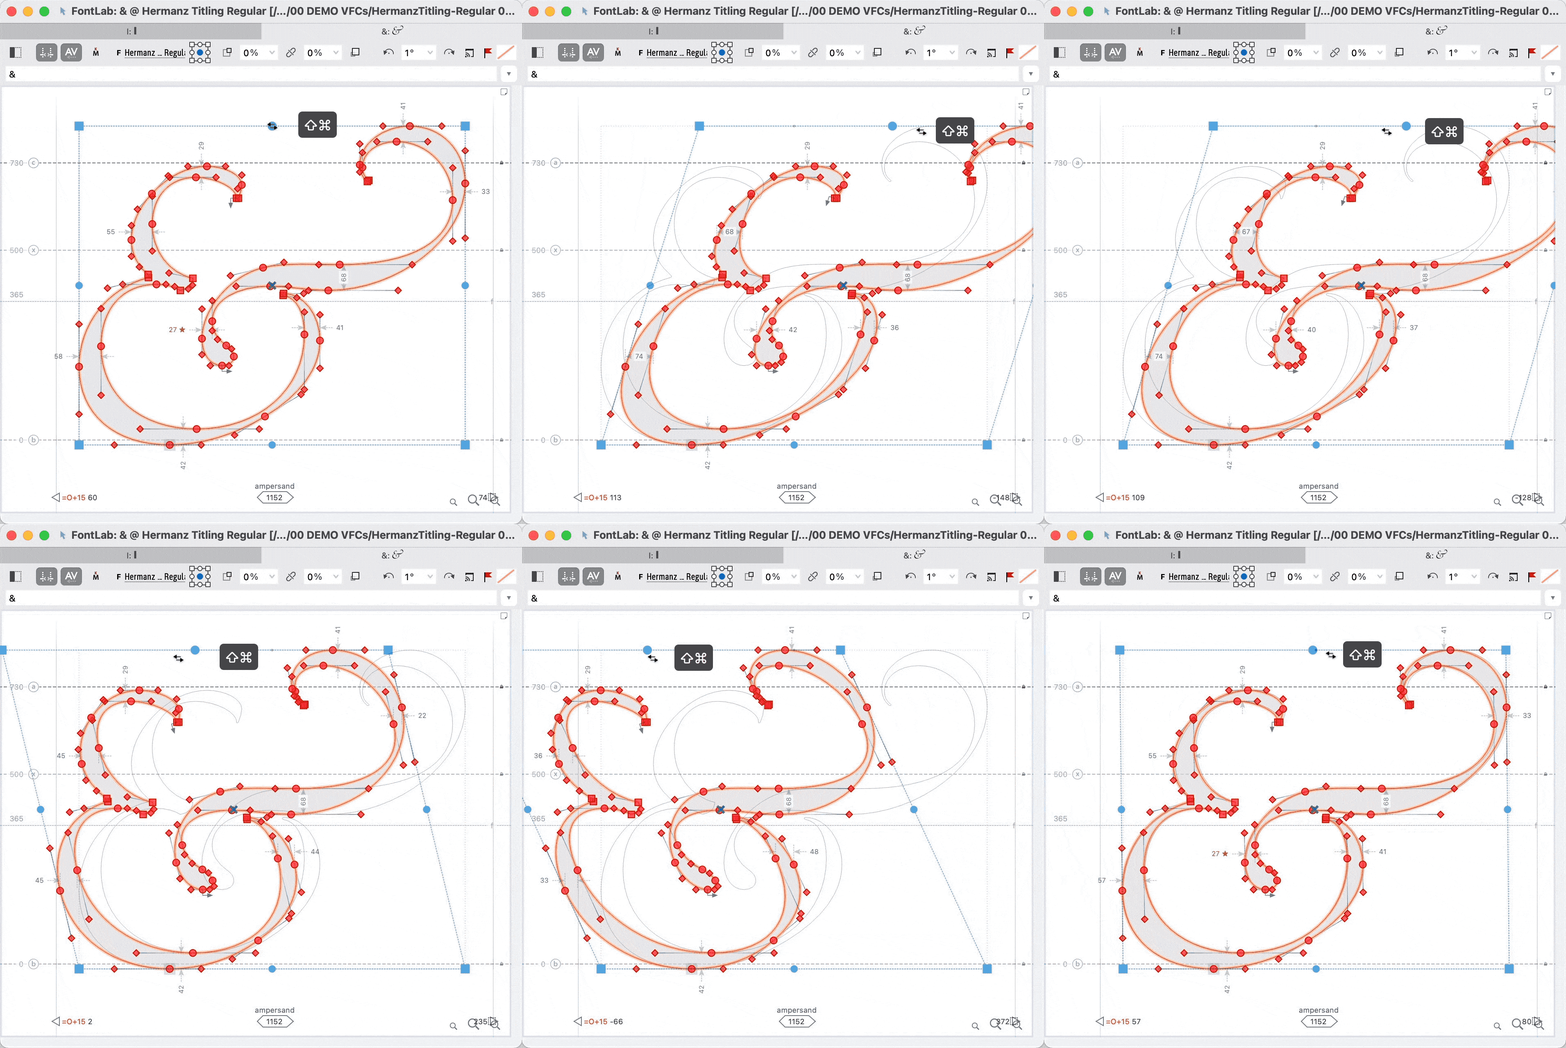
For fonts, slant is usually used in combination with Shift, as I do here:
Shift+Command Horizontal Slant: Constrained
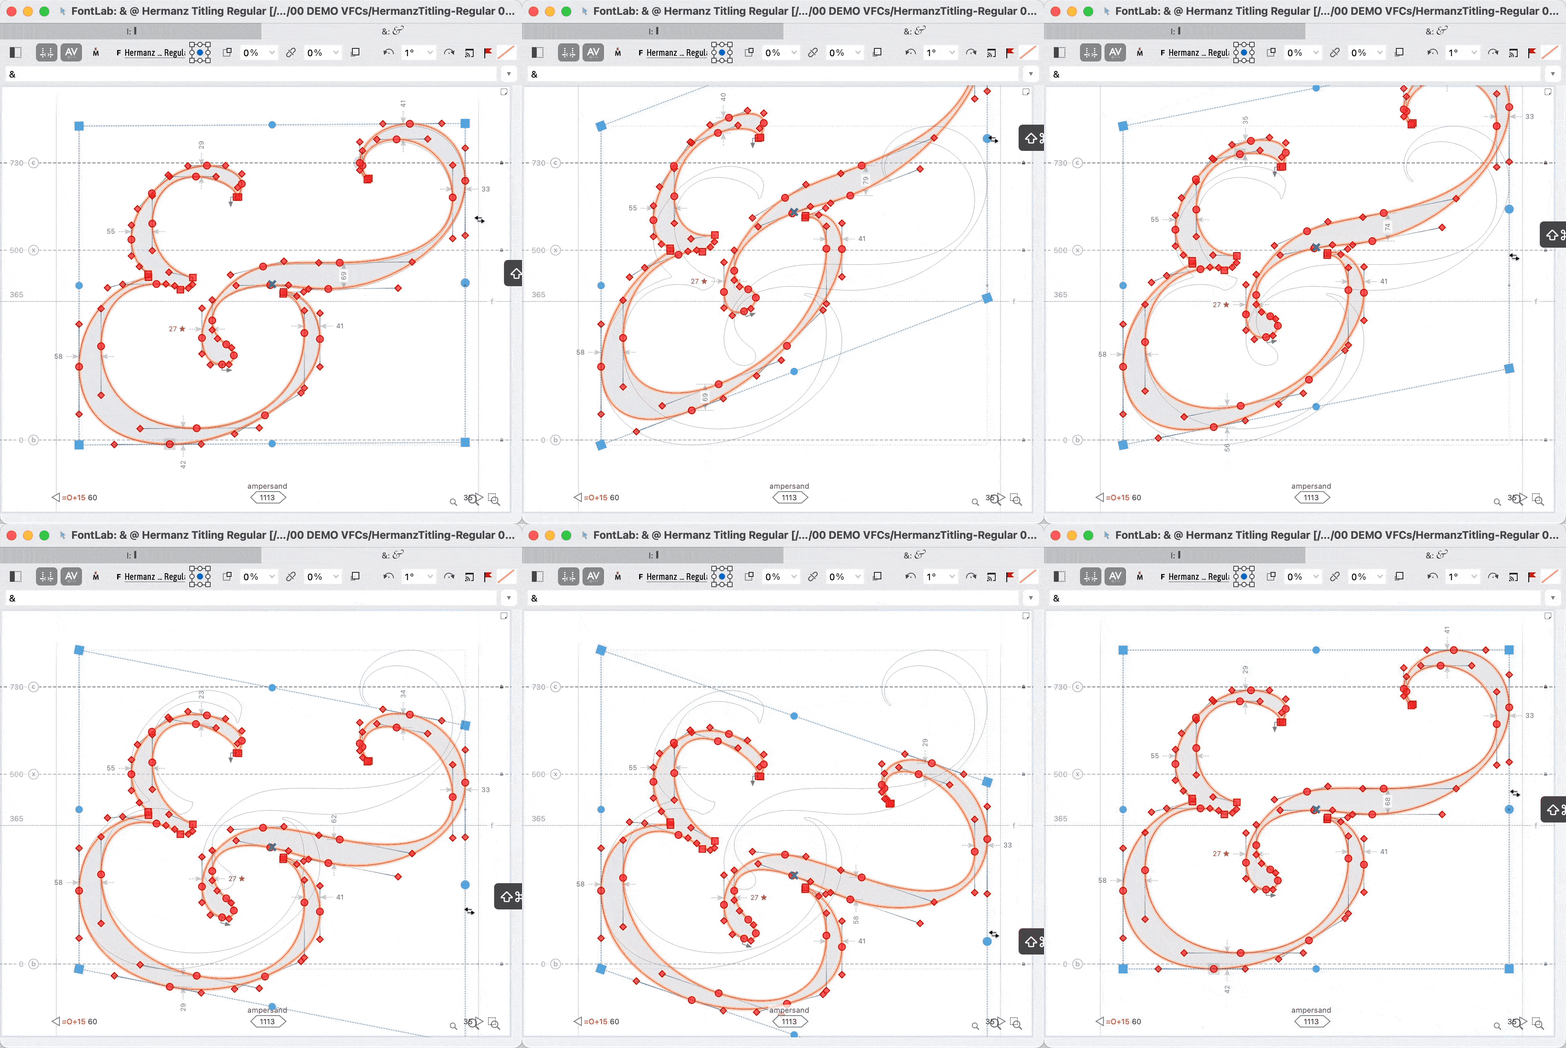
Shift+Command Vertical Slant: Constrained
Shift+Option+Command Horizontal Slant: Constrained, Centered
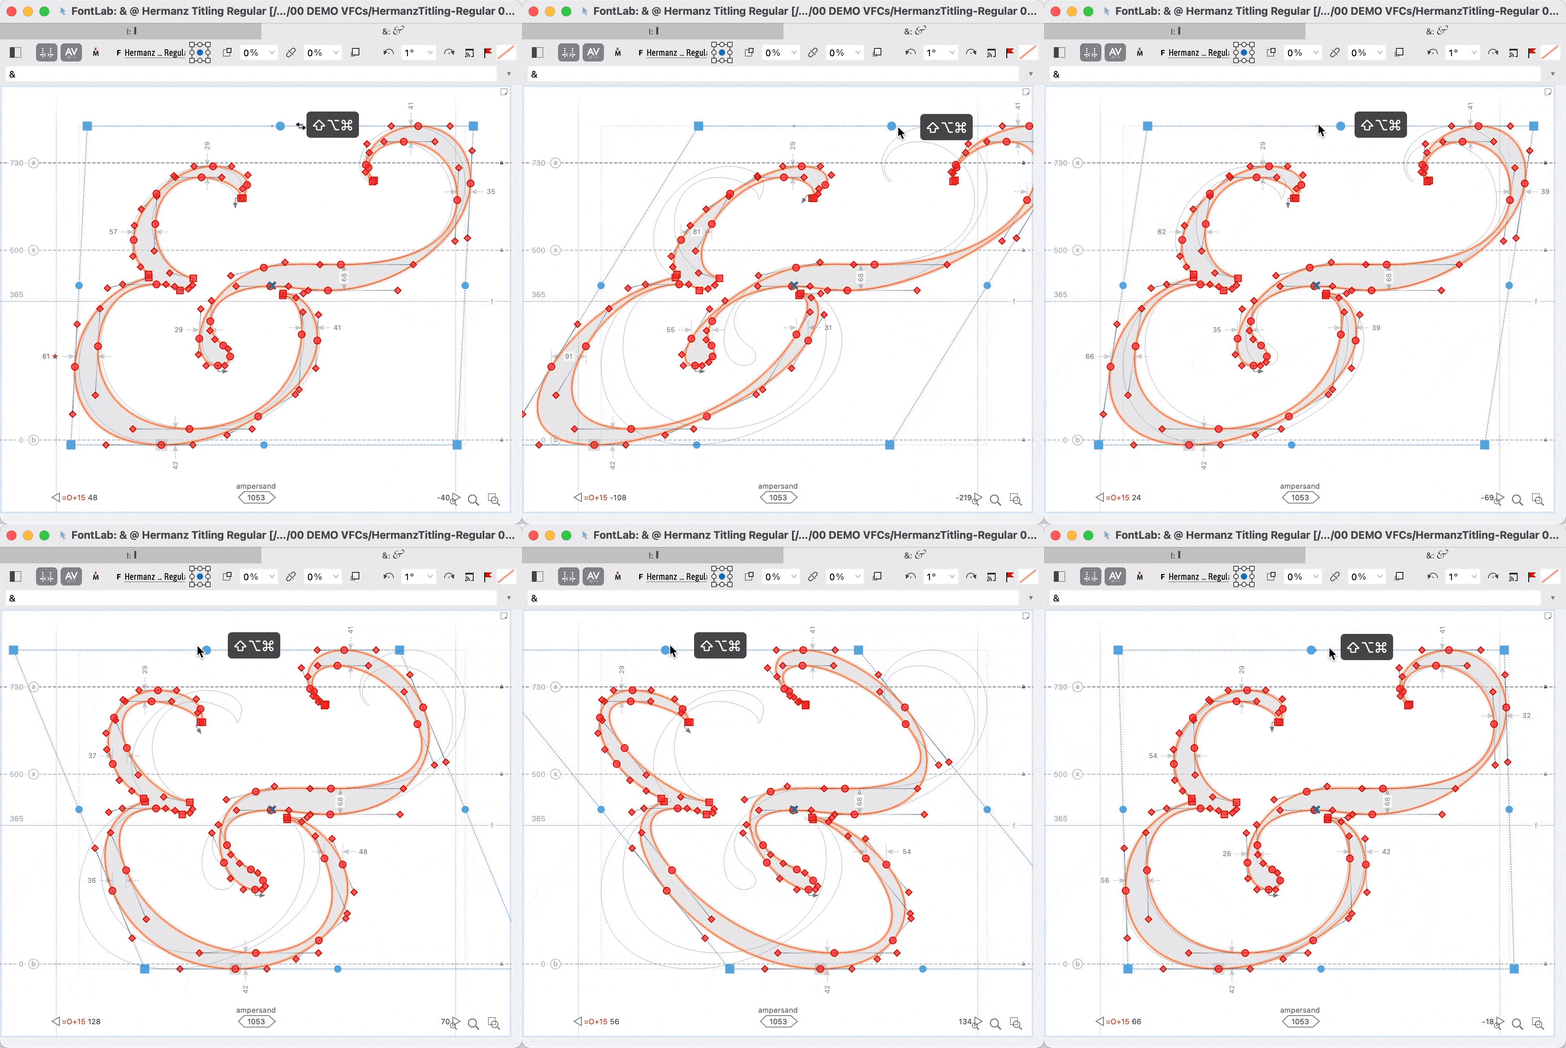
Distortion
Distortions are less used than the other transformations.
Command ⌘ Distortion: Freely Distorting from One Point
Three corners of the rectangle are held constant, while one point moves.
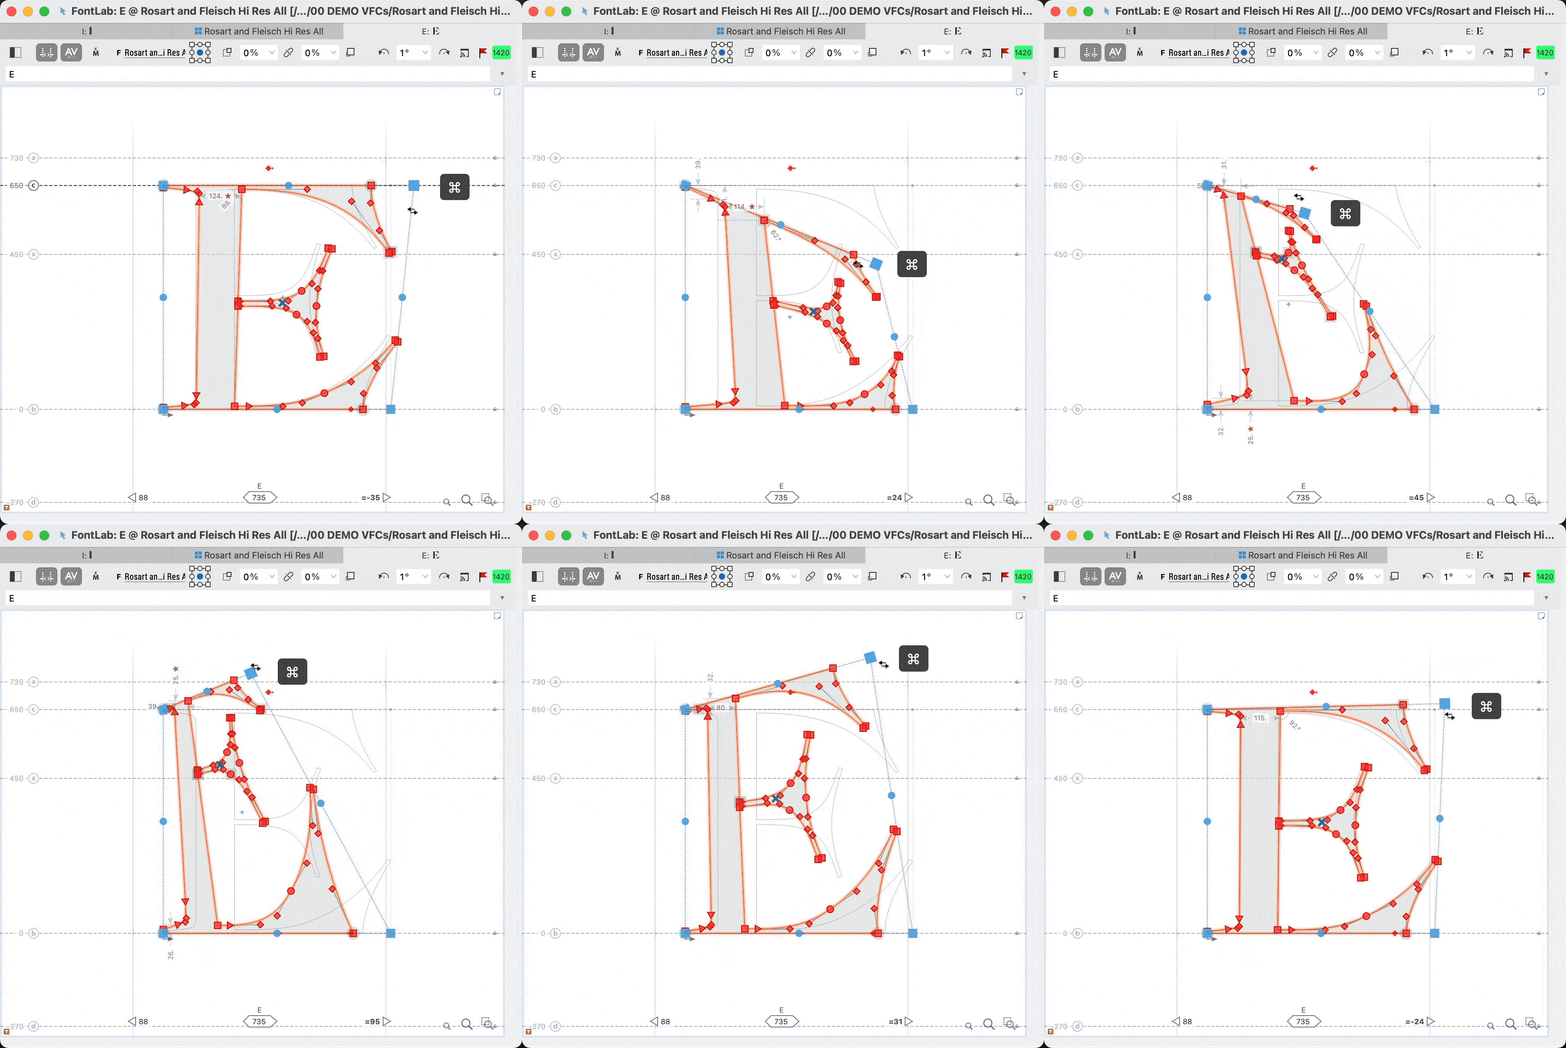
You get the idea of how distortions work. These next three are rarely used. So I’m just going to describe what they do:
Shift + Command Distortion: Distortion from One Point, Constrained
Three corners of the rectangle are held constant, while one point moves. This time in one direction only.
It’s like the previous example, but the moving point can only go side to side or up and down, giving a feeling of perspective.
Option + Command Distortion: Distortion from Two Opposite Points
Two opposite points remain fixed, and two mirror each other.
Shift + Option + Command Distortion: Distortion from Two Opposite Points, Constrained
Two opposite points remain fixed, and two mirror each other, this time side to side or up and down only.
Want more distort?
Get a little…
Perspective
For straight on perspective and more control over each box corner, use the Perspective Action (CmdShiftT).
Go to menu: Tools > Actions > Effects Sidebar > Perspective
After you are done with a free transform: Press Enter to accept the transform. Press Esc to cancel.
Info
Free transform is a geometrical operation. It does not optically correct your letters.
If you prefer the previous FontLab method for free transform, go to this in the menu: FontLab 8 > Preferences, and turn it on.
To Summarize
- Shift constrains. (Even with rotation, Shift constrains the available angles.)
- Alt centers.
- Cmd slants, and more broadly, distorts.
- Since free transform is geometrical, but done by hand, it’s a blunt tool, like a hammer or mallet.
We’ll see how to transform in a more nuanced way using the transformation panel and actions.
And if this tutorial wasn’t life transforming, I’m sure the next one WILL be!
