Reusing Shapes 1
Benefits: Save time and energy by re-using letter shapes.
FontLab’s two arrow system is extremely powerful.
But to wield it, you have to know what you’re doing.
In this tutorial you will better learn the difference between the Contour and the Element tool (white and black arrows). You will know the difference between contour and element. You will be able to use the black arrow to correctly copy and move.
Download VFJ
Here’s the file from the first tutorial.
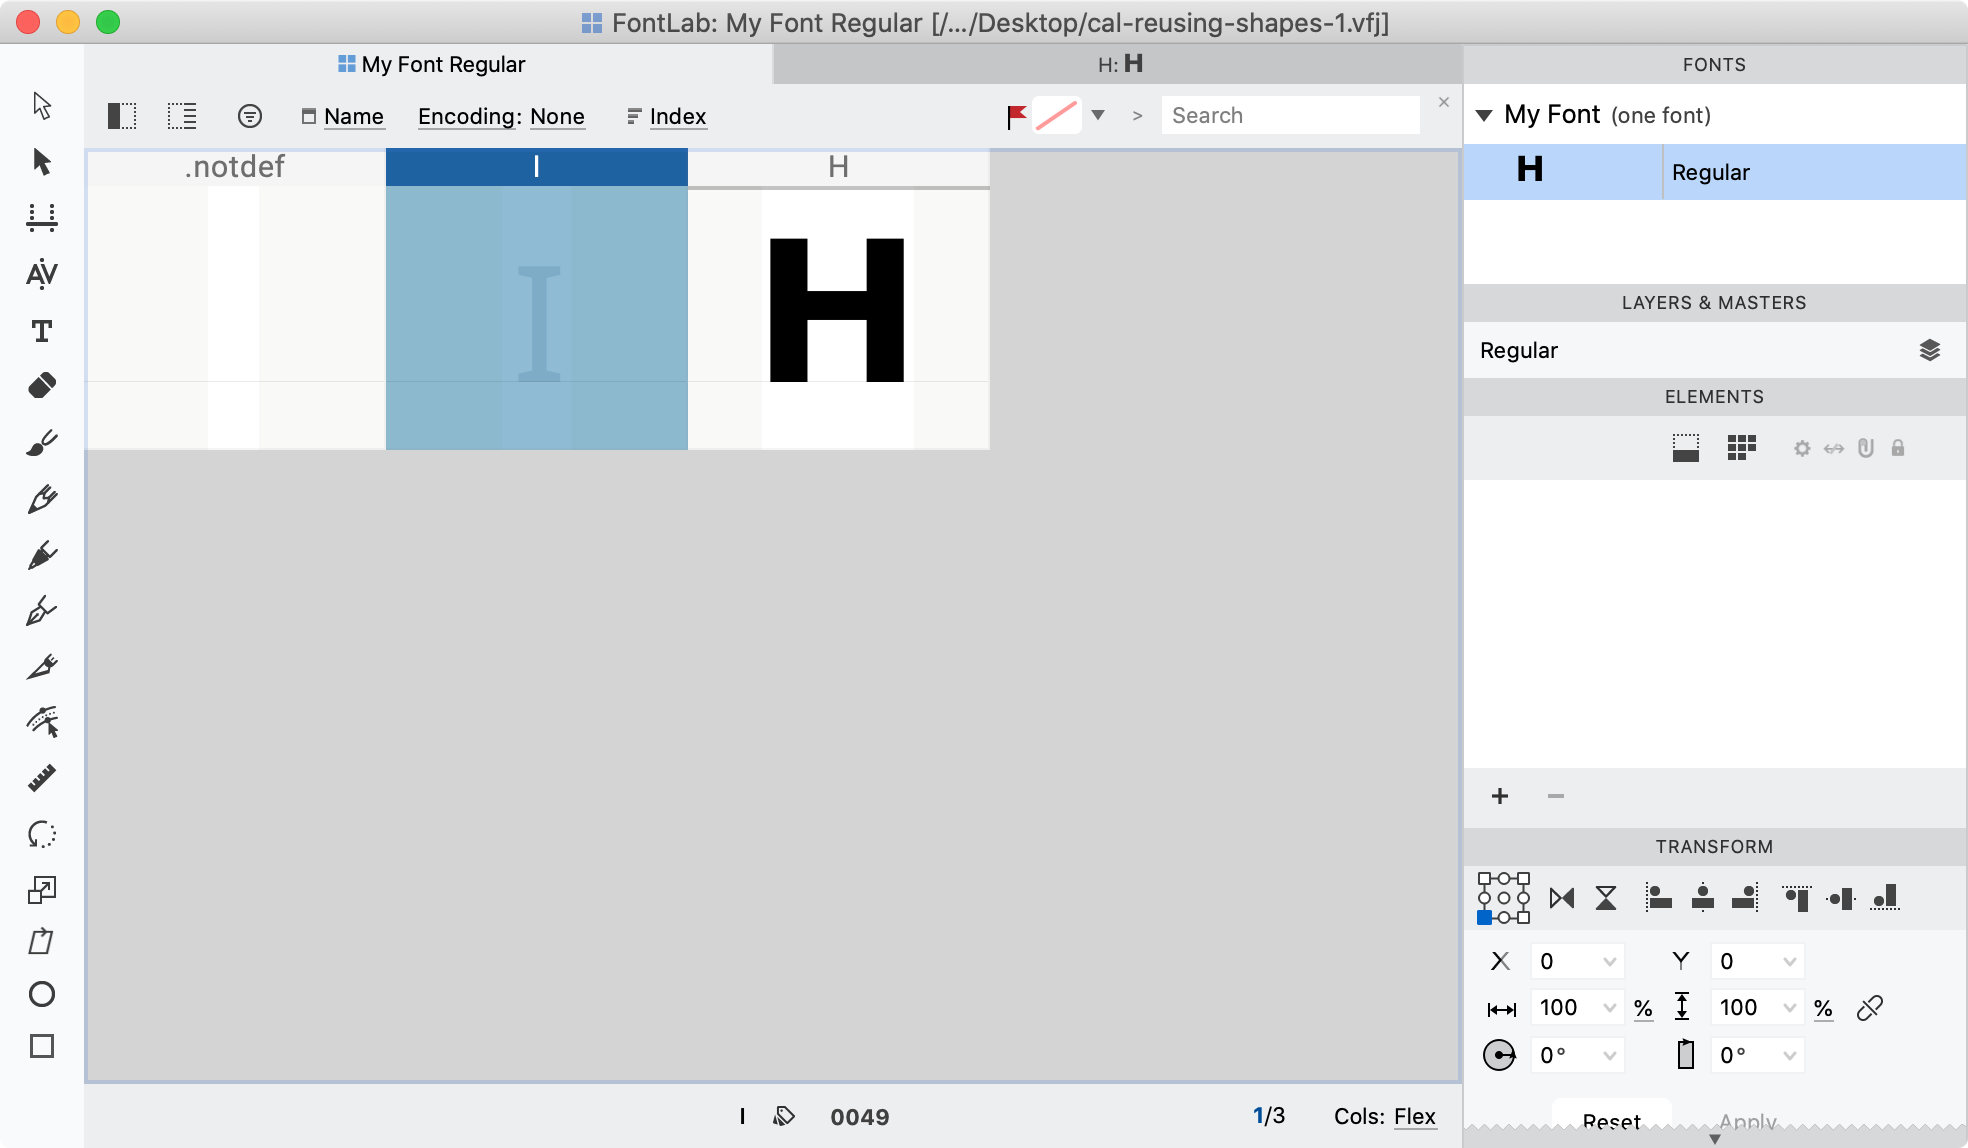
Download this and navigate to the H.
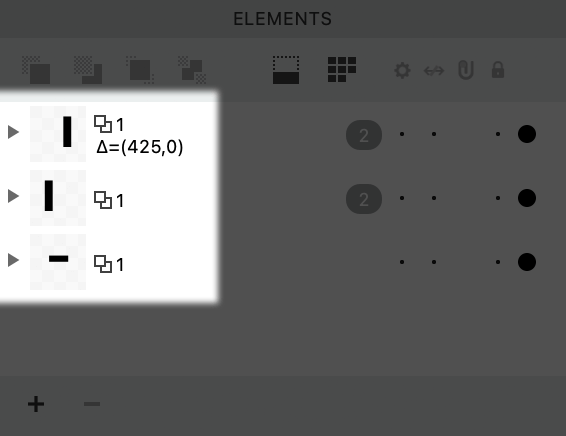
This H has three containers (elements), each with 1 path. This is a 3x1 configuration. ▼
Inside or Outside the Container?
To go outside the elements,
- click Element (black arrow) tool (V),
- double click an empty part of the canvas.
You are outside the container.
It should look like this. ▼
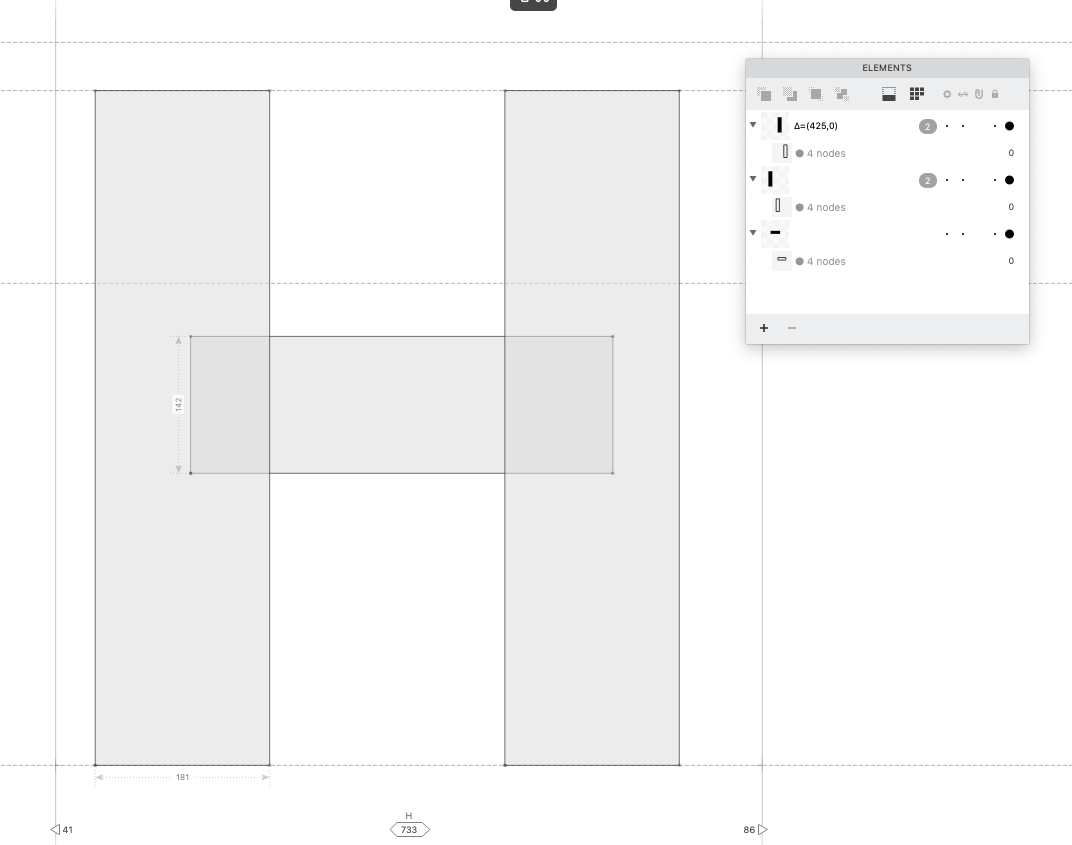
In the drawing window and in the elements panel, none of the shapes are highlighted.
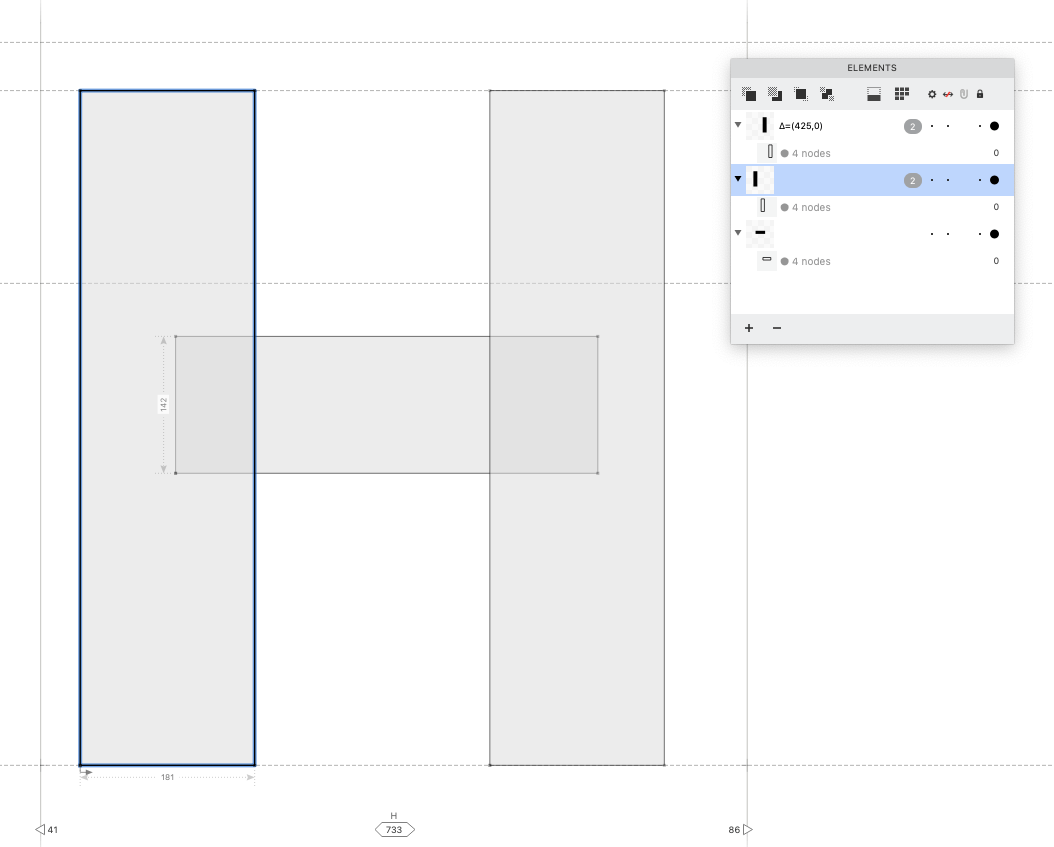
With the Element tool, click an element.
Now the rectangle is selected, but you are still outside.
Ok, we’ve been outside until now.
Here are a couple ways to get inside:
- With the Element tool, double click the rectangle. Your arrow immediately changes to white. You are inside.
- click a rectangle. click the Contour (white arrow) tool (A). You are inside.
Once you are inside, it will look like this. ▼
Look at the element panel. The elements is selected.
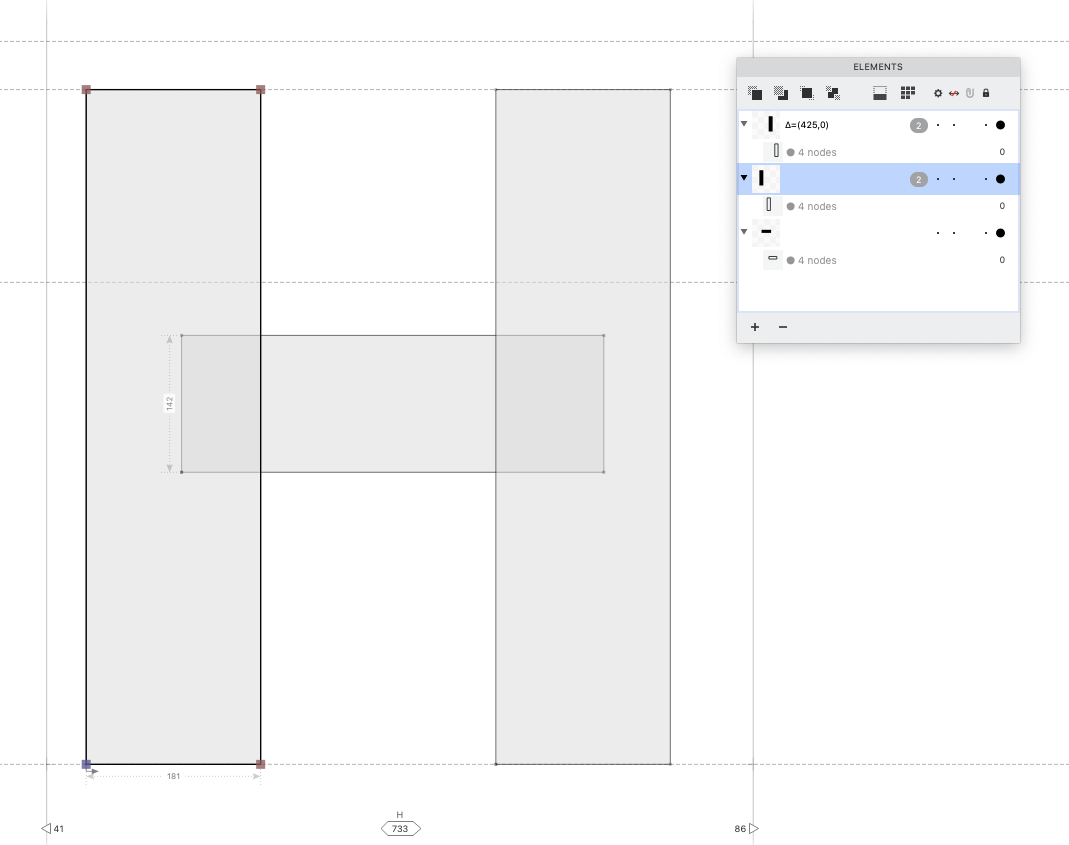
click a point or line.
The elements panel will change like this, highlighting the path (contour) that you have selected. ▼
So you can now edit that path using the Contour tool.
Info
You cannot edit paths inside another container.
However, if you want to edit elements, when you are not inside them, go to menu: Edit > Edit Across Elements.
Copying an Element to Another Letter
In order to copy elements, you have to be outside of them, by using the Element tool.
❶ Activate the Element tool (V).
❷ click the first rectangle, and copy (CmdC).
❸ Go to the font window. It has a window looking square next to the name of your font and the weight, which starts at “Regular”.
❹ Generate the letter I if it is not there, by going menu: Font > New Glyph.
❺ Now we are going to paste the rectangle in the I.
Double click the I to go into his drawing window. Then go to menu: Edit > Paste Element (CmdShiftV).
Warning
If you paste an element with ordinary paste (CmdV), this destroys the link.
You must go into the drawing window to paste the linked element. Otherwise the link will be lost.
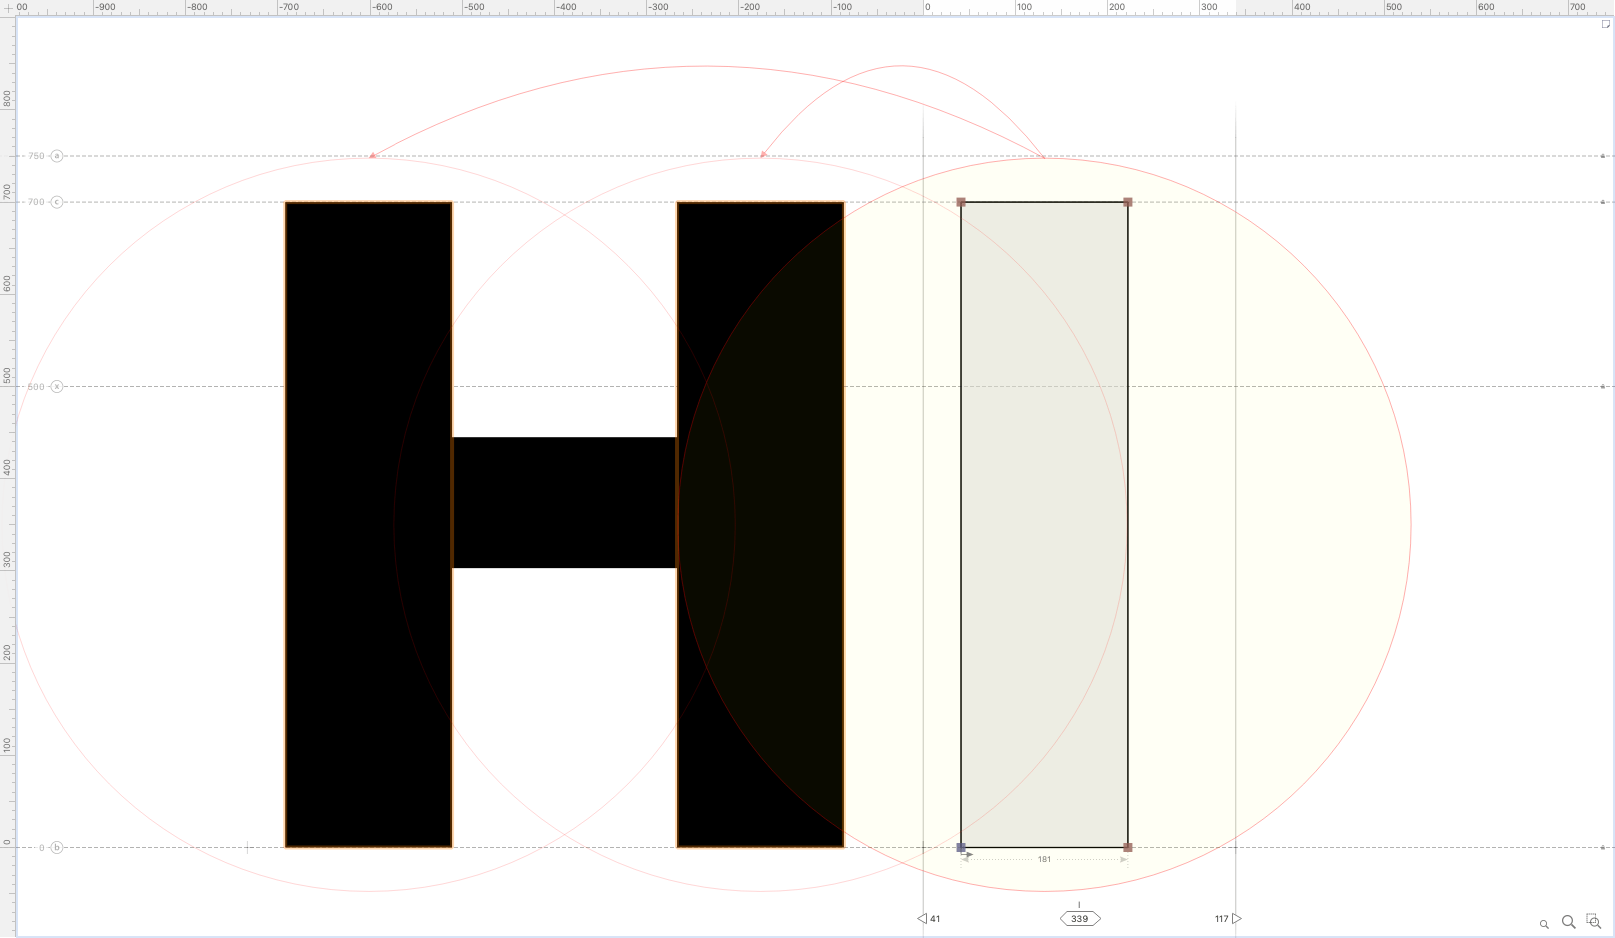
Let’s check out our work.
Push the Text tool (T) and type in “HI“. Push Esc to go back to the drawing window.
To make sure everything worked as expected, move around some part of the I and the H should move as well. Like this:
Another way to check, is to go to menu: View > Show > Element References
Nice arrows show you where elements are linked:
Black vs Contour to Move
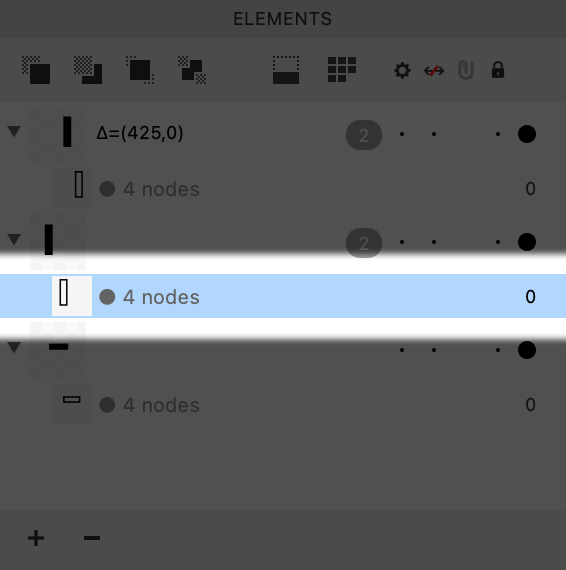
Let’s try moving the ‘I’ and see what happens to the Elements Panel.
Moving from Outside the Container
First, make sure you are outside the container by activating the Element tool and clicking on the drawing canvas.
Now, start moving, then hold down shift, so you can move the letter from side to side, without accidentally moving it up and down.
When you move like this, the H stays the same:
However, if you are inside the container, the H changes as well, which is many times not desirable.
Good work!
See you in the next one!