Pathfinder Modes and the Fill Tool
Pathfind in FontLab
Benefits: Enable yourself to make complex shapes using a non-destructive pathfinder.
FontLab’s Pathfinder tool is called the Fill Tool—a pathfinder on steroids. It’s on the toolbar and looks like a paint bucket.
Why a fill tool?
Two reasons: 1) non-destructive, 2) quickly make complex fills, saving many steps of pathfinding.
Great News
The Fill tool got even more powerful now that it can be applied to groups. See this tutorial on how to make circled numbers.
The main operations are: unite, minus, intersect, and exclude.
We already talked about unite in this tutorial.
So let’s first look at minus.
Minus
Minus subtracts one shape from another.
Because font paths have directions, there’s a couple ways to do this.
Minus Contour (Path) Inside Another Contour
Ok…
So when you have one path entirely inside another path, minus is already applied—if the paths are going in opposite directions.
This is the correct direction for PS (OTF) curves:
If the inner oval looks black, right click any part of that oval and select Reverse Contour.
Contour Overlap Another Contour—Destructive Method
When contours overlap, that’s a different story.
Here’s how you’d make a quick, destructive fill.
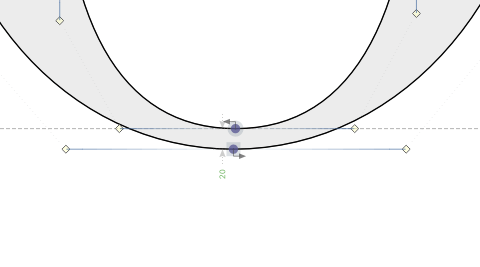
A place you might use this is on a paragraph symbol (¶). Suppose you start with this. ▼
❶ On the toolbar, look below the ellipse, to the polygon tool ⬠. Double click and choose the rectangle sub-tool.

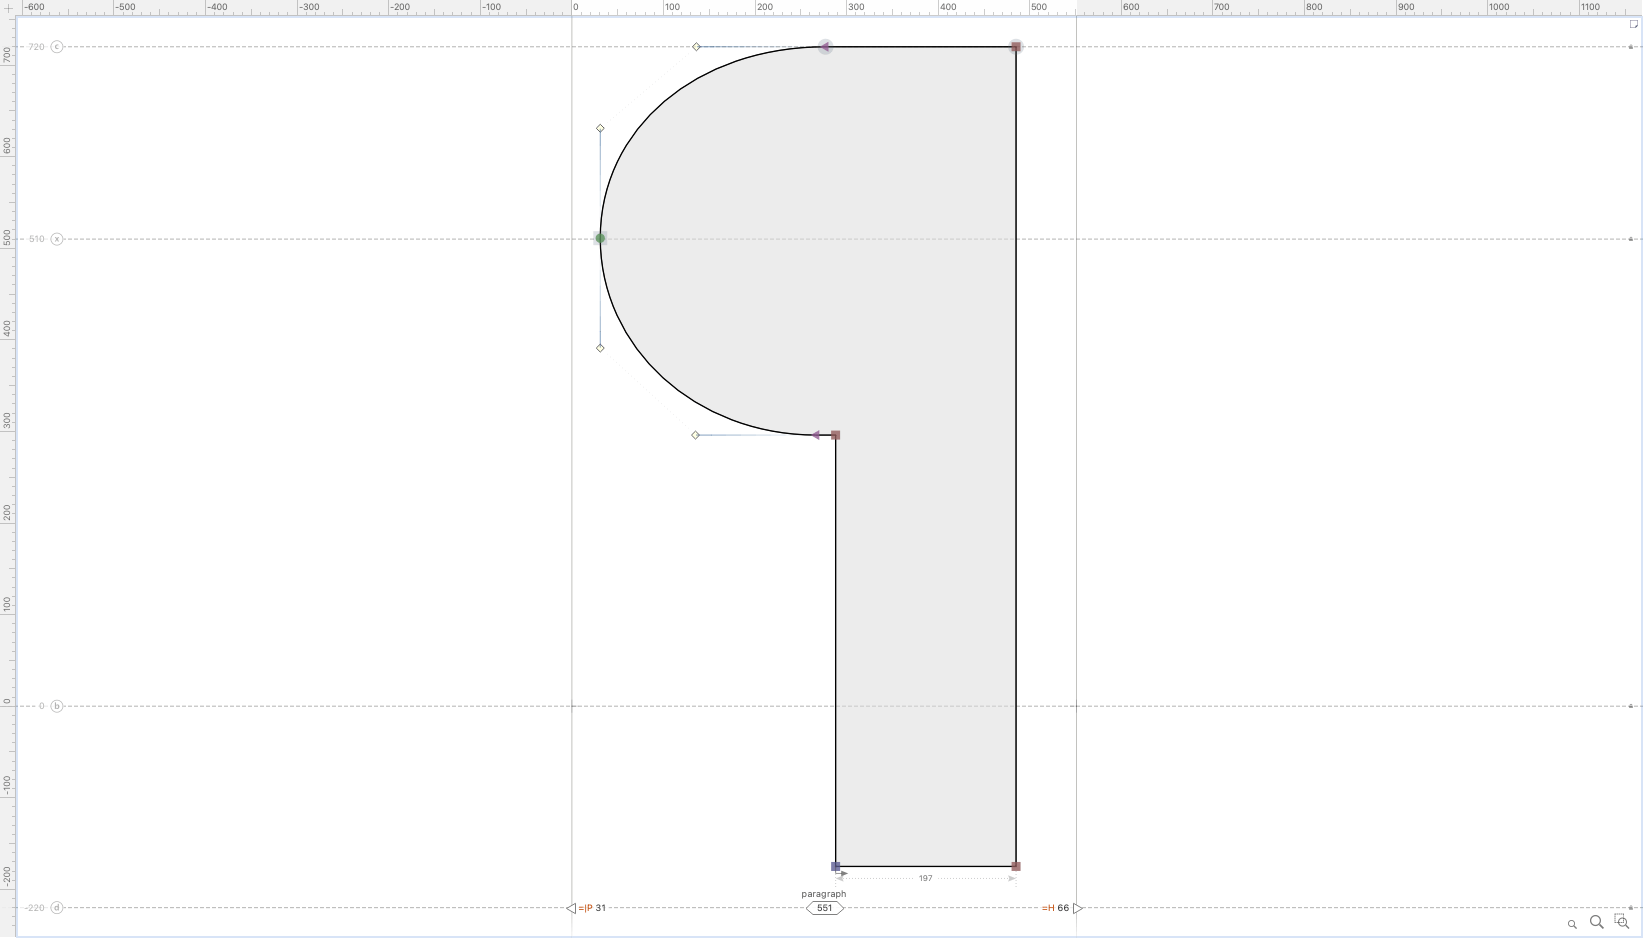
❷ Perfectly align the bottoms of the rectangles. It should look like this. ▼
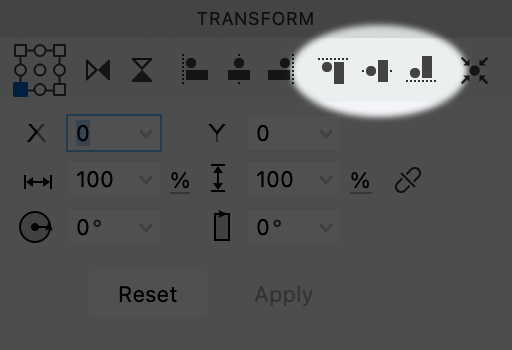
Tip
One way to align: Highlight the nodes. Then use these buttons on the transform panel.
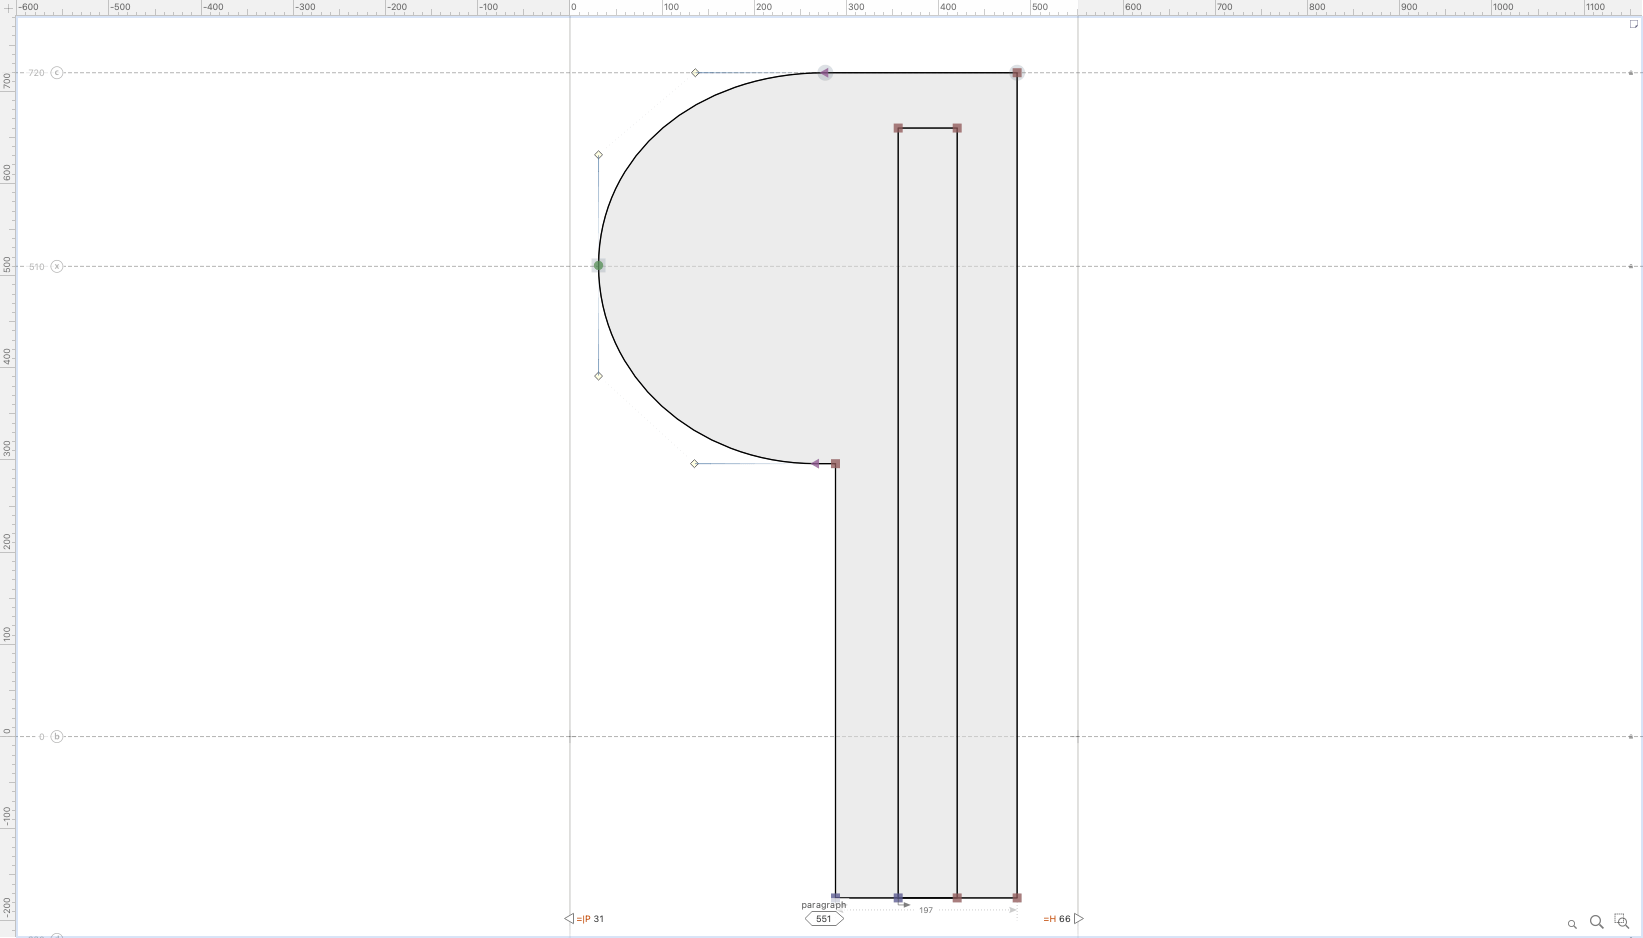
❸ Now right click the inner rectangle and reverse contour.
❹ Finally, go to menu: Contour > Remove Overlap. This should look like a finished paragraph symbol.
Non-Destructive Minus Method
Download VFJ
Here’s how you get a non-destructive minus.
Step-by-Step
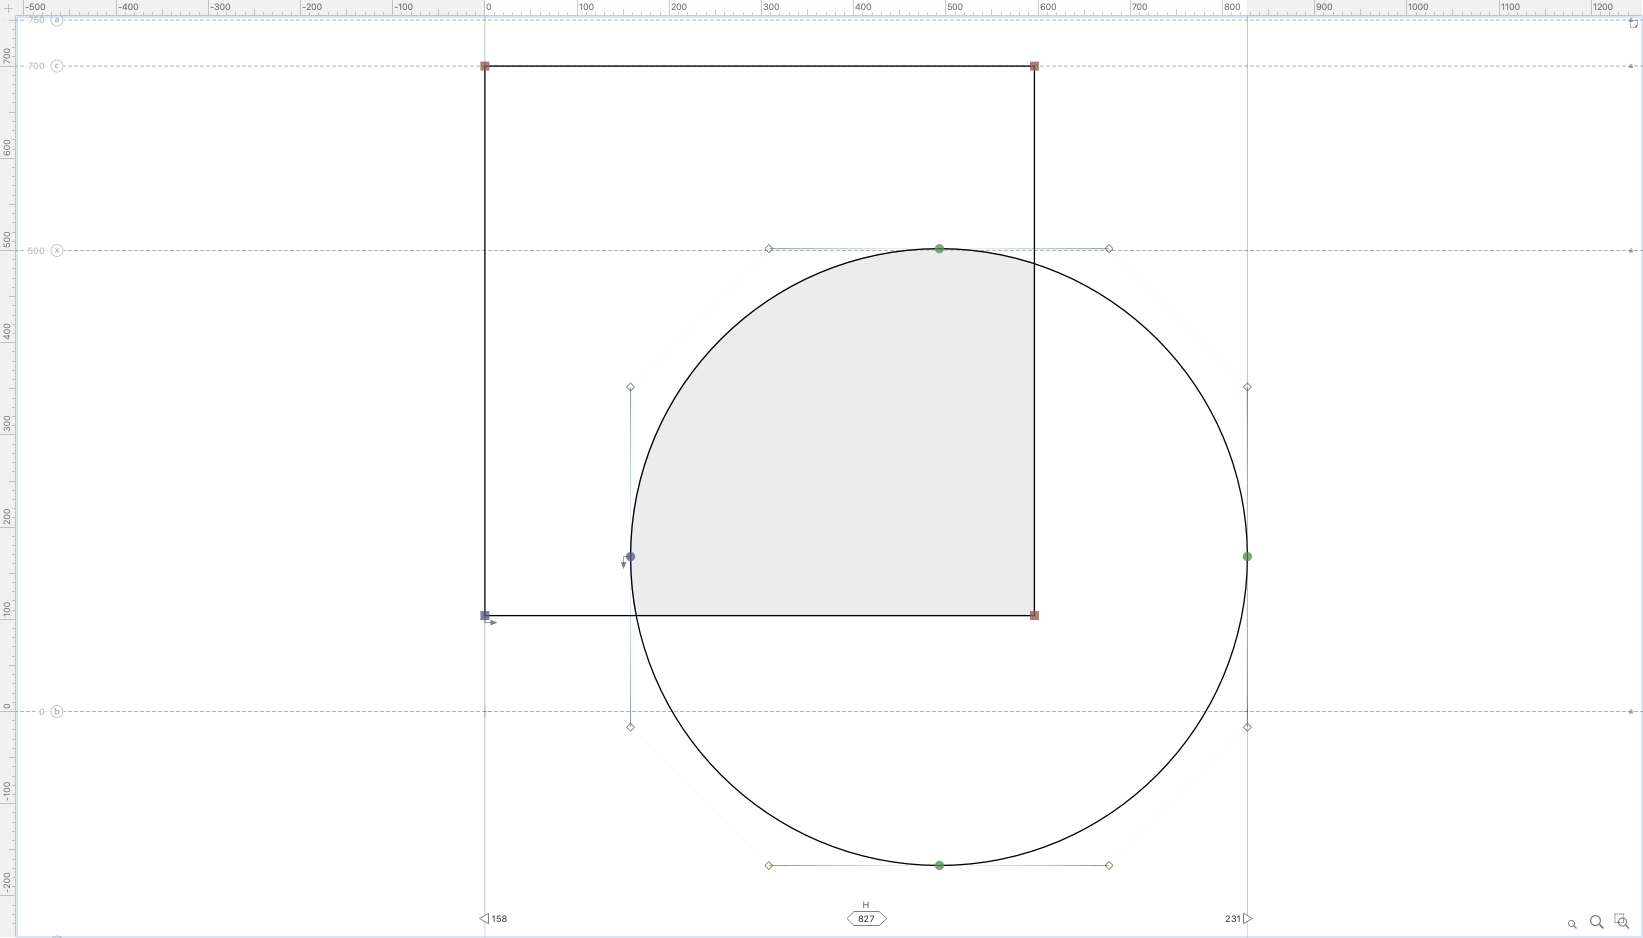
❶ In the above file, go to the H. This glyph contains a square and a circle.
click the Fill tool (paint bucket).
This tool is pretty simple. It works like this:
Fill by clicking on an enclosed area. Unfill by Alt-clicking an area.
The Fill tool has no sub-tools.
❷ Alt-click all areas of the circle. You will get this. ▼
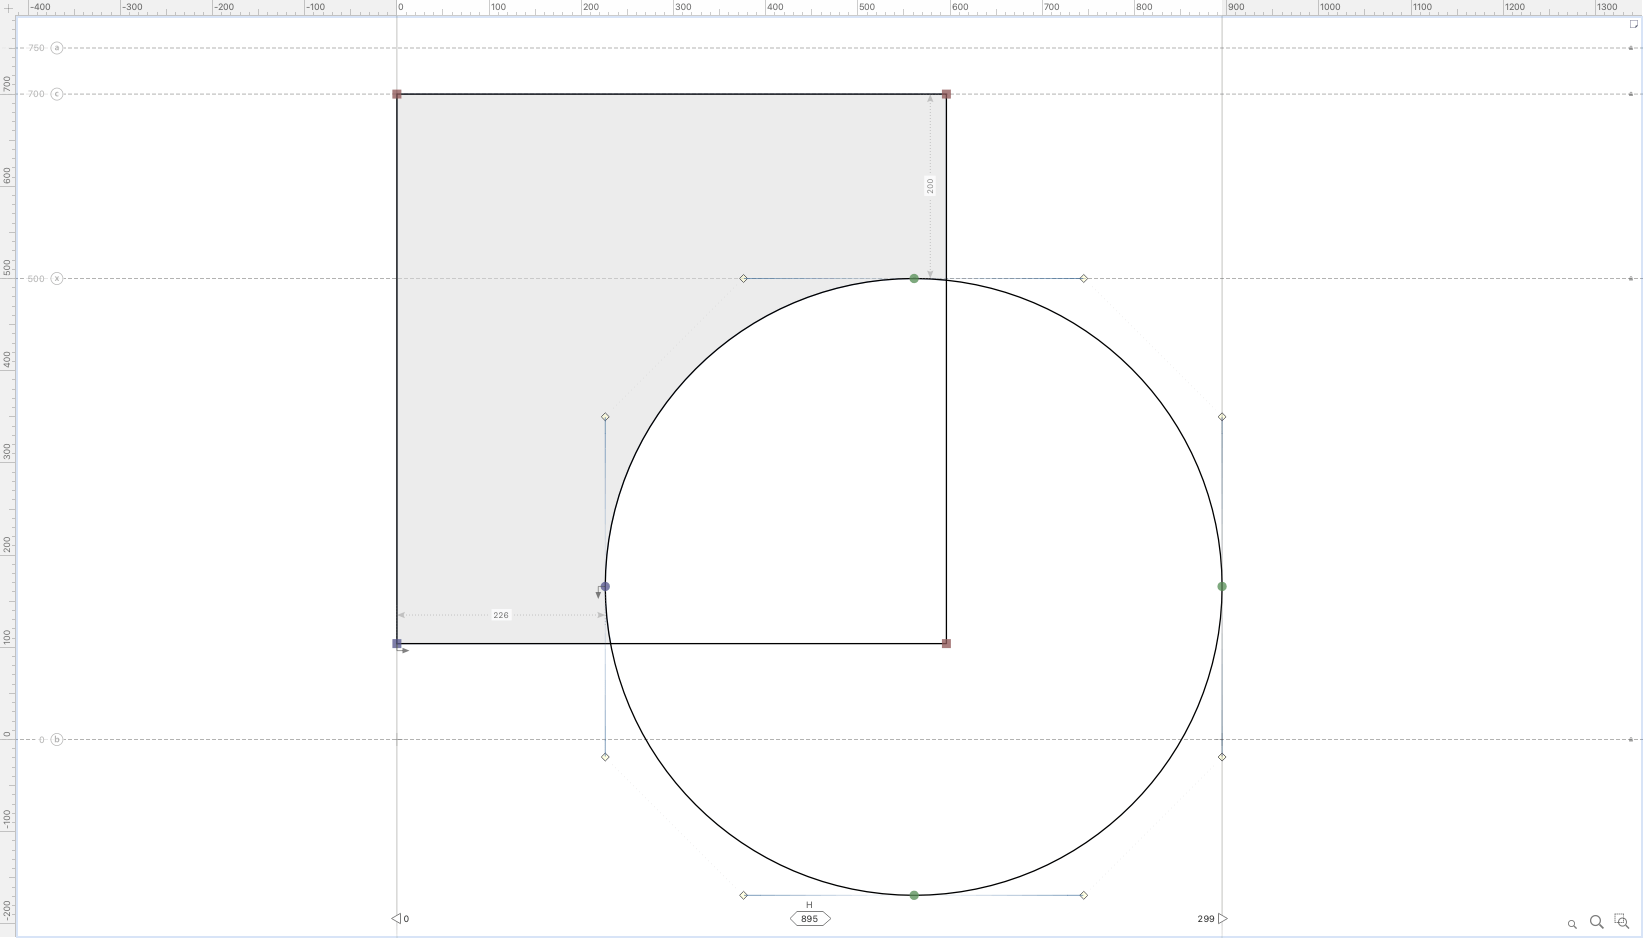
Try moving around the circle.
Don’t move it away, and your fill will stay.
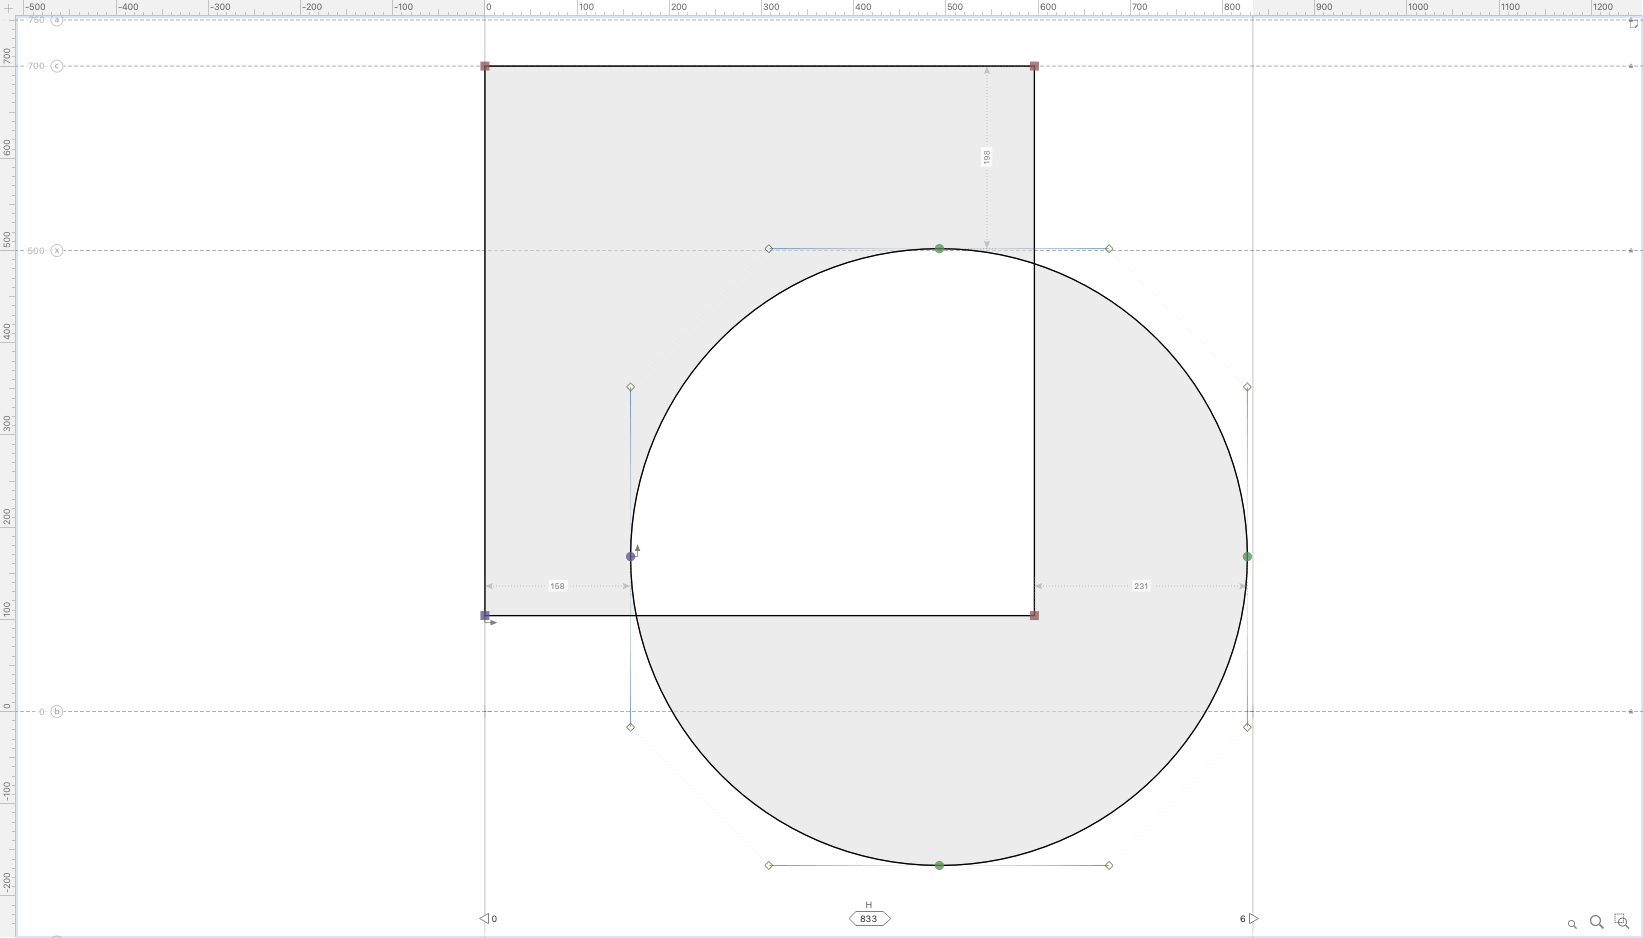
Intersect
This is the same as minus. Just unfill the outside areas.
Exclude
Here’s how you can make non-destructive exclusions.
This one is a bit more work than the others.
Essentially, you make two elements (using the Element (V) tool), and fill them as above.
Download VFJ
Step-by-Step
❶ Download and open the file; go to the H. ❷ Push the V tool so that you are outside the element. ❸ click the element. Push copy (CmdC) and paste (CmdV).
Info
We don’t want to push duplicate (CmdD), because that will offset the new element. (Though you can change the offset to zero in Preferences > Past & Duplicate.)
Warning
We do a regular paste, not “Paste Element Reference”. (CmdShiftV) We don’t want the two shapes to have the same fill!
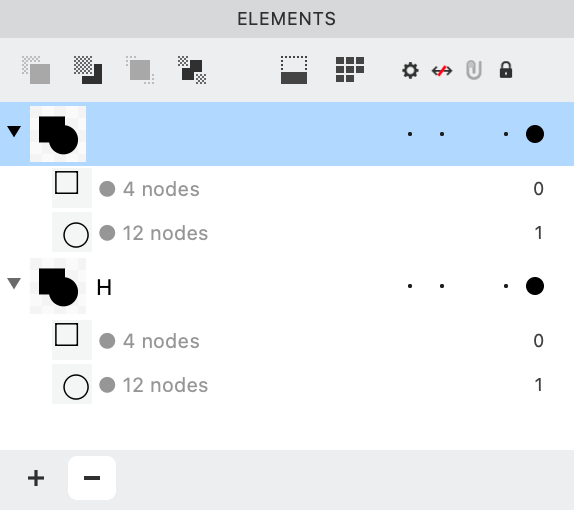
Your Elements panel should now look something like this, without any oval numbers:
❹ In the elements panel, highlight the top shape, click the paint bucket, Fill tool. Unfill (Alt-click) the entire circle. In the Elements panel, your top shape should now look like this:
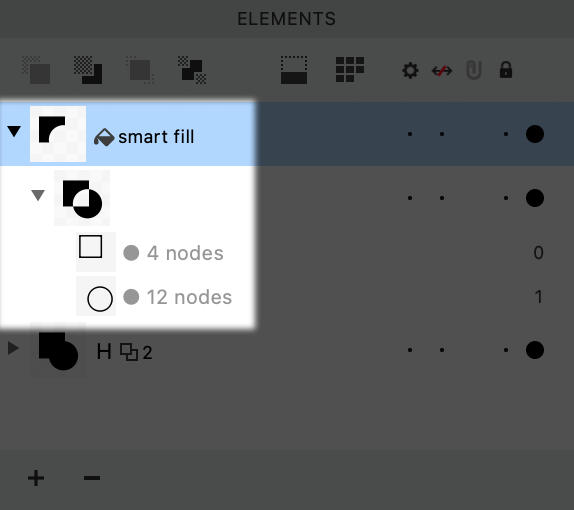
Info
Smart fill tells you the fill is applied on that layer.
❺ click the next element, like so.
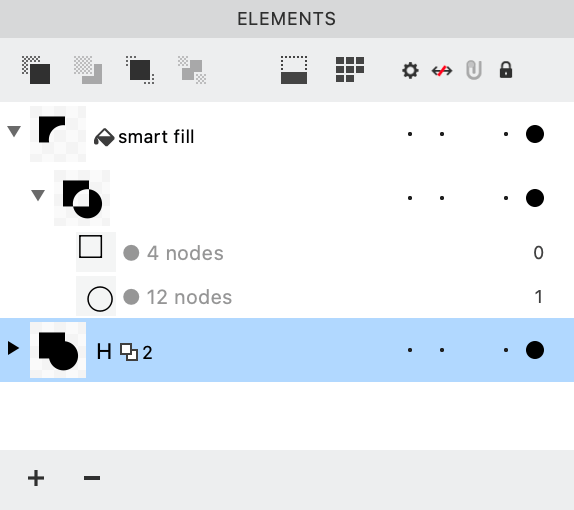
click the paint bucket. Use Alt-click to unfill the square.
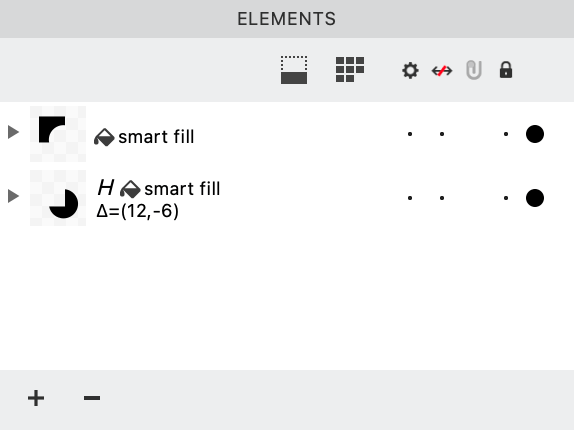
If you close up the layers using the triangle, you should see something like this:
That’s it.
Flattening the Shapes
Once you have the shape you want, go to menu: Element > Expand Filters.
Warning
This is destructive.
Enjoy filling!